Chapter 2
Unpacking and Installing the Switch
2 - 6
Installing the Slide (Rack-Mount) Rails
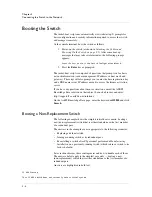
Before you install the switch, you must first assemble and install the slide
(rack-mount) rails used to support the switch in a standard EIA rack. The
rails are shipped with the switch unit.
Using the instructions,
Slide Rail Installation
, install the slide rails for the
switch. These instructions also explain how to install the switch into the rails
(
Installing the Component into the Slide Rails
).
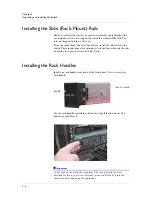
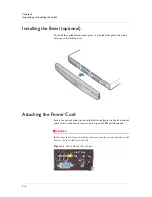
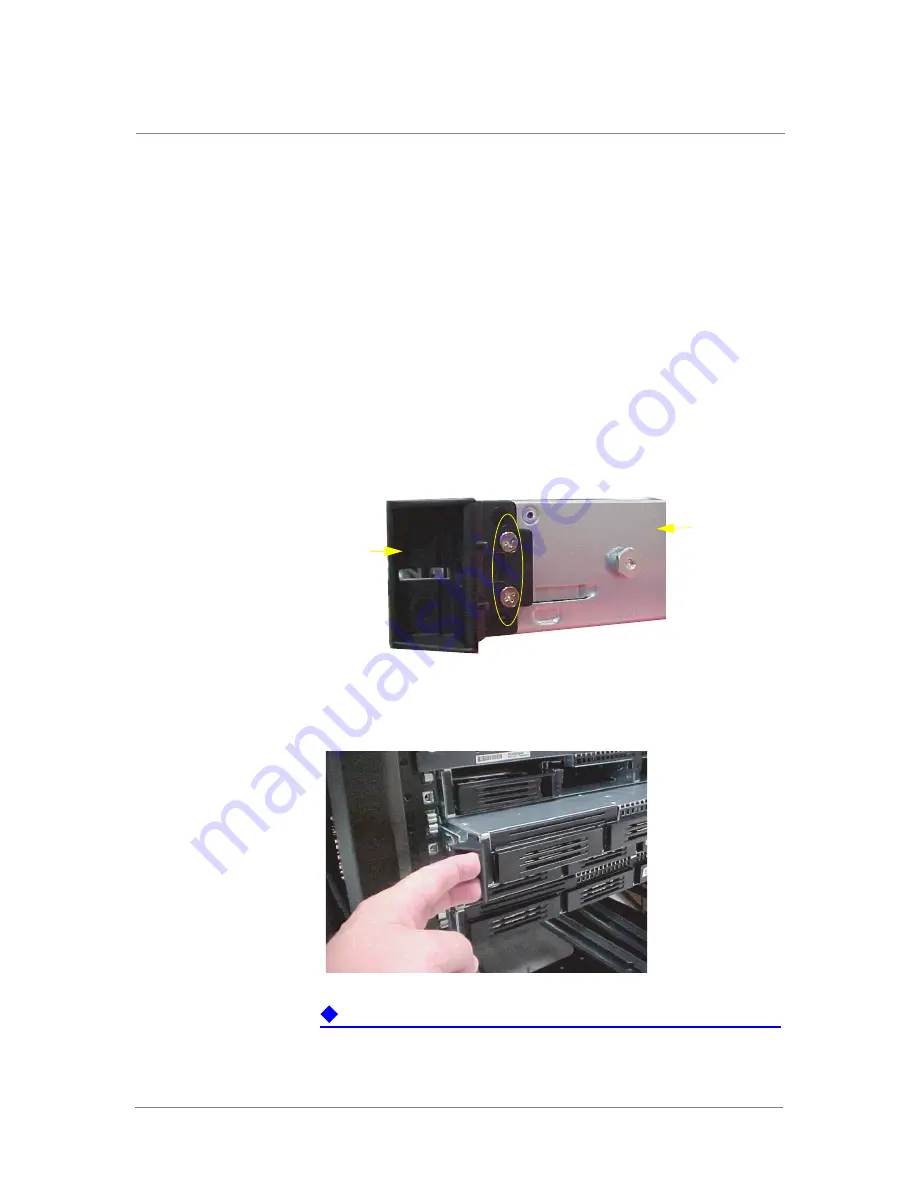
Installing the Rack Handles
Install one rack handle at each end of the front panel. Use two screws for
each handle.
Use the rack handles to push the chassis into or pull the chassis out of a
densely-populated rack.
Important
D
o not push on the disk-drive faceplates. The face-plate plastic is not
designed for this type of stress. Internal screws could break off into the
chassis, possibly damaging the equipment.
side of switch
handle
Summary of Contents for ARX-500
Page 1: ...ARX 500 Hardware Installation Guide 810 0039 00 ...
Page 2: ......
Page 7: ...Table of Contents ...
Page 8: ......
Page 10: ...Table of Contents x ...
Page 11: ......
Page 12: ...Table of Contents xii ...
Page 14: ......
Page 22: ......
Page 32: ......
Page 50: ...Chapter 3 Connecting the Switch to the Network 3 20 ...
Page 51: ...4 Maintenance Powering Down the ARX 500 POST Diagnostics Front Panel LEDs Rear Panel LEDs ...
Page 52: ......
Page 59: ...Index ...
Page 60: ......
Page 62: ...Index Index 4 ...


