Chapter 6
Unpacking and Installing the Chassis
6 - 6
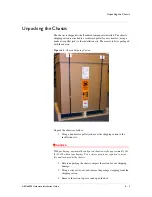
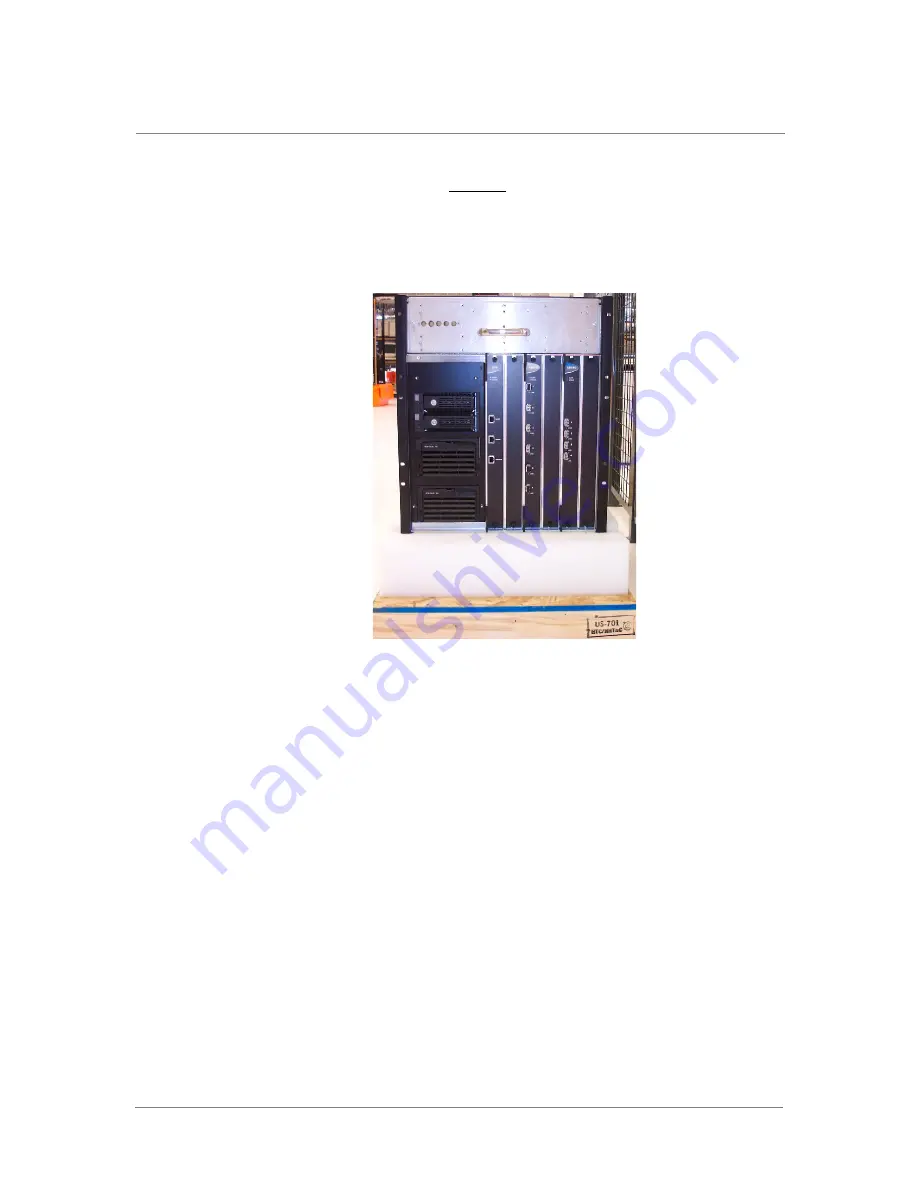
5. Remove the small box inside. This contains the accessories
described in Table 6.1.
6. Slowly slide/lift the outer carton up and away from around the
chassis, which sits in foam packaging on the pallet.
7. Remove the foam packaging from the bottom front and back of the
chassis.
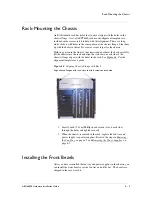
Before you install the chassis into a rack, it is
recommended
that you remove
the fan tray and power supplies to facilitate handling and ease
rack-mounting. These components are particularly heavy. You can replace
these units after the chassis is secured in the rack, as shown in the next
section.
Summary of Contents for ARX 6000
Page 1: ...ARX 6000 Hardware Installation Guide 810 0001 00 ...
Page 2: ......
Page 5: ...Table of Contents ...
Page 6: ......
Page 10: ...Table of Contents x ...
Page 12: ......
Page 22: ...Chapter 1 1 12 ...
Page 24: ......
Page 30: ......
Page 36: ...Chapter 3 Chassis Hardware 3 8 ...
Page 38: ......
Page 46: ......
Page 52: ......
Page 66: ......
Page 80: ......
Page 87: ...A Cable Connectors ARX 6000 Connectors Console Connector and Pinouts SFP Optical Connector ...
Page 88: ......
Page 92: ...Appendix A Cable Connectors A 6 ...
Page 94: ......
Page 100: ...Appendix B Removing and Replacing FRUs B 8 ...
Page 101: ...Index ...
Page 102: ......


