Removing and Replacing a Disk Drive
ARX
®
6000 Hardware Installation Guide
B - 5
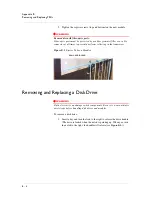
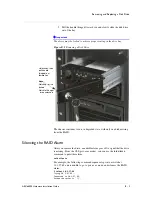
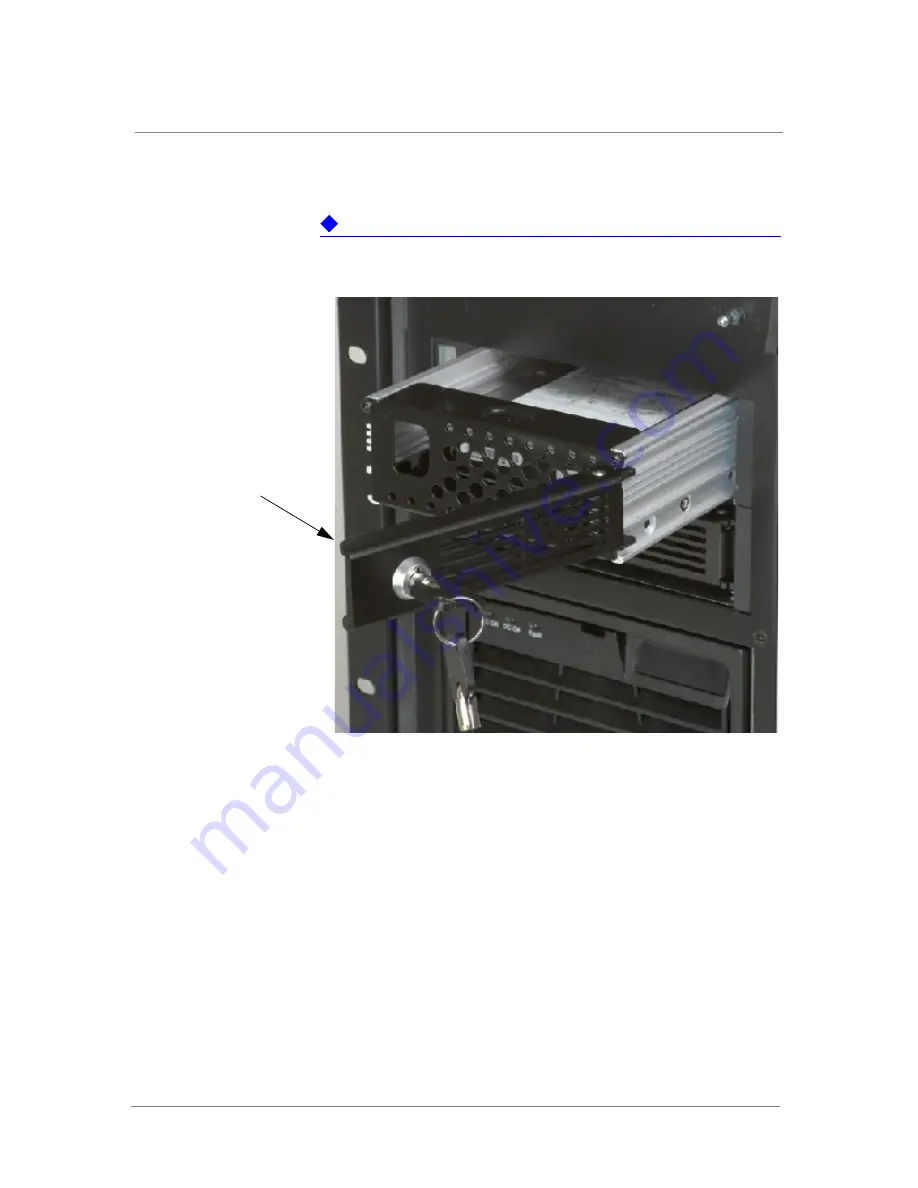
2. Pull the handle (hinged) toward you and slowly slide the disk drive
out of the bay.
Important
The drives must be locked to achieve proper seating in the drive bay.
Figure B.2
Removing a Disk Drive
The chassis continues to run, in degraded state, with only one disk missing
from the RAID.
Silencing the RAID Alarm
After you remove the drive, an audible alarm goes off to signal that the drive
is missing. From the CLI (priv-exec mode), you can use the
raid silence
command to quiet this alarm:
raid
silence
For example, the following command sequence logs into a switch at
10.1.27.69, enters
enable
to go to priv-exec mode, and silences the RAID
alarm:
$
telnet
10.1.27.69
Trying
10.1.27.69...
Connected
to
10.1.27.69.
Escape
character
is
'^]'.
Unlock key, then
pull handle
(hinged) out
toward you
Keys
:
Notch up - drive
locked
Notch to the right
- drive unlocked
Summary of Contents for ARX 6000
Page 1: ...ARX 6000 Hardware Installation Guide 810 0001 00 ...
Page 2: ......
Page 5: ...Table of Contents ...
Page 6: ......
Page 10: ...Table of Contents x ...
Page 12: ......
Page 22: ...Chapter 1 1 12 ...
Page 24: ......
Page 30: ......
Page 36: ...Chapter 3 Chassis Hardware 3 8 ...
Page 38: ......
Page 46: ......
Page 52: ......
Page 66: ......
Page 80: ......
Page 87: ...A Cable Connectors ARX 6000 Connectors Console Connector and Pinouts SFP Optical Connector ...
Page 88: ......
Page 92: ...Appendix A Cable Connectors A 6 ...
Page 94: ......
Page 100: ...Appendix B Removing and Replacing FRUs B 8 ...
Page 101: ...Index ...
Page 102: ......

