- 36
–
Copyright © 2010, F5 Networks, Inc. All rights reserved.
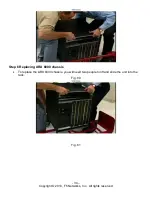
Step 7 Securing the ARX 6000 chassis
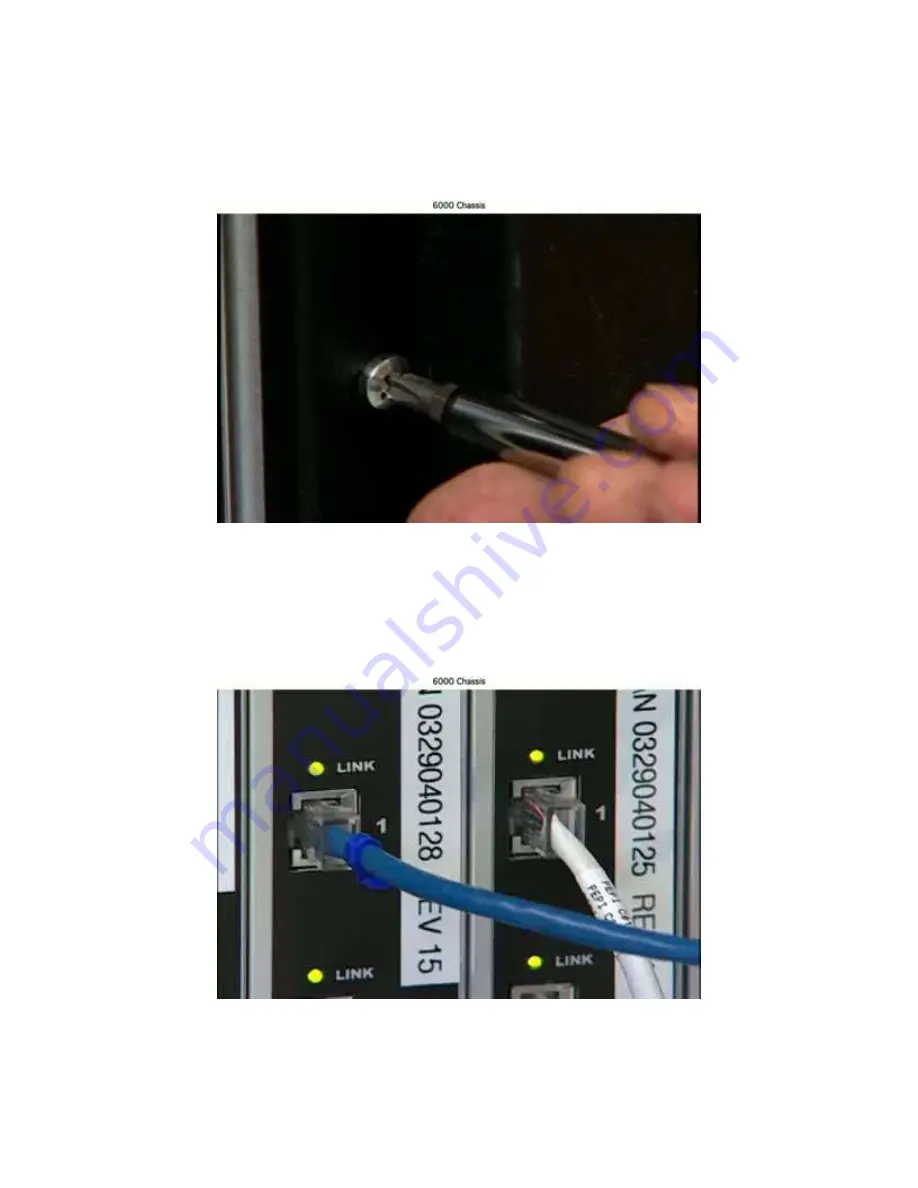
While supporting the unit underneath, screw in the mounting ears.
Fig. 82
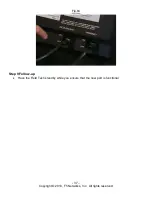
Step 8 Reconnect cables and power on chassis
Refer to the ARX 6000 installation options to replace any of the parts not currently installed
before you reconnect the cables, plug in the power cords and power up both the primary and
redundant power supplies.
Fig. 83
Summary of Contents for ARX 6000
Page 1: ...ARX 6000 FRU Replacement Guide Platform P100 April 4 2011 Version 1 0 ...
Page 4: ... 3 Copyright 2010 F5 Networks Inc All rights reserved ARX 6000 Chassis Overview Rear ...
Page 32: ... 31 Copyright 2010 F5 Networks Inc All rights reserved ...
Page 36: ... 35 Copyright 2010 F5 Networks Inc All rights reserved ...


