11
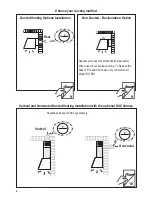
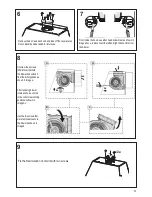
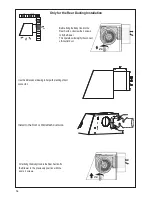
Remove the 4 screws as shown and take off the cover plates.
Do not discard and set aside for future use.
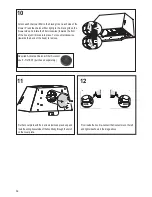
)URPLQVLGHWKHKRRGXVHDÀDWKHDGVFUHZGULYHUDVVKRZQLQ
image above, to disconnect the left and right Connectors from
the blower.
6
Unscrew the 2 screws
(Posi-Drive) that hold
the blower and unlock it
from the initial position as
shown in Image a.
E
F
D
G
[
[
After removing blower
rotate as shown until it is
in the correct rear venting
position as shown in
Image b-c.
Use the two screws that
were removed to secure
the blower as shown in
Image d.
7
8
P
P1
2x
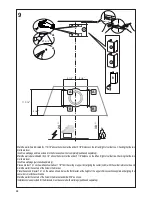
Fix the Recirculation Vent Grill with two screws.
9
12e
Summary of Contents for Chloe
Page 6: ...6 Min 24 Min 30...
Page 28: ...28 Wiring Diagram U B...
Page 34: ...34 Min 24 Min 30...
Page 56: ...56 Sch ma de c blage U B...
Page 62: ...62 M n 24 M n 30...
Page 84: ...84 Diagrama de cableado U B...
Page 86: ...86...
Page 87: ...87...


