background image


EN 

9


USE


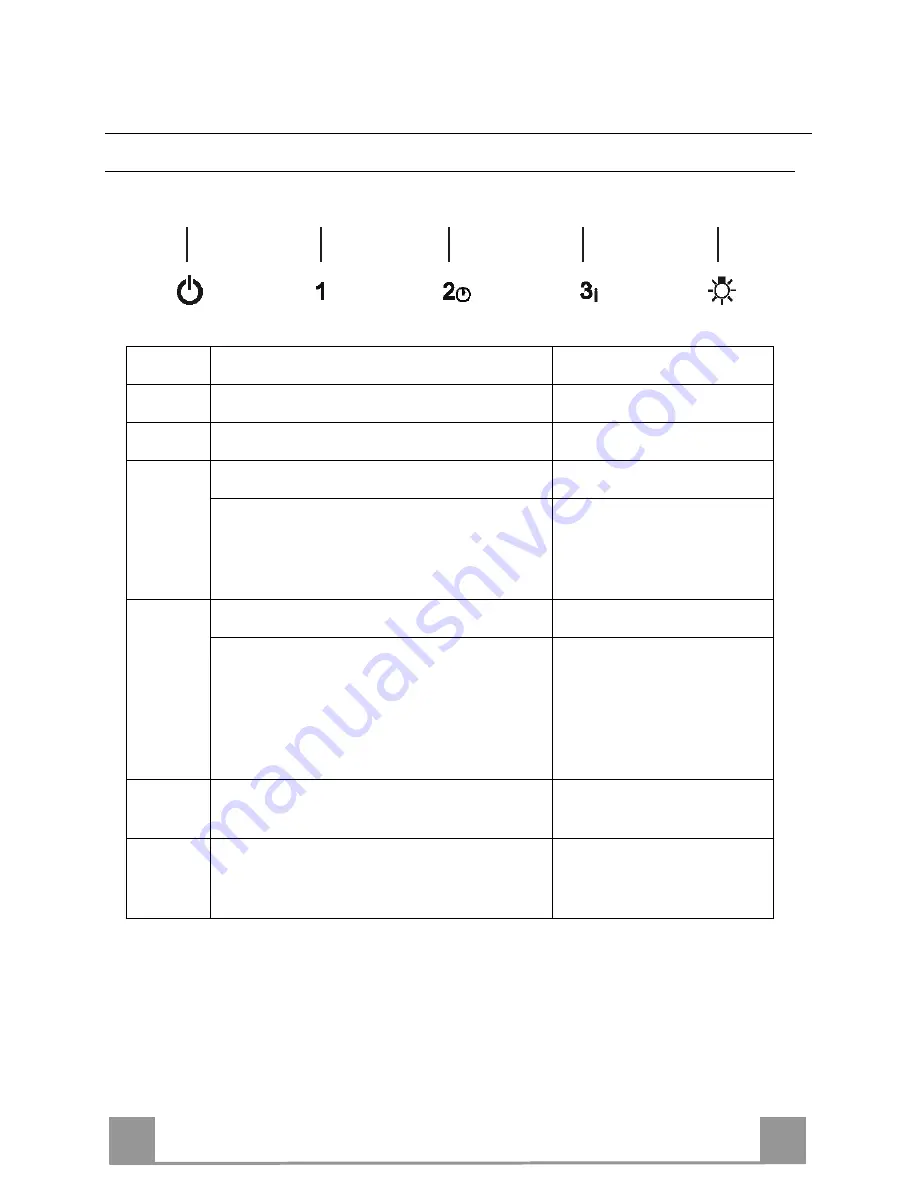
Control panel 

T1

T2

T3

T4

L


Button Function 


T1 

Turns the Motor off. 

T2 

Turns the motor on at speed one 

Buttons 

T1

+

T2

 are on. 

T3 

Turns the Motor on at speed two 

Buttons 

T1

+

T3

 are on. 


Press and hold for 2 seconds to enable shut-
down with a 30 minute delay (Mo-
tor+Lights). It is possible to change the op-
erating speed when this function is enabled.  

The respective buttons 

T1

(

T2

 or 

T3

 or 

T4

) will flash. 

T4 

Turns the Motor on at speed three 

Buttons 

T1

+

T4

 are on. 


Press and hold for 2 seconds to activate In-
tensive speed, which is timed to run for 10 
minutes. At the end of this time it will 
automatically return to the speed set before. 
Suitable to deal with maximum levels of 
cooking fumes. 

The button flashes. 

Turns the Lighting System on and off at 
maximum intensity.  

Button on 


Press and hold for 2 seconds to turn the 
Lighting system on and off at reduced inten-
sity.  

Button on 


Summary of Contents for COCKTAIL

Page 1: ...INSTRUCTIONS MANUAL EN COCKTAIL...

Page 2: ...der to prevent any risks USE The extractor hood has been designed exclusively for domestic use to eliminate kitchen smells Never use the hood for purposes other than for which it has been designed Nev...

Page 3: ...e 9 1 Flange optional 15 1 Angle iron optional 16 1 Filter cover Ref Q ty Installation Components 7 2 1 2 Upper Chimney Section Fixing Brackets optional 11 6 Wall Plugs 4 optional 11a 2 Wall Plugs SB...

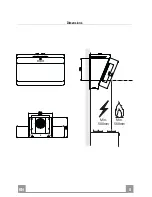
Page 4: ...EN 5 5 Dimensions Min 500mm Min 500mm...

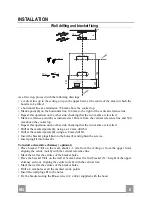
Page 5: ...other side checking that the two marks are levelled Drill at the marked points 1 using a 12 mm drill bit Drill at the marked points 2 using a 8 mm drill bit Insert the bracket plugs 11a into the holes...

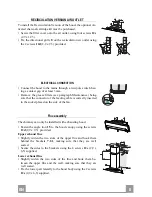
Page 6: ...r to level the hood body itself Fasten the safety screw 12a Close the doors the door again 12a Vr 11a Connections DUCTED VERSION AIR EXHAUST SYSTEM When installing the ducted version connect the hood...

Page 7: ...he connector of the feeding cable is correctly inserted in the socket placed on the side of the fan Flue assembly The chimney can only be installed with exhausting hood Fasten the angle iron 15 to the...

Page 8: ...on is enabled The respective buttons T1 T2 or T3 or T4 will flash T4 Turns the Motor on at speed three Buttons T1 T4 are on Press and hold for 2 seconds to activate In tensive speed which is timed to...

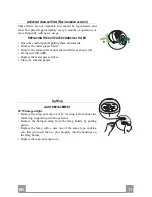
Page 9: ...ly for particularly heavy usage and can be washed in a dishwasher Pull the comfort panels to open them Remove the filters one by one pushing them towards the back side of the hood unit and simultaneou...

Page 10: ...ilters Remove the saturated activated charcoal filter as shown A Fit the new filters B Replace the metal grease filters Close the comfort panels A B Lighting LIGHT REPLACEMENT 20 W halogen light Remov...

Page 11: ...estique dans le but d liminer les odeurs de la cuisine Nejamaisutiliserabusivementlahotte Nepaslaisserlesflammeslibres forteintensit quandlahotteestenservice Toujours r gler les flammes de mani re vit...

Page 12: ...ul Arsenija arnojevi a 66 BEOLEKS MK j 02 322 75 80 2 043 412 551 047 242 885 56 044 337 919 034 320 551 65 SKOLEKS 02 963 33 20 963 33 80 49 032 633 778 30 052 504 634 277 056 841 475 77 082 872 717...

Reviews: