


User manual Symax
4 <
<
<
<
glass polish. This is a specially formulated cleaning
agent that can be ordered at authorised Faber
dealers. Never use aggressive cleaning agents or
abrasive products.
Please note!
Avoid fingerprints on the glass, these are no
longer removable once the fire is used.
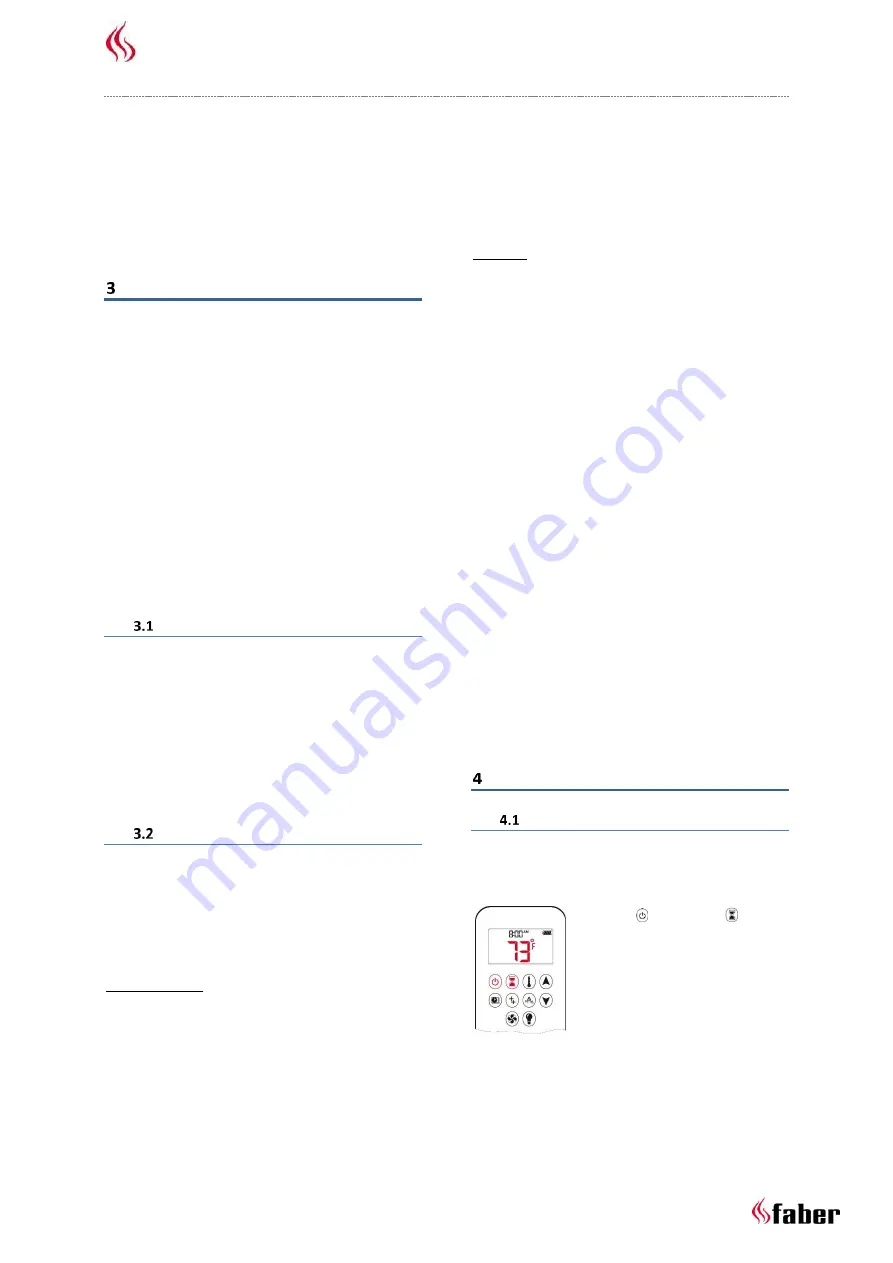
Remote control – general
All functions of the fire can be operated
with the remote control (fig. 1.1).
Before using the remote control (again),
press any button to activate the display.
Now, the remote control is ready for use!
The remote control is already connected
with the receiver (fig. 1.3), so the fire is
ready for use. (for new pairing see section
4.3).
If a transmission is successful, the receiver
will emit a sound signal.
The remote control is also the room
temperature sensor when using
thermostatic mode. For that reason it is
necessary to place the remote control in
the wall bracket (fig. 1.4).
Wall bracket installation (fig. 1.4)
For correct functioning of the Thermostatic mode
it is necessary to place the remote control in the
wall bracket:
1,5m above the floor;
within 4 metres of the fire;
outside the radiation area of the fire;
away from the corners of the room,
windows, open doors and heat sources
such as central heating radiators.
Adapter/batteries
Please note!
Check the batteries annually!
After replacing the batteries of the
remote or receiver, it is not required to
pair them again!
Remote control
The battery indication in top right corner
of the display screen indicates the status
of the batteries (fig. 2.0).
After replacing the batteries, the settings
of the Thermostatic and Program mode
have been reset to the factory settings
(Section 6.2 and 6.3).
Placing batteries in the remote control
Slide the battery cover of the remote
control (fig. 1.2);
Place 2 AA 1.5 Volt Alkaline long life
batteries;
Place the battery cover again.
Receiver
Although a mains adapter is supplied, the receiver
can also run on batteries. The use of both
simultaneously is also possible. Then the batteries
will take over in case of a power failure.
Please note!
Always use the mains adapter for fires with
LED Symbio module (glow effect).
When the fire indicates that the batteries
are nearly run down, 3 short sound signals
will be heard.
When the battery supply is very low, the
remote control will switch off the fire
completely. (This will not happen if the
main electricity supply is interrupted).
It is possible that the remote control have
to be paired again after replacing the
batteries (see section 4.3).
Placing batteries in the receiver
Slide the battery cover from the receiver
(fig. 1.3-G);
Place 4 AA 1.5 Volt Alkaline long life
batteries;
Place the battery cover again.
Default settings remote control
Fahrenheit (°F) or Celsius (°C)
To change the temperature indication on the
display screen from °C/24 hours to °F/12 hours and
the other way around is done in the following
manner:
Press the key and the key
simultaneously until the
indication is modified.
Summary of Contents for Symax
Page 1: ...User manual Symax Mertik ENG 40011927 1939 ...
Page 3: ...User manual Symax 2 1 1 1 2 1 3 1 4 1 5 1 6 2 0 ...
Page 10: ...User manual Symax 9 ...
Page 11: ...User manual Symax 10 ...
Page 12: ......


