UK/IRL
UK/IRL 19
4.3 Fitting the firebox (continuing)
10. Turn the clamping plate up side down and slide the plate between the guides so
that its ends grip around the pipe opening (see last figure previous page). Make
sure that the flue collar plate is pressed onto the burner chamber.
11. Locate the log set (see placing log set, chapter 4.4).
12. Spread the bags of embers (3 different types of imitation ashes) provided with the
appliance over the burner tray.
Note
: there is no glow effect from the embers.
13. Place the trim.
14. Before placing the glass frame; check the glass sealing rope is in good condition.
Be sure that there are no fingerprints on the glass. It is not possible to remove
those prints after you burn the appliance for a while (they are burnt in). Place the
glass in front of the appliance and fix the glass frame.
UK/IRL
UK/IRL 20
4.4 Placing the log set
Never place extra elements of any kind into the combustion chamber. To guarantee
good combustion, the log set may only be installed in the way specified by Faber
International. Any other arrangement can lead to soot on logs or window. Do not use
the fire with broken or missing logs.
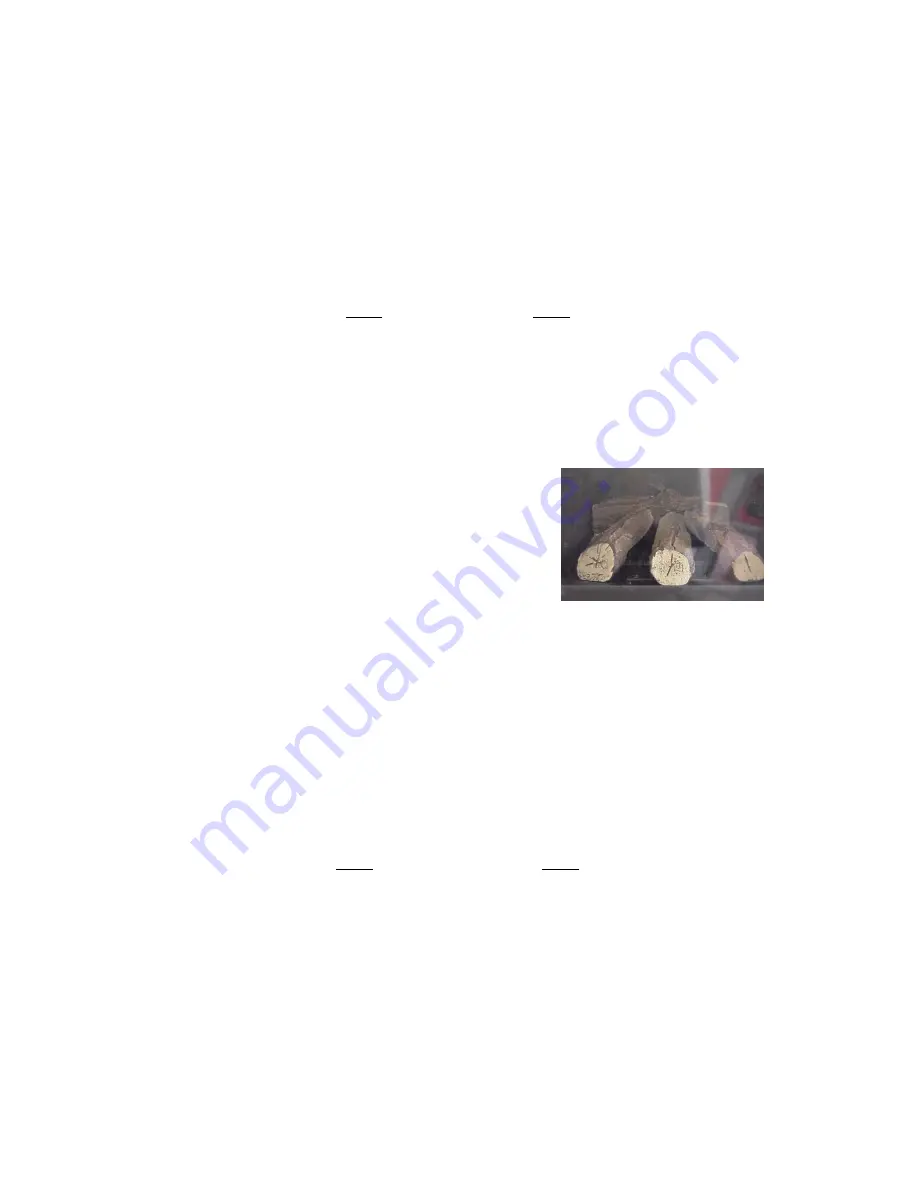
The log set consists of a rear log and 3 logs to cover the burners.
Place the rear log into the U section in the back of the combustion chamber.
On the bottom of the logs is an identification:
• 1 dimple first log left placed over the burner and resting on the burner tray.
• 2 dimples placed in the middle over he burner and resting on the burner tray.
• 3 dimples the right side log placed over the burner and resting on the burner tray.
You are allowed to add different kind of embers on the burner tray to create your own
ash bed.
Note: be sure that there are no embers between the log burners
and the burner tray.
The logs on the burners have to stand on the burner tray.
Summary of Contents for TIMRA
Page 2: ......


