6.
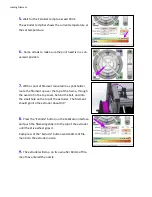
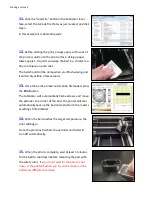
Select the desired print settings by clicking the
Style
tab. The example uses
Coarse, Solid
as selected from the
drop down menu.
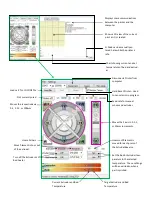
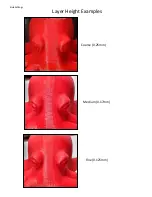
The style settings primarily control the layer height and
Infill density of a part.
7.
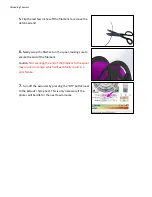
Click the
Support
Tab, and select a support setting.
The example uses the
Standard Support.
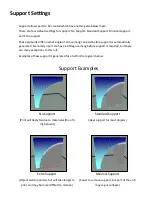
The support settings control where KISSlicer automatically
creates support for a part, so overhangs can be printed
successfully.
8.
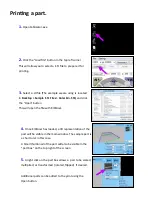
Select the
Printer
tab and
Extruders
sub-tab. Change
both drop down boxes to the material you are printing
with (
ABS, PLA, PETG
)
The material must be properly set in this window for a
part to turn out as expected!
9.
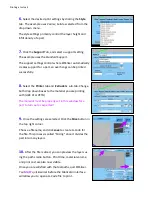
Once the settings are selected, Click the
Slice
button in
the top right corner.
Choose a filename, and click
save
to create G-Code for
the file. This process is called “Slicing” since it divides the
part into many layers.
10.
After the file is sliced, you can preview the layers us-
ing the paths radio button. Print time, material volume,
and print cost are also now visible.
Once you are satisfied with the toolpaths, quit KISSlicer.
You
MUST
quit kisslicer before the Fablicator interface
will allow you to open a G-Code file to print.
Printing a test part


