16
9.
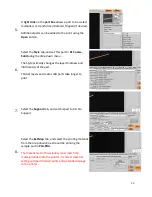
Once all the settings are selected, Click the
Slice
button
in the top right corner.
Choose a filename and save the file to the desktop to
create G-Code for the part.
It is good practice to
include the type of material used in the file name for
future reference.
10.
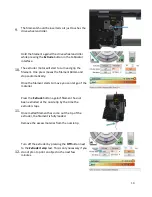
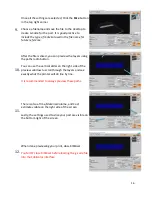
After the file is sliced, you can preview the layers using
the paths radio button.
You can use the vertical slider on the right side of the
preview window to scroll through the layers and see
exactly what the printer will do line by line.
It is recommended to always preview these paths.
11.
There is also a Time, Material Volume, and Cost
estimate visible on the right side of the screen
Lastly, the settings used to slice your part are visible on
the bottom right of the screen.
12.
When done previewing your print, close KISSlicer.
You MUST close KISSlicer before loading the g-code file
into the Fablicator interface

