6
5.
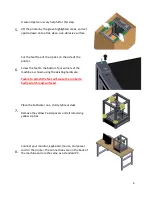
A second person is very helpful for this step.
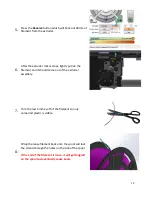
Lift the printer by the green highlighted areas, and set
upside-down onto a flat, clean, non-abrasive surface.
6.
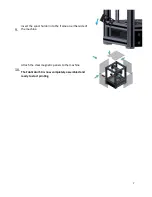
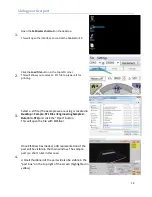
Cut the feet free of the zip ties on the side of the
printer.
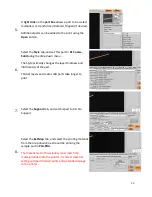
Screw the feet to the bottom four corners of the
machine as shown using the existing hardware.
Failure to attach the feet will cause the printer to
badly scratch most surfaces!
7.
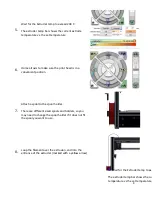
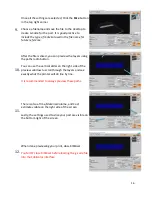
Place the Fablicator on a sturdy table or desk
Remove the yellow Z axis spacers and all remaining
yellow zip ties.
8.
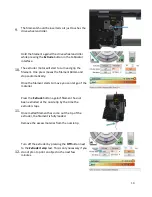
Connect your monitor, keyboard, mouse, and power
cord to the printer. The connections are on the back of
the machine and are the same as a standard PC.

