8 of 9
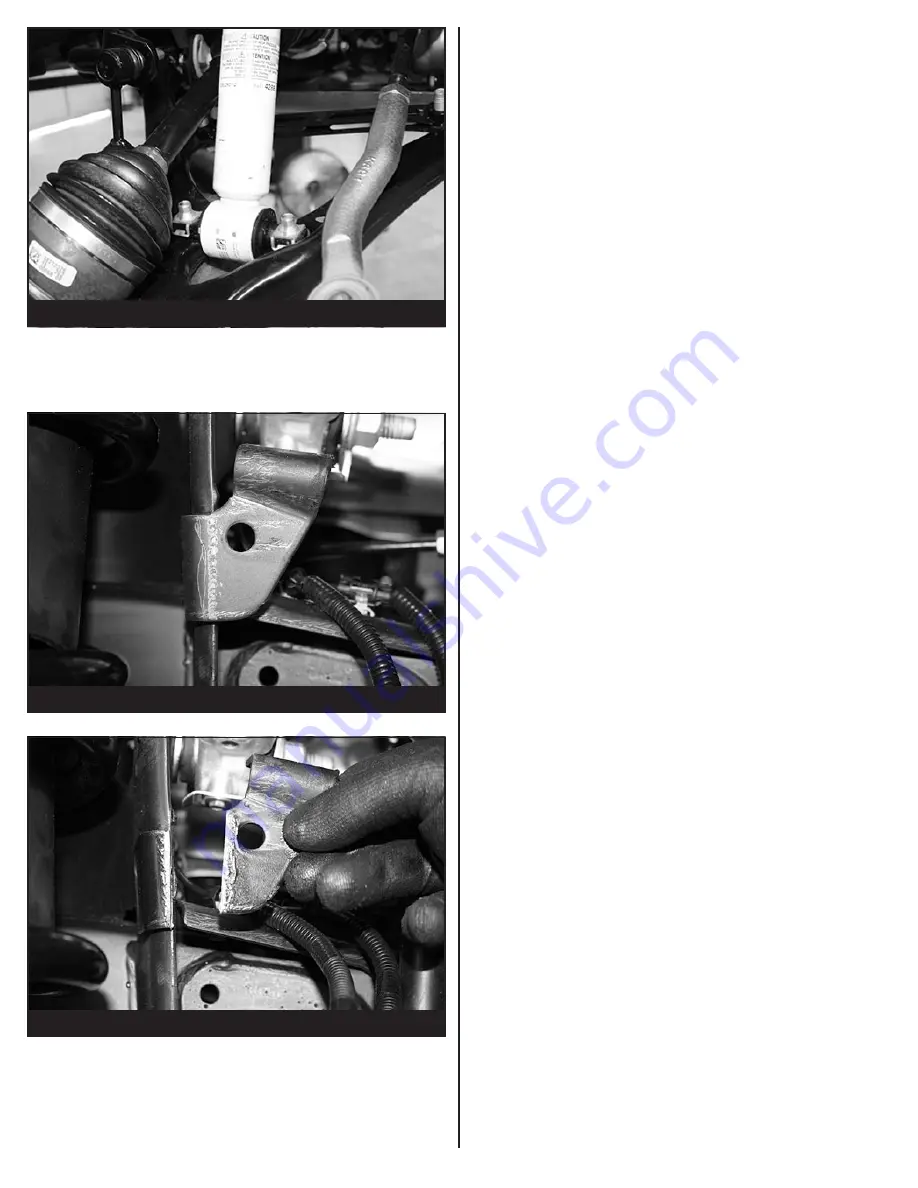
13. Locate the factory bumpstop tab on the frame mount.
Using a cutoff wheel remove this tab completely off the
mount and sand to a smooth finish.
SEE FIGURE 18-19
FIGURE 17 - STEP 12
FIGURE 18 - STEP 13
14. Reinstall the upper control arm to the knuckle, the sway
bar link to the lower control arm and the tie rod end to the
knuckle torque all nuts to 35 ft-lbs. Reinstall the axle hub
nut and torque to 156 ft-lbs. Re-attach the ABS bracket to
the control arm and the brake line bracket to the knuckle.
Torque to 11 ft-lbs.
15. Repeat steps 1-14 on the driver side of the vehicle.
16. Install tires and wheels and torque lug nuts to wheel
manufacturer’s specifications. Turn front tires left to right
and check for appropriate tire clearance.
Note - Some
oversized tires may require trimming of the front
bumper & valance.
17. Check front end alignment and set to factory
specifications. Readjust headlights.
18. Recheck all bolts for proper torque.
19. Recheck brake hoses, ABS wires and suspension parts
for proper tire clearance while turning tires fully left to
right.
20. Install Driver Warning Decal. Complete product
registration card and mail to Fabtech in order to receive
future safety and technical bulletins on this suspension.
Vehicles that will receive oversized tires should check ball
joints, uniballs and all steering components every
2500-5000 miles for wear and replace as required.
RE-TORQUE ALL NUTS, BOLTS AND LUGS
AFTER 50 MILES AND PERIODICALLY
THEREAFTER.
For technical assistance call:
909-597-7800
FIGURE 19 - STEP 13


