12.
Working from the driver’s side, locate FT1599-2-2D Shock
Drop Bracket. Slide the shock mount extension into the
original frame mount and insert one of the factory shock
bolts and hardware through the original shock mount side
and hand tighten. Take one of the new sway bar links and
insert 2 bushing halves and a sleeve into each end (use the
supplied lube). Install one end of the end link into the frame
mount and insert the original bolt through the sleeve,
(the
factory hole may have to be drilled out with a ½” drill
bit to align properly)
securing the shock mount drop
bracket. Torque the factory bolt to 75lbs and the upper bolt
shock bolt to 85lbs. SEE PHOTOS ON NEXT PAGE.
IF YOU ARE INSTALLING DIRT LOGIC REAR SHOCKS,
YOU WILL NOT USE THE FABTECH SHOCK DROP
BRACKETS. THE DIRT LOGIC SHOCKS WILL MOUNT
DIRECTLY INTO THE FACTORY UPPER AND LOWER
SHOCK MOUNTS
13.
Repeat step twelve on the passenger side of the truck.
14.
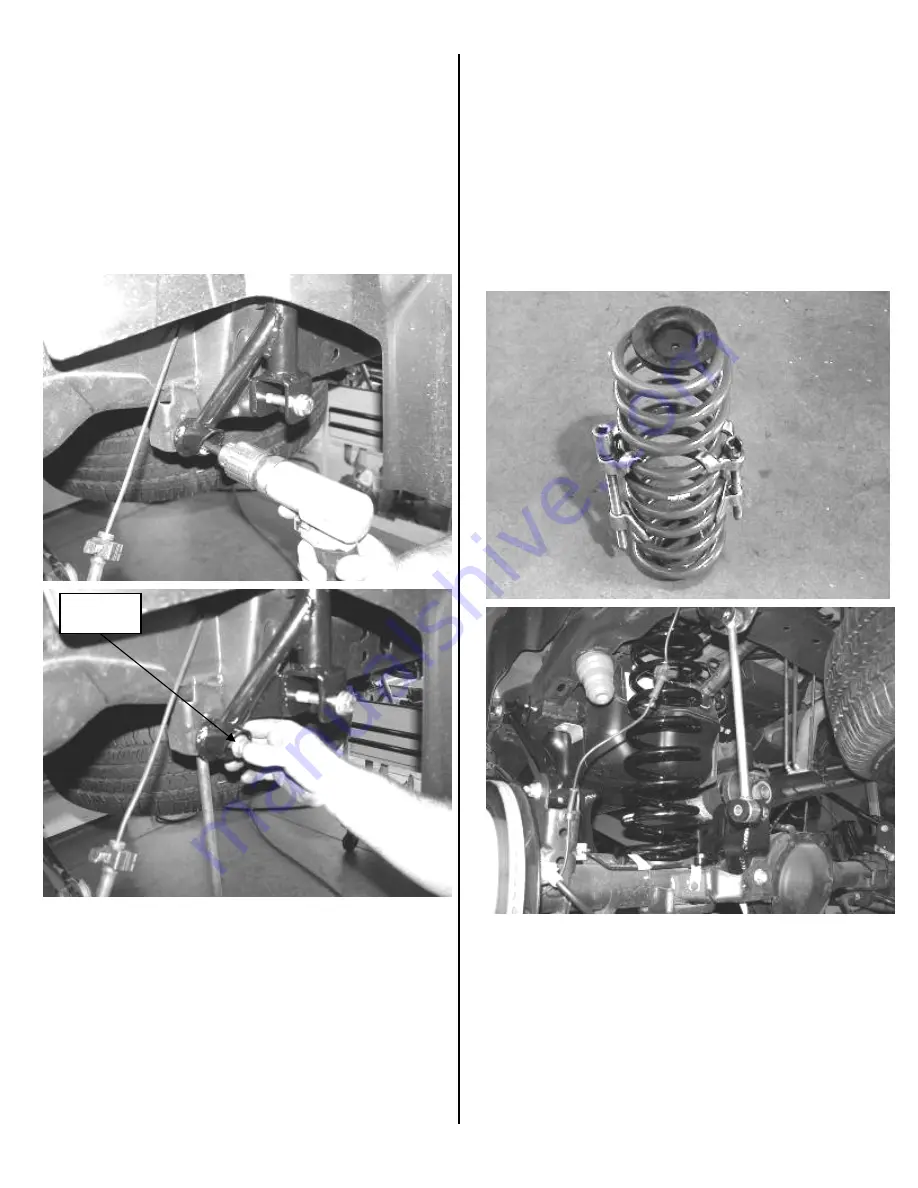
Place a floor jack under the rear axle. Attach your coil
spring compressor onto the new rear coil spring and
compress the coil 1”-2”. Set the upper coil insulator on top
of the coil spring and position the top of the coil into the
frame pocket. Push the bottom of the coil spring onto the
axle pad and raise the floor jack under the axle to hold the
coil spring in position. Remove the coil spring
compressors. Repeat this with the opposite coil spring.
USE CAUTION WHEN WORKING WITH COIL
SPRING COMPRESSORS, THEY CAN BE UNDER
EXTREME LOAD.
SEE PHOTOS BELOW
Factory
hardware
TRUCKS EQUIPPED WITHOUT AUTORIDE, FOLLOW
STEP FIFTEEN, SKIP STEP SIXTEEN - EIGHTEEN
TRUCKS EQUIPPED WITH AUTORIDE, FOLLOW
STEP SIXTEEN - EIGHTEEN AND SKIP STEP FIFTEEN
15.
Reinstall the factory shocks onto the lower axle mounts
with the factory hardware and into the new dropped upper
mount using the supplied 9/16” x 3”. Torque to 75 lbs
.
SEE
PHOTO ON NEXT PAGE


