56
Selection in the Trendline software
1. Select a measuring point in the Trendline configuration.
2. Click on the
General settings
tab.
3. In the
RFID Status
box select
Assign RFID
.
4. Repeat this procedure for all measuring points to which you wish to assign
RFID tags.
5. Send
the configuration to the Detector.
6. During the round, select the appropriate measuring point in the Detector (see
).
a) Select
Start measurement
. The Detector reads the RFID tag on site and
assigns it to the measuring point.
b) If you do not want to perform a measurement but just want to assign the
RFID tag, select
Assign RFID
at the appropriate measuring point on the
Detector.
7. Load the data from the Detector in Trendline. The RFID status of the measuring
points is now set to "RFID assigned" and the green RFID icon is displayed in
front of the measuring point in the configuration tree.
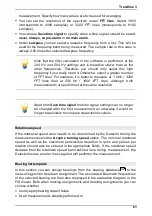
Hold the underside of the Detector at the height of the display at a
distance of approximately 20 mm as long as "quiet" ab ove the
RFID tag, until the measuring point has b een measured and you
hear a signal.
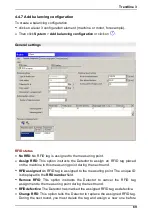
You can set the status of all measuring points of an element (e.g.
a machine) to "RFID assigned". To do so, right-click the element
and select
Assign RFIDs globally
. On the next round with the
Detector you can assign the RFID tags placed here to all the
appropriate measuring points.
Selection in Detector
1. If you have not assigned an RFID tag to a measuring point yet, you can also
assign one on the Detector. You can assign it immediately before a CM/
balancing measurement or before a run up/coast down test. Select the
measuring point on the Detector and then the
Assign RFID
command. You can
then perform a measurement.
2. Load the data from the Detector in Trendline. The RFID status of the measuring
points is now set to "RFID assigned".
Removing the assignment of an RFID tag
1. Select a measuring point with an RFID tag assigned in the Trendline.
90
224


