background image

ENGLISH

ENVIRONMENTAL PROTECTION

- This appliance’s packaging material is recyclable. Help recycle it and protect the environment by dropping it off in
the municipal receptacles provided for this purpose.
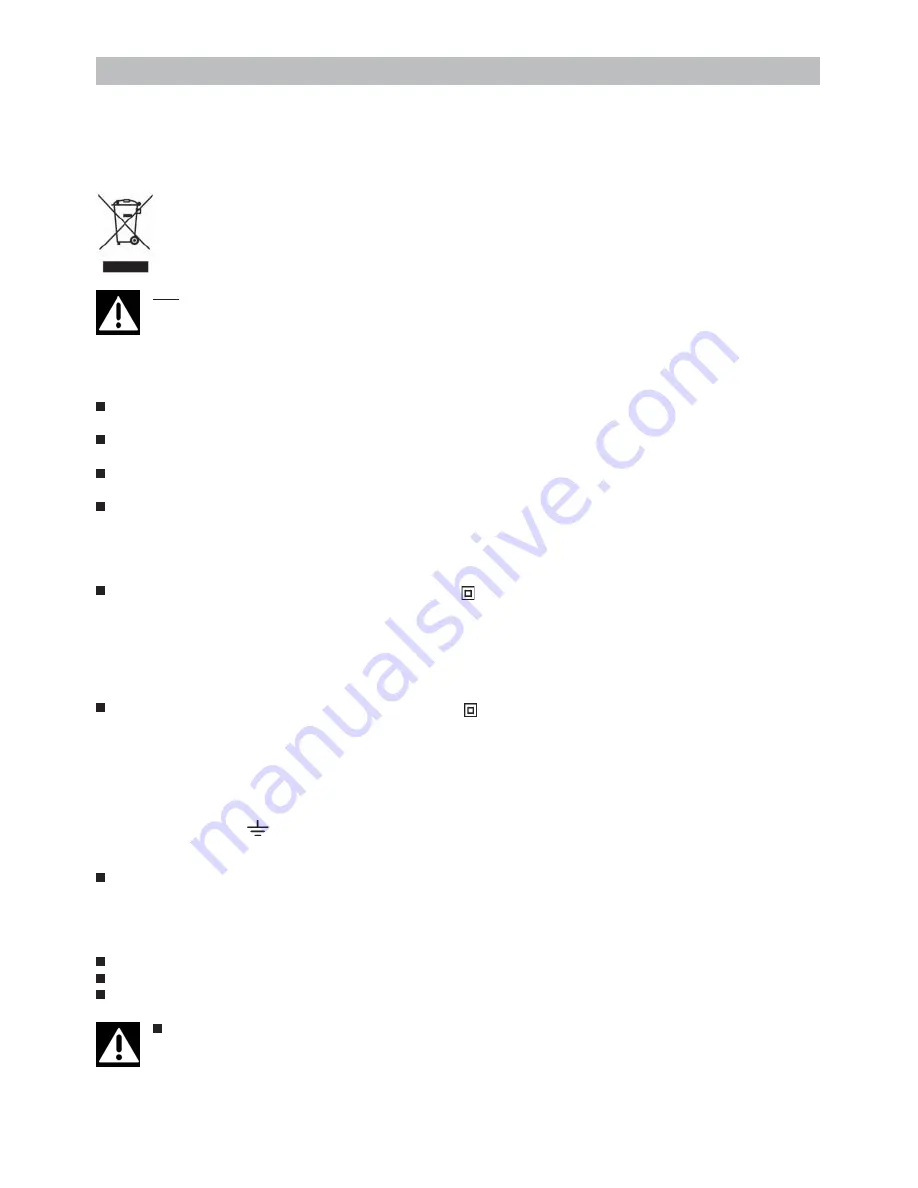
- Your appliance also contains a great amount of recyclable material. It is marked with this label to indicate the used

appliances that should not be mixed with other waste. This way, the appliance recycling organised by your
manufacturer will be done under the best possible conditions, in compliance with European Directive 2002/
96/EC on Waste Electrical and Electronic Equipment. Contact your town hall or your retailer for the used
appliance collection points closest to your home.
- We thank you doing your part to protect the environment.

N.B.:

Keep these instructions for use with the appliance. If you need to sell the appliance, or give it to another
person, make sure that these instructions for use go with it. Thank you for reading these notes before
installing and using your appliance. They have been drafted for your safety and that of others.

SAFETY NOTICES

 The distance between the supporting surface for the cooking vessels on the hob and the lower part of the hood must

be at least 65 cm. If the instructions for installation for the hob specify a greater distance, this has to be taken into account.

 The air collected must not be conveyed into a duct used to blow off smokes from appliances fed with an energy other

than electricity (central heating systems, thermosiphons, water-heaters, etc.).

 Comply with the official instructions provided by the competent authorities in merit when installing the disposal duct.

In addition, exhaust air should not be discharged into a wall cavity, unless the cavity is designed for that purpose.

 The room must be well aerated in case a hood and some other heat equipment fed with an energy other than electricity

(gas, oil, coal heaters, etc) operate at the same time.
In fact the intake hood, disposing of air, could create a vacuum in the room. The vacuum should not exceed 0,04mbar.
This prevents the gas exhausted by the heat source from being intaken again. It is therefore advisable to ensure the room
contains air taps able to ensure a steady flow of fresh air.

 Check the data label inside the appliance; if the symbol (   ) is printed, read the following: this appliance has such

technical particulars that it belongs to class II insulation, therefore it must not be earthed.
The following warning is valid in the United Kingdom only: in case your cable is not furnished with a plug, read the following
instructions; as the colours of the wires in the mains lead of this appliance may not correspond with the coloured markings
identifying the terminals in your plug, proceed as follows: – the wire which is coloured blue must be connected to the terminal
which is marked with the letter N or coloured black; – the wire which is coloured brown must be connected to the terminal
which is marked with the letter L or coloured red. – terminal of a three-pin plug.

 Check the data label inside the appliance; if the symbol (   ) is NOT printed, read the following: ATTENTION: This

appliance must be earthed. When making the electrical connections, check that the current socket has a ground
connection.
The following warning is valid in the United Kingdom only: in case your cable is not furnished with a plug, read the following
instructions; as the colours of the wires in the mains lead of this appliance may not correspond with the coloured markings
identifying the terminals in your plug, proceed as follows:
– the wire which is coloured green and yellow must be connected to the terminal in the plug which is marked with the letter
E or by the earth symbol [ 

 ], or coloured green or green and yellow; – the wire which is coloured blue must be connected

to the terminal which is marked with the letter N or coloured black; – the wire which is coloured brown must be connected
to the terminal which is marked with the letter L or coloured red.

 When making the electrical connections, check that the voltage values correspond to those indicated on the data plate

inside the appliance itself. In case your appliance is not furnished with a non separating flexible cable and has no plug,
or has not got any other device ensuring omnipolar disconnection from the electricity main, with a contact opening distance
of at least 3 mm, such separating device ensuring disconnection from the main must be included in the fixed installation.
If your unit features a power lead and plug, position this so the plug is accessible.

 Always switch off the electricity supply before carrying out any cleaning or servicing operations on the appliance.


This appliance has been designed for use in private households.


Food should not be flame-cooked or the gas rings used without cooking vessels under the hood (any flames

sucked upwards may damage the appliance).


N.B.: In kitchens heated with a device connected to a chimney (e.g. a stove), the recyclable version

of the hood should be installed. Do not use the hob without the cassette filters. Any room where a cooker
hood is used at the same time as appliances using gas or any other fuel must be properly ventilated.

Summary of Contents for 7CFV-92X

Page 1: ......

Page 2: ......

Page 3: ...frais constant Contrôlerlaplaquedescaractéristiquestechniquessetrouvantàl intérieurdel appareil silesymbole figure surlaplaquesuivrelesinstructionssuivantes cetappareilestconstruitpourapparteniràlaclassed isolationII il ne doit donc pas être relié à la terre Contrôler la plaque des caractéristiques techniques se trouvant à l intérieur de l appareil si le symbole NE figure pas sur la plaque suivre ...

Page 4: ...i que les vis et les chevilles fournies avec le panneau Fixationdestuyauxtélescopiques Conditions essentielles pour le montage Prévoyez l alimentation électrique à l intérieur du tuyau télescopique Si l appareil doit être installé en version évacuation prévoyer le trou d évacuation de l air Pour obtenir des conditions optimales vousdevez pourcequiconcernelaversionévacuation employeruntuyaud évacua...

Page 5: ... graisse doivent être remplacés périodiquement en fonction de l utilisation au moins tous les deux mois Pour enlever le filtre à l aide de la poignée pousser l arrêt vers l intérieur et tirer le filtre vers le bas Fig 3 Laver les filtres avec une lessive neutre Remplacer le filtre à charbons si l on utilise l appareil en version recyclage il faut remplacer le filtre à charbons pour les sortir pous...

Page 6: ... savoir plus sur tous les produits de la marque informations conseils les points d evente les spécialistes après vente Pour communiquer nous sommes à l écoute de toutes vos remarques suggestions propositions aux quelles nous vous répondrons personnellement Vous pouvez nous écrire Service Consommateurs FAGOR BP 9526 95069 CERGY PONTOISE CEDEX ou nous téléphoner au Tarif en vigueur à la date d impre...

Page 7: ... the United Kingdom only in case your cable is not furnished with a plug read the following instructions as the colours of the wires in the mains lead of this appliance may not correspond with the coloured markings identifyingtheterminalsinyourplug proceedasfollows thewirewhichiscolouredbluemustbeconnectedtotheterminal which is marked with the letter N or coloured black the wire which is coloured ...

Page 8: ...Installation with rear panel Fig 5 The rear panel is positioned at the top of the stove flush against the wall Rest the lower edge of the panel behind the stove and anchor the upper edge to the wall using the two holes found on the panel Insert the screws and plugs provided A The unit is secured to the rear panel as though it were being installed on the wall use the supplied metal bracket B and th...

Page 9: ...he charcoal filter must be replaced according to use on average once every 6 months Lighting To replace the incandescence bulbs remove the fixture apply a slight pressure on the 2 stops and at the same time push the fixture downwards Fig 14 Unscrew the bulb and replace with another of the same type TROUBLESHOOTING SYMPTOMS SOLUTIONS The hood is not working Ensure that The power is not cut off A sp...

Page 10: ...de desconección deberá preveerse en la instalación fija Si su aparato está provisto de cable de alimentación y enchufe deberá ser dispuesto de manera que el enchufe quede accesible Antes de proceder a cualquier operación de limpieza o de mantenimiento es necesario desconectar el aparato Este aparato ha sido diseñado para utilizarlo en domicilios privados Los alimentos no deben cocinarse a la llama...

Page 11: ... la parte de arriba Fig 7 Para la versión aspirante hay que invertir el tubo superior de manera que las rejillas de salida del aire estén en la parte de abajo Fig 8 Versiónaspirante Unanlabridadelacampanaextractoraalorificiodeevacuacióndelapared techo medianteunflexible Sólo para la versión con motor exterior Fig 11 Efectúen la conexión eléctrica de la campana extractora mediante el cable de alime...

Page 12: ...a használt készülék ne keveredhessen egyéb más hulladékkal Az elektromos és elektronikus berendezések hulladékairól szóló 2002 96 EK európai irányelvnek megfelelõen a gyártó gondoskodik készüléke újrahasznosításáról és az újrahasznosítás legmegfelelõbb körülményeirõl Az otthonához legközelebb esõ használt készülék gyûjtõhelyrõl érdeklõdjön a helyi önkormányzatnál vagy a készülék forgalmazójánál Kö...

Page 13: ...levegõt az oldalsó szellõzõrácson visszavezeti a konyha légterébe FIGYELEM Keringetõ üzemmódban a levegõ keringetéséhez használjon szénszûrõt és a csõvezeték felsõ részére szerelt terelõlemezt 1A ábra Elszívó üzemmódban 2 ábra az elszívó készülék a párával és szagokkal teli konyhai levegõt átvezeti a zsírmentesítõ szûrõn majd az elvezetõ csõ segítségével a falon plafonon keresztül a szabadba jutta...

Page 14: ...r be és kikapcsolása motor 1 es állása C érintõgomb Motor 2 es állása D érintõgomb Motor 3 as állása E A motor mûködését jelzõ világító kijelzõ KARBANTARTÁS ÉS TISZTÍTÁS KARBANTARTÁS ÉS TISZTÍTÁS Rendszeres karbantartással biztosíthatjuk hogy az általunk vásárolt készülék hosszú távon kielégítõen és megfelelõ kapacitással mûködjön A készüléken lerakódó zsírt a használati gyakoriság függvényében de...

Page 15: ...mniej 65 cm Jeúli w instrukcji instalacji kuchenkiwymaganajestwiÍkszaodleg oúÊ naleøytowymaganieuwzglÍdniÊ Powietrze zbierane przez okap nie moøe byÊ przesy ane do przewodu wyciπgowego uøywanego do odprowadzania oparÛw pochodzπcych z urzπdzeÒ zasilanych energiπ innπ niø elektryczna uk ady centralnego ogrzewania termy podgrzewacze wody itd Podczas instalacji przewodu wyciπgowego naleøy stosowaÊ siÍ...

Page 16: ...Ûw wÍglowych INSTALACJA Przedprzystπpieniemdooperacjimontaøu do atwiejszegoporuszaniaurzπdzeniawyjπÊfiltr yprzeciwt uszczowy w pobliøu rπczki popchnπÊ zacisk do wewnπtrz i pociπgnπÊ filtr do do u Rys 3 Przymocowanie do muru Rys 4 Uøywajπc odpowiedni przyrzπd wiertarski wykonaÊ w úcianie otwory na niej wskazane TakjakjuøwyszczegÛlnionewrozdzialeìOstrzeøeniaî braÊpoduwagÍ øeodleg oúÊmiÍdzydolnymbrze...

Page 17: ...nalne i rozwiπzania dostosowane do codziennej konserwacji PaÒstwa urzπdzeÒ AGD i kuchni Produkty moøna nabyÊ u sprzedawcÛw razem z liniπ akcesoriÛw i materia Ûw eksploatacyjnych Naleøy szczegÛlnie dbaÊ o filtry przeciwt uszczowe filtr przeciwt uszczowy musi byÊ okresowo wymieniony w odniesieniu do uøycia przynajmniej co dwa miesiπce Aby wyjπÊ filtr w pobliøu rπczki popchnπÊ zacisk do wewnπtrz i po...

Page 18: ...io portanto equipar o local com presas de ar que alimentem um fluxo constante de ar fresco Controlar a chapa das características técnicas no interior do aparelho se o símbolo estiver impresso na chapa seguirasinstruçõesseguintes Attenção esteaparelhoapresentacaracterísticastécnicasconstrutivasque o inclui na classe de isolamento II e portanto não deve ser colegado à terra Controlar a chapa das car...

Page 19: ...o os parafusos e as buchas fornecidos A A fixação do aparelho no painel traseiro é feita de modo análogo à fixação na parede utilizando o suporte metálico que fornecemos B e os parafusos e buchas que vão a acompanhar o painel Fixaçãodostubostelescópicos Requisitosessenciaisparaamontagem Prepararaligaçãoeléctricadentrodaáreaqueserácobertapelotubodecorativo Se o seu aparelho estiver para ser instala...

Page 20: ...uídos periodicamente em função da frequência de utilização pelo menos de dois em dois meses Para tirar o filtro na posição correspondente ao puxador empurrar a tranqueta para dentro e puxar o filtro para baixo Fig 3 Lavar os filtros utilizando um detergente neutro Substituição do filtro de carvão No caso de se usar o aparelho na versão filtrante vai ser necessário substituir osfiltrosdecarvão para...

Page 21: ...A 1 2 3 4 5 B V M A B 6 W A ...

Page 22: ...A B C D E 7 8 9 10 12 G G 13 11 ...

Page 23: ...14 ...

Page 24: ...04307762 K7352fag ...

Reviews: