·332·
Programming manual
CNC 8055
CNC 8055i
12.
PROBING
·M· & ·EN· M
ODELS
S
OFT
: V02.2
X
PROBE 12
. Table
to
p
p
robe
cal
ibratio
n
12.14
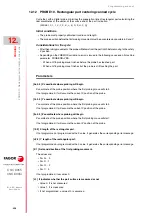
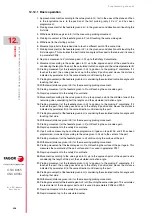
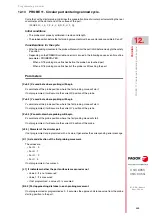
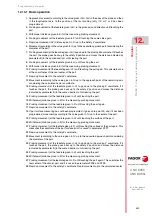
PROBE 12. Tabletop probe calibration
This cycle makes it easier to calibrate the probe reducing machine preparation time.
Initial conditions
The tool used for calibration must properly calibrated in radius and length.
The values of the machine parameters of the probe must be close to their real values. These
parameters are the following:
• g.m.p. PRBXMIN (P40).
• g.m.p. PRBXMAX (P41).
• g.m.p. PRBYMIN (P42).
• g.m.p. PRBYMAX (P43).
• g.m.p. PRBZMIN (P44).
• g.m.p. PRBZMAX (P45).
Initial considerations
Measuring on the Z axis:
• If the Z coordinate of the tool before running the cycle is greater than or equal to the maximum
Z coordinate of the probe, the Z side of the probe that will be measured will correspond with its
maximum Z coordinate.
• If the Z coordinate of the tool before running the cycle is lower than or equal to the minimum Z
coordinate of the probe, the Z side of the probe that will be measured will correspond with its
minimum Z coordinate.
• If the Z coordinate of the tool before running the cycle is between the maximum and minimum
Z coordinates of the probe, the CNC will issue the relevant error message.
Measuring on the X axis:
• If the X coordinate of the tool before running the cycle is greater than half the maximum and
minimum X coordinates of the probe, the X side of the probe where the measuring will begin
will correspond with its maximum X coordinate.
• If the X coordinate of the tool before running the cycle is lower than or equal to half the maximum
and minimum X coordinates of the probe, the X side of the probe where the measuring will begin
will correspond with its minimum X coordinate.
Initial positioning move:
• If the Z coordinate of the tool before running the cycle is located separated from the Z side of
the probe to be measured by a distance smaller than the approach distance (B), the initial
positioning move of the tool will be carried out first on the Z axis up to that approach distance
and, then, in XY up to the approach distance from the X side of the corresponding probe.
• If the Z coordinate of the tool before running the cycle is located separated from the Z side of
the probe to be measured by a distance greater than or equal to the approach distance (B), the
initial positioning move of the tool will be carried out first in XY up to the approach distance from
the X side of the corresponding probe and then in Z up to that approach distance from the Z
side of the corresponding probe.
Summary of Contents for 8055 EN
Page 1: ...CNC 8055 M EN Programming manual Ref 1711 Soft V02 2x...
Page 8: ...8 Programming manual CNC 8055 CNC 8055i SOFT V02 2X...
Page 12: ...12 CNC 8055 CNC 8055i Declaration of conformity and Warranty conditions...
Page 16: ...16 CNC 8055 CNC 8055i Version history...
Page 22: ...22 CNC 8055 CNC 8055i Returning conditions...
Page 24: ...24 CNC 8055 CNC 8055i Additional notes...
Page 26: ...26 CNC 8055 CNC 8055i Fagor documentation...
Page 448: ......
Page 464: ...464 Programming manual CNC 8055 CNC 8055i D M EN MODELS SOFT V02 2X Key code...
Page 466: ...466 Programming manual CNC 8055 CNC 8055i D M EN MODELS SOFT V02 2X Key code MC operator panel...
Page 467: ...Programming manual CNC 8055 CNC 8055i D M EN MODELS SOFT V02 2X 467 Key code...
Page 468: ...468 Programming manual CNC 8055 CNC 8055i D M EN MODELS SOFT V02 2X Key code...
Page 471: ...Programming manual CNC 8055 CNC 8055i D M EN MODELS SOFT V02 2X 471 Key code 11 LCD Monitor...
Page 472: ...472 Programming manual CNC 8055 CNC 8055i D M EN MODELS SOFT V02 2X Key code...
Page 478: ...478 Programming manual CNC 8055 CNC 8055i F M EN MODELS SOFT V02 2X Maintenance...
Page 479: ...Programming manual CNC 8055 CNC 8055i F SOFT V02 2X 479...
Page 480: ...480 Programming manual CNC 8055 CNC 8055i F SOFT V02 2X...
Page 481: ......


