Measuring and calibration cycles (M)
139
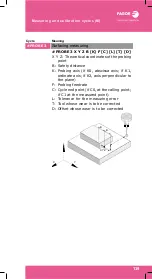
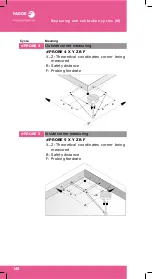
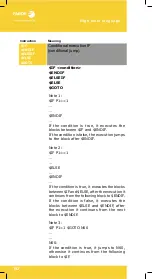
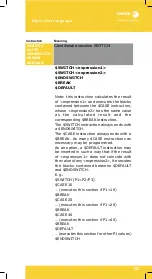
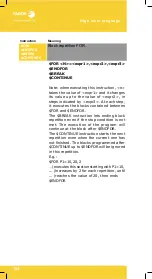
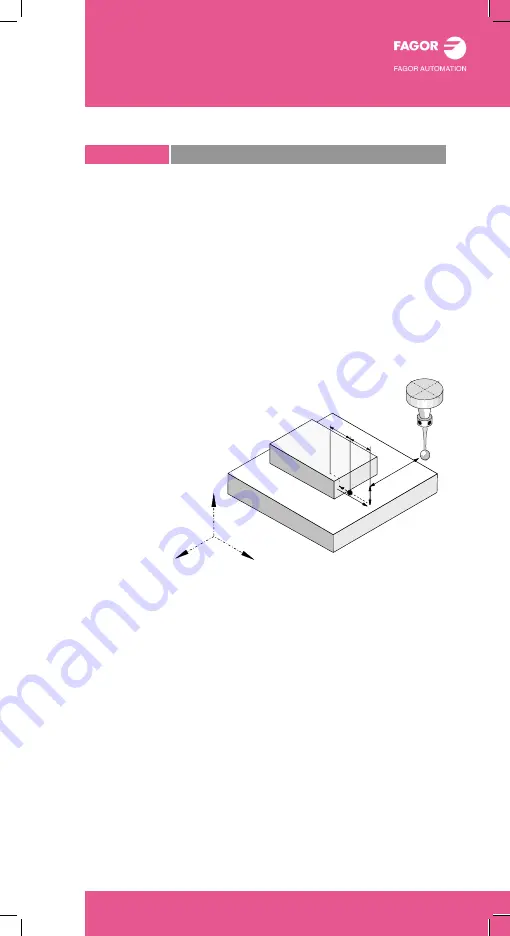
#PROBE 3
Surfacing measuring.
#PROBE 3 X Y Z B [K] F [C] [L] [T] [D]
X Y Z: Theoretical coordinates of the probing
point
B: Safety distance
K: Probing axis (if K0, abscissa axis; if K1,
ordinate axis; if K2, axis perpendicular to
the plane)
F: Probing feedrate
C: Cycle end point (if C0, at the calling point;
if C1 at the measured point)
L: Tolerance for the measuring error
T: Tool whose wear is to be corrected
D: Offset whose wear is to be corrected
Cycle
Meaning
Z
X
Y
XYZ
B
B
Summary of Contents for CNC 8060
Page 1: ...CNC 8060 65 User quick reference Ref 1906...
Page 44: ...Work modes 44...
Page 64: ...ISO language 64...
Page 102: ...ISO canned cycles T 102...
Page 128: ...Conversational cycles M 128...
Page 136: ...Conversational cycles T 136...
Page 150: ...Measuring and calibration cycles T 150...
Page 169: ......

