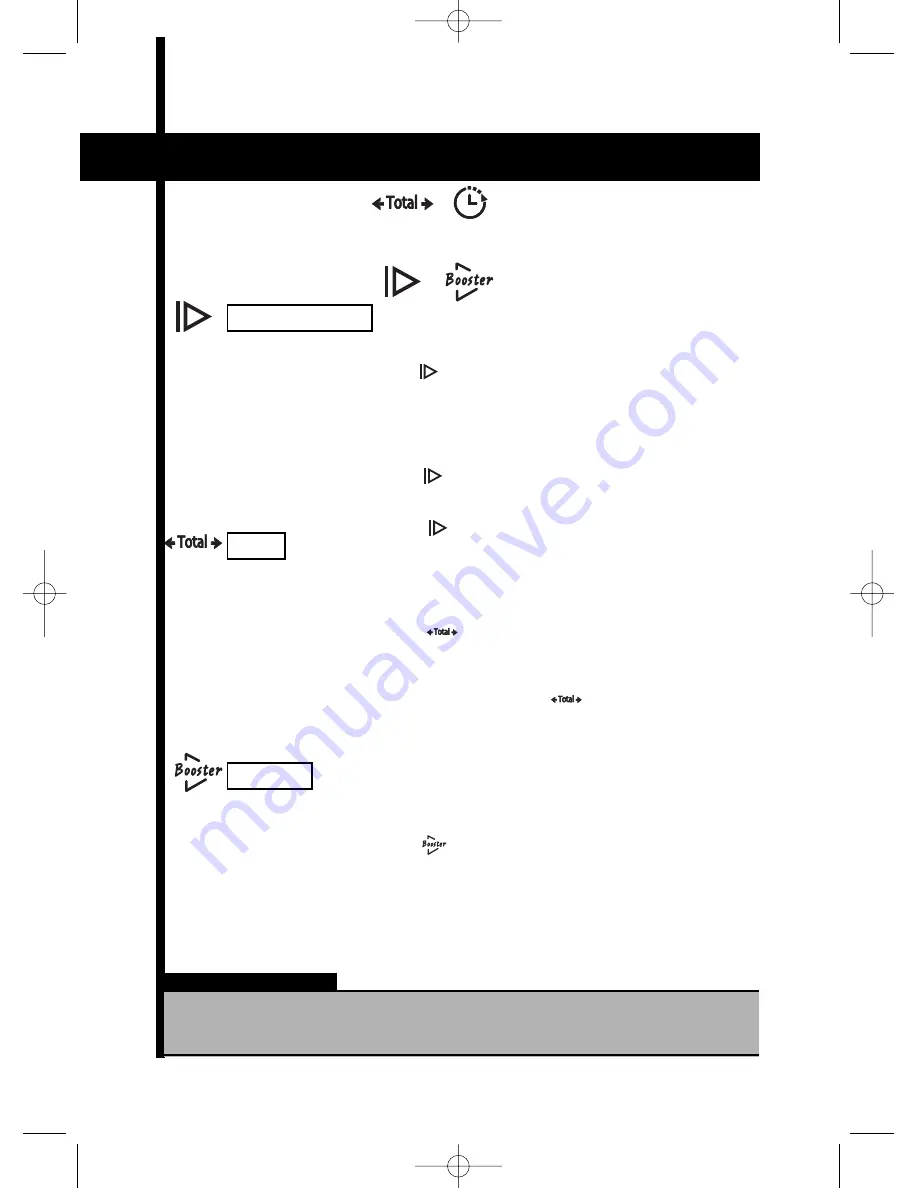
11
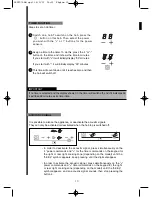
TOTAL
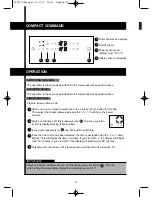
This allows you to always be able to trip the power for a certain time. This gives
the user total flexibility.
1. Start with the hob switched on and a determined power level.
2. Press the button and then you can enter the new power
level and the time which it is going to be active.
The power level is adjusted with the “-” and “+” buttons in zone (B)
and the duration is adjusted using the “-” and “+” buttons in zone (E).
3.Then validate by pressing the button
4.The new power level is displayed with a dot.
5.Once the time has passed, return to the initial position and the dot will
disappear.
DIRECT
ACCESS
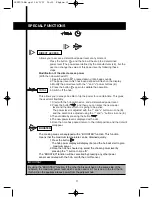
Allows you to access a determined power level at any moment
Press the button and the hob will heat up to a determined
power level (The power level defined by the manufacturer is 8), but the
user can change the value of this power level by following these
steps.
Modification of the direct access power
(With the hob switched off)
1. Keep the button pressed down until a beep sounds.
2. The power level which has been defined will flash on the display.
3. Modify the power level with the “-” and “+” power buttons (B).
4. Press the button again to validate the operation.
5. Switch off the hob.
BOOSTER
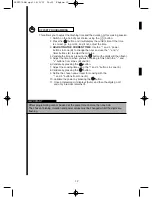
The cooking areas are equipped with a “BOOSTER” function. This function
means that the maximum temperature can be obtained quickly.
1.Press the button
The hob power display will display (bo) and the hob will start to give
maximum power.
2.Once the hob has heated up, select the chosen power level by
pressing the “-” button in zone “B”.
The “BOOSTER” function will be cancelled by pressing any other power
sensor associated with the hob, or with the on/off sensor.
IMPORTANT
By using the “BOOSTER” function, if the other hob is switched on the same side of the
hobplate, the maximum power level which can be used is 6. This is due to the fact that in
this function the appliance takes power from the adjacent hob.
SPECIAL FUNCTIONS
C60T376A8.qxd 14/3/07 16:21 Página 11
Summary of Contents for IF-800S - 03-07
Page 2: ...C60T379A2 qxd 14 3 07 16 10 Página 23 ...
Page 3: ...MANUAL DE INSTALA C I Ó N Y U S O D E L A P A R A T O C60T357A4 qxd 14 3 07 15 55 Página 1 ...
Page 25: ...23 C60T357A4 qxd 14 3 07 15 56 Página 23 ...
Page 26: ...03 07 C60T357A4 Impreso en papel reciclado C60T357A4 qxd 14 3 07 15 56 Página 24 ...
Page 27: ...C60T379A2 qxd 14 3 07 16 10 Página 23 ...
Page 28: ...C60T379A2 qxd 14 3 07 16 10 Página 23 ...
Page 29: ...APPLIANCE INSTALLA T I O N A N D U S A G E M A N U A L C60T376A8 qxd 14 3 07 16 21 Página 1 ...
Page 51: ...23 C60T376A8 qxd 14 3 07 16 21 Página 23 ...
Page 52: ...03 07 C60T376A8 Printed on recycled paper C60T376A8 qxd 14 3 07 16 21 Página 24 ...
Page 53: ...C60T379A2 qxd 14 3 07 16 10 Página 23 ...
Page 54: ...C60T379A2 qxd 14 3 07 16 10 Página 23 ...
Page 77: ...23 C60T377A6 qxd 14 3 07 16 27 Página 23 ...
Page 78: ...03 07 C60T377A6 Imprimé sur du papier recyclé C60T377A6 qxd 14 3 07 16 27 Página 24 ...
Page 79: ...C60T379A2 qxd 14 3 07 16 10 Página 23 ...
Page 80: ...C60T379A2 qxd 14 3 07 16 10 Página 23 ...
Page 103: ...23 C60T378A4 qxd 14 3 07 16 33 Página 23 ...
Page 104: ...03 07 C60T378A4 Auf Umweltschutzpapier gedruckt C60T378A4 qxd 14 3 07 16 33 Página 24 ...
Page 105: ...C60T379A2 qxd 14 3 07 16 10 Página 23 ...
Page 106: ...C60T379A2 qxd 14 3 07 16 10 Página 23 ...
Page 129: ...23 C60T379A2 qxd 14 3 07 16 10 Página 23 ...
Page 130: ...03 07 C60T379A2 Impresso em papel reciclado C60T379A2 qxd 14 3 07 16 10 Página 24 C60T386A3 ...

