background image


FOR USER


3.


TECHNICAL SPECIFICATION 

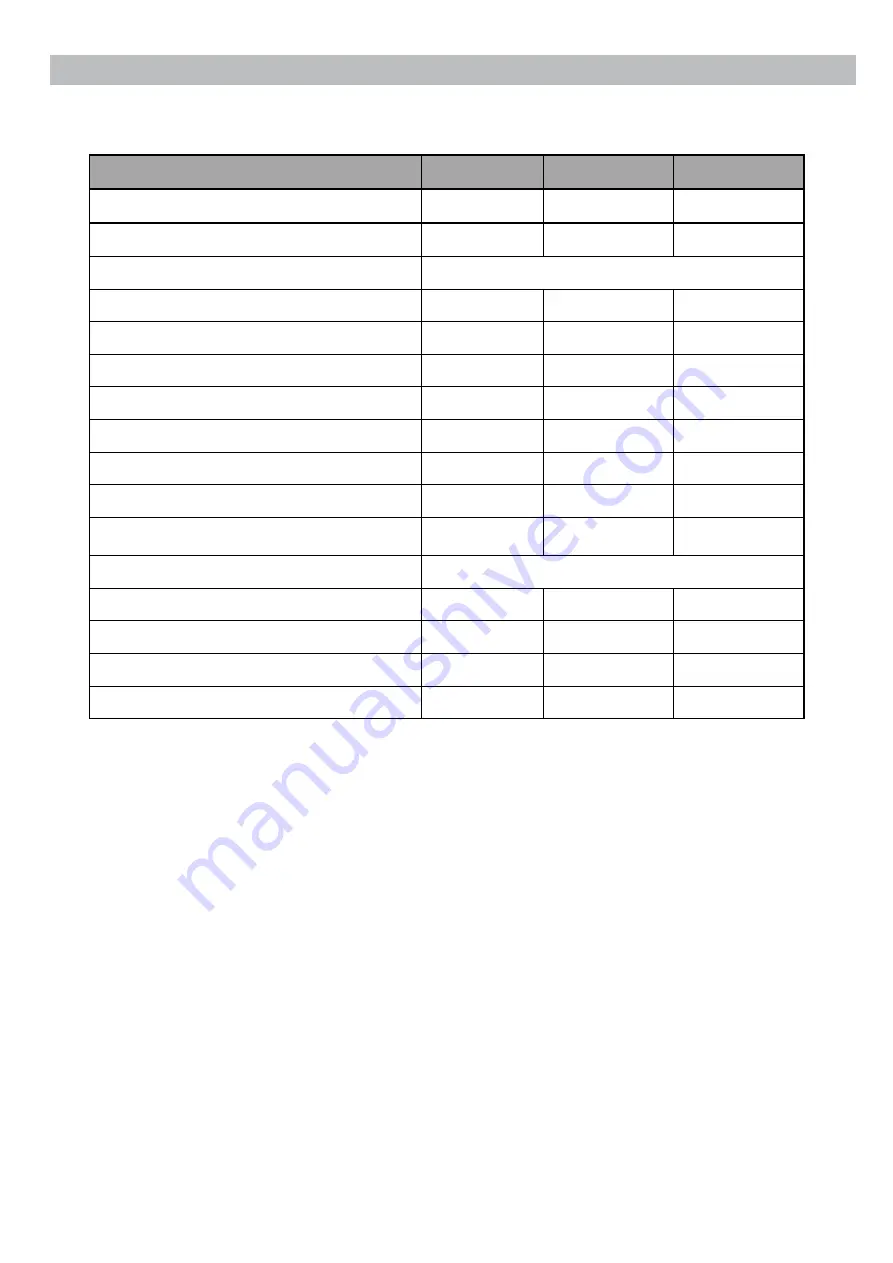
Model 

IDHR60 

IDHR96 

IDHR120 

Advised pool surface      (

) *   

≤2

40 

50 

Advised room size      (

) * 

120 

200 

240 

Operating air temperature (

)   

10~38 

Capacity    (l/h)    (Air 30

℃,

RH 80% ) *     

2.5   

4.0   

5.0   

DER (l/h.kW)    (Air 30

℃,

RH 80% ) *     

4.00~3.40 

4.53~4.05 

4.50~3.68 

Capacity    (l/h)    (Air 30

℃,

RH 70% ) *     

2.1 

3.3 

4.2   

DER (l/h.kW)    (Air 30

℃,

RH 70% ) *     

3.34~3.00 

4.00~3.50 

3.86~3.25 

Heat recovered    (kW) 

2.4 

3.3 

4.4 

Electric heater optional (kW) 

2   

Rated power    (kW)


(Air 30

℃,

RH 80% ) *     

0.11~0.73 

0.17~0.99 

0.22~1.36 

Rated current    (A)


(Air 30

℃,

RH 80% ) *     

0.48~3.17 

0.74~4.30 

0.96~5.91 

Power supply 

230V/1Ph/50Hz 

Sound pressure at 1 m    dB(A) 

35.3~45.6 

35.6~46.1 

35.9~46.4 

Air flow      (m³/h)


600 

800 

1000 

Net dimension (mm) 

850

×2

91

×8

50  1120

×2

91

×8

55  1220

×2

91

×8

55 

Net weight   

52 

65 

70 

1.


The temperature of this products can only work normally within the range of 10 °C ~ 38 °C. 

If  it  exceeds  this  range,  the  performance  will  not  be  guaranteed;  please  note  that  the 
performance  parameters  of  the  dehumidifier  will  be  different  under  different  working 
conditions; 

2.


Due to the technical improvement of the product, the relevant parameters will be adjusted 
by steps without 

prior notice. Please refer to their nameplate for more details.


Summary of Contents for IDHR60

Page 1: ...R32 Full inverter Dehumidifier INSTALLATION USER MANUAL...

Page 2: ......

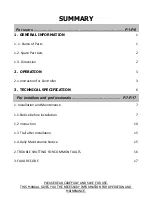
Page 3: ...lation and Maintenance 7 1 1 Notice before installation 7 1 2 Instruction 10 1 3 Trail after Installation 15 1 4 Daily Maintenance Notice 15 2 TROUBLE SHOTTING FOR COMMON FAULTS 16 3 FAILURE CODE 17 P...

Page 4: ...1...

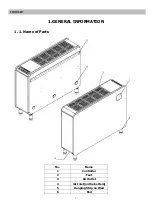
Page 5: ...1 FOR USER 1 GENERAL INFORMATION 1 1 Name of Parts No Name 1 Controller 2 Feet 3 Air Outlet 4 Air Inlet on the bottom 5 Hanging Strip on Wall 6 Pad...

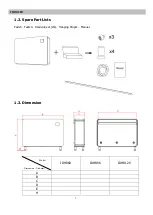
Page 6: ...2 FOR USER 1 2 Spare Part Lists Padx3 Feetx4 Drain pipe x1 2m Hanging Stripx1 Manual 1 3 Dimension IDHR60 IDHR96 IDHR120 A B C D E H Model Dimension Unit mm...

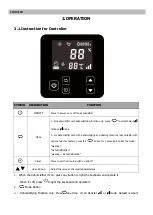
Page 7: ...ehumidifier with optional electric heater press the button for 3 seconds to select the mode Heating Dehumidification Heating Dehumidification Timer Press to set the time to switch on and off Up and Do...

Page 8: ...e setting range is 18 35 C The default is 26 C C Under the heating dehumidifying mode press the for the first time the humidity number flashes press or to set the desired humidity Automatically confir...

Page 9: ...u can adjust the minute setting by pressing or and press the the will keep lighted the Timer OFF setting completed If you haven t pressed or to adjust the time time setting failed then withdrawal auto...

Page 10: ...ent A Air 30 RH 80 0 48 3 17 0 74 4 30 0 96 5 91 Power supply 230V 1Ph 50Hz Sound pressure at 1 m dB A 35 3 45 6 35 6 46 1 35 9 46 4 Air flow m h 600 800 1000 Net dimension mm 850 291 850 1120 291 855...

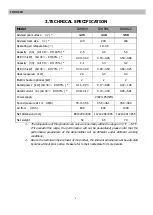
Page 11: ...effect 1 1 1 When storing or moving the equipment it should be at the upright position 1 1 2 The equipment is a general dehumidification product NEVER use it for other flammable and turbid gases 1 1...

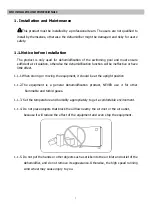
Page 12: ...se a fire may occur 1 1 7 If any abnormal conditions such as abnormal noise odor smoke leakage etc are found the power should be cut off immediately and contact the local dealer and do not repair the...

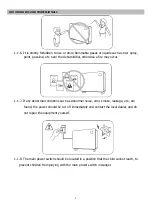
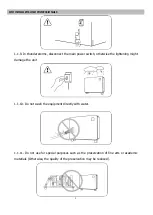
Page 13: ...main power switch otherwise the lightening might damage the unit 1 1 10 Do not wash the equipment directly with water 1 1 11 Do not use for special purposes such as the preservation of fine arts or ac...

Page 14: ...roof 3 Please ensure that the dehumidifier and the swimming pool are kept at a distance of 200cm or more Do not place objects which block the airflow near the air inlet or air outlet Do not set any ob...

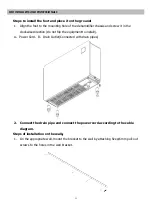
Page 15: ...it in the clockwise direction do not flip the equipment to install A Power Cord B Drain Outlet Connected with drain pipes 2 Connect the drain pipe and connect the power cord according to the cable dia...

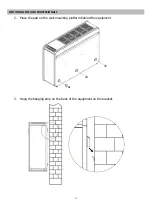
Page 16: ...12 FOR INSTALLERS AND PROFESSIONALS 2 Place the pad on the wall mounting platform behind the equipment 3 Hang the hanging strip on the back of the equipment on the bracket...

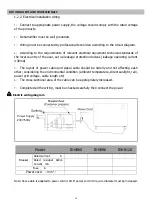
Page 17: ...fter hanging the bracket gently put the equipment until the pad of the bottom rests against the wall 4 Connect the drain pipe and connect the power cord according to the wiring diagram A Power cord B...

Page 18: ...devices leakage operating current 30mA 5 The layout of power cable and signal cable should be orderly and not affecting each other considering the environmental condition ambient temperature direct su...

Page 19: ...1 3 2 Trail The user should open the power switch firstly then connect the power To protect the dehumidifier it is equipped with start delay function When starting the dehumidifier the fan will first...

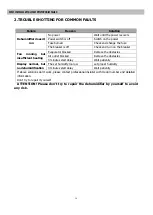
Page 20: ...ning but insufficient heating Evaporator blocked Remove the obstacles Air outlet blocked Remove the obstacles 3 minutes start delay Wait patiently Display normal but no dehumidification The set humidi...

Page 21: ...Exhaust gas temp sensor failure P3 12 Gas return temp sensor failure P5 13 Evaporation coil temperature sensor failure P6 14 Ambient humidity sensor failure P7 15 Radiator temperature sensor failure...

Page 22: ......

Page 23: ...Version C00IDr32...

Reviews: