C O LO U R W I PES
C O L O U R W I P E
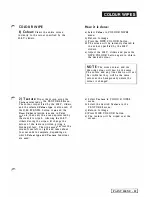
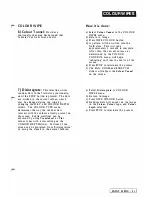
3 ) Wipe+:
Wipes the screen from left to
right. The COlour is controlled by the H.S.V.
and COLOUR DEPTH sliders. Al tering the
H.S.V. sliders during the wipe will result in
a colour blend, with vertica l l y orie nta ted
bands of colour. The
Co lour ty
p
e
selection
is used, so the colour wipe is not necessa rily
opaque, but may subtly or drastica l l y a l ter
the existing image on the screen.
Wipe
can be applied to only a portion of
the screen if desi red, by using the stencil to
protect the areas you wish unchanged.
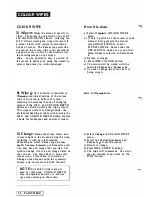
4)
Wipe ",, :
This function is identical to
Wipe +except the direct ion of the colour
wipe is from top to bottom of screen,
resulting in horizontal bands of changing
colours if the H.S.V. and COLOUR DEPTH
sliders are altered during the wipe process.
This wipe is useful for backgrounds - the
horizontal banding evident with moving the
H.S.V. and COLOUR DEPTH sliders, crea tes
a basis for la ndscapes and abstract visuals.
5) Change:
Reads the screen colour and
wri tes it back to the screen during the wipe,
replacing it with new information
depending on which
Col o u r type, Colour
dep th, Texture, Symmetry
or Stencil is used.
You may have an image that you like, but
wish to change it into a new image based on
the old one. You may adapt it, using this
colour
wipe. Time
taken to compl ete a
C
h
an
g
e
wipe depends upon the symme try
chosen, and va ries from
6
to
60
seconds.
N OT E :
The H.S.V. sliders are not
used for this wipe. COLOUR DEPTH
may be adjusted, however, to control
the colour mixing on the screen.
30
-
PAINT MENU
H ow
it is
done:
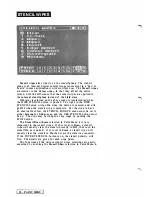
a) Select Wi pe+in COLOUR WIPES
menu.
b) If only a portion of the screen is to be
cleared, first generate the stencil
using DRAW STENCIL a nd/or
STENCIL WIPES. Ensure that the
USE STENCIL bu tton is on, and that
Draw Under
is selected in Paint Men u
4 .
c) R e t u r n to image.
d) Press WIPE COLOUR button.
e) The screen will be wiped with the
specified
Colour
and
Colour ty pe.
f) You may change the colour as it is
being wi ped.
Same as Wipe+ above.
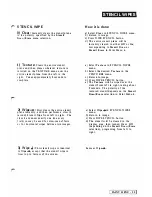
a) Select
Change
in COLOUR WIPES
menu.
b) Select the desired
Symmetry
and
Colour type
from the menus.
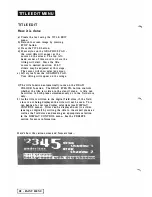
c) Return to image.
d) Press WIPE COLOUR button.
e) The wipe will commence. The wipe
may be stopped a t any time by the
STOP bu tton.
Summary of Contents for CVI
Page 1: ...r e User Manual Computer Video Instrument...
Page 4: ...Startea 2 Video Melius...
Page 102: ...33 Quad mirror Slow scan across L J _J...
Page 103: ......
Page 104: ...56 Under over stencil 57 Under over catch up 58 Push to freeze...
Page 105: ...60 L J _JI L...
Page 106: ...80 Under over texture wipe L J _J...
Page 107: ...L J _Jd r...
Page 197: ...RS232C Port ControI 1 Rev 7 Software Update 1...
Page 268: ...Glossary 1 Index 5...
Page 282: ......


