r
PA I NT EXERCISES
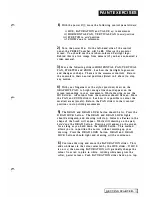
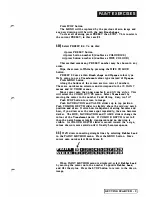
ii) We should now see the COLOUR WIPES menu. This
menu chooses which method will 'wi pe' the display. Move
cu rsor onto the nu mber
2
opposite
Texture
and lift the
stylus. This selects
Texture
as a colour wipe. Which
texture?
iii) Us ing the quick select bar a t the bottom of the screen,
move cursor onto Pa int Menu
3
- TEXTU RES
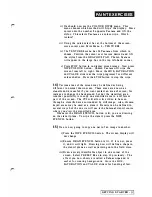
iv) The TEXTURES menu has 54
Textures
from which to
choose. Posi tion the cursor over texture desired and l i ft
the stylus from the GRAPHICS PAD. Chosen
Texture
will a p pear in the large box in the top left-hand corner.
v) Press STOP button to re-display screen i mage. Now press
WIPE COLOUR button. Chosen
Texture
will wipe the
screen from left to right. Move the HUE, SATURATION
an d VALUE sliders as the wipe progresses for different
colour shades. Press the STOP bu tton to stop the w i pe.
14)
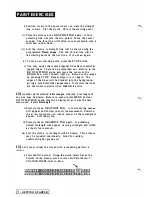
Various areas of the screen may be defined as being
different to normal drawn areas. These areas are known as
stencils
and are useful if you want protect an area of screen, for
instance to change the background but not the stenci l led area.
Another possi bility is to copy one stencilled area to a different
part of the screen. The CVI will allow live video to be seen
through a stencilled area surrounded by still i mage. Also, ch roma
keyed a reas may be used as a stencil. Stencils can be defi ned in
several ways but the one we will use is the
Internal
stencil source
where you
draw
the stencilled area.
Whenever the DRAW STENCIL button is lit, you a re drawing
on the stencil plane. To wipe the stencil, press the WIPE
STENCIL button.
15)
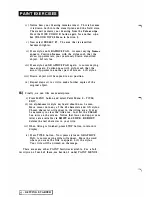
We are now going to copy one part of an image to another.
i) Press the WIPE STENCIL button. The screen display will
not change.
ii) Ensure DRAW STENCIL button is lit. If it is not, press
it, and it will light. Drawing now will define a shape in
the stencil plane as well as painting onto the field store.
iii) Draw a small, identifiable object in one corner of the
screen. Select PRESET
06
a s in step 10 previously. The
effect you now observe is called a
Colour wipe
and is
useful for cr
ea
t
i
n
g
back grou nds. Mov e t h e
HUE,
SATURATION and VA LUE sliders for band ing effect.
GETT ING STARTED
-
Summary of Contents for CVI
Page 1: ...r e User Manual Computer Video Instrument...
Page 4: ...Startea 2 Video Melius...
Page 102: ...33 Quad mirror Slow scan across L J _J...
Page 103: ......
Page 104: ...56 Under over stencil 57 Under over catch up 58 Push to freeze...
Page 105: ...60 L J _JI L...
Page 106: ...80 Under over texture wipe L J _J...
Page 107: ...L J _Jd r...
Page 197: ...RS232C Port ControI 1 Rev 7 Software Update 1...
Page 268: ...Glossary 1 Index 5...
Page 282: ......


