User Manual
T
HE
N
UMPAD
February
16,
2010
Xynergi Media Production Centre
Page 105
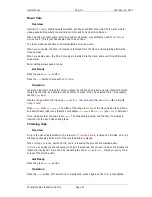
General Go To Usage
Step 1
Press the
Go
To
button
Step 2
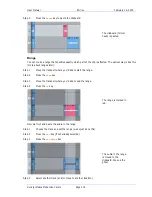
Select an option from the Soft keys (note: Timecode is selected by default)
Go To Timecode
Step 1
Press the
Go
To
button
Step 2
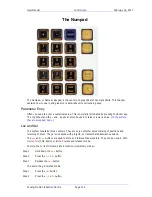
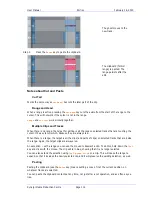
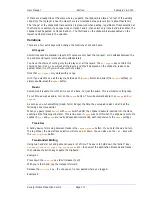
Type a timecode address using the Numpad keys
The number you are typing is shown on the Edit Screen
If subframes are displayed, type ten digits, otherwise type 8 digits
Numbers wrap around if you keep adding them
Press Clear to reset all numbers to zero
Press + [or –] to add [or subtract] what you have typed from the existing number
Step 3
Press the
Go
To
button
again (or
ENTER
) to locate to the displayed timecode, or
Play
to
locate and go into play immediately, or press
Esc
(upper left key) to close the dialog
without locating anywhere
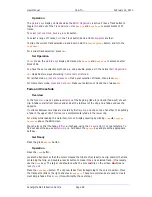
Capture Timecode
Sometimes you need to capture the current timecode and then do something with it. For example
you might want to move the transport exactly 2 seconds and 3 frames backwards. To capture
timecode:
Step 1
Hold down the
BLUE
key
Step 2
Press the
Go
To
button
Step 3
Release the
BLUE
key
You may now continue with the Go To Timecode procedure. To complete our example of going
back by 2 seconds and 3 frames, continue like this:
Step 4
Type the
–
button
Step 5
Type the numbers
203
(if subframes are not being displayed, otherwise
20300
)
Step 6
Press the
Go
To
button
again (or
ENTER
),
Play
or
Esc
You might press the
Esc
key if you simply wanted to capture the current timecode for another
purpose, such as setting an
Edit Range
.
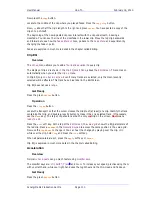
Go To Mark
A
Mark
is a stored timecode. Marks are created by pressing the
Mark
key, which is visible in the
Edit Megamode
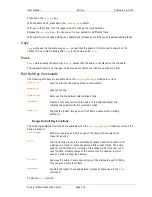
. You can press it at any time, in any transport mode. Marks are shown above the
track display in the
Edit Screen
, as yellow pointers.

