User Manual
T
HE
N
UMPAD
February
16,
2010
Xynergi Media Production Centre
Page 107
Go To Clip
A
Clip
is a piece of audio. Clips are created by recording and editing. They all have names.
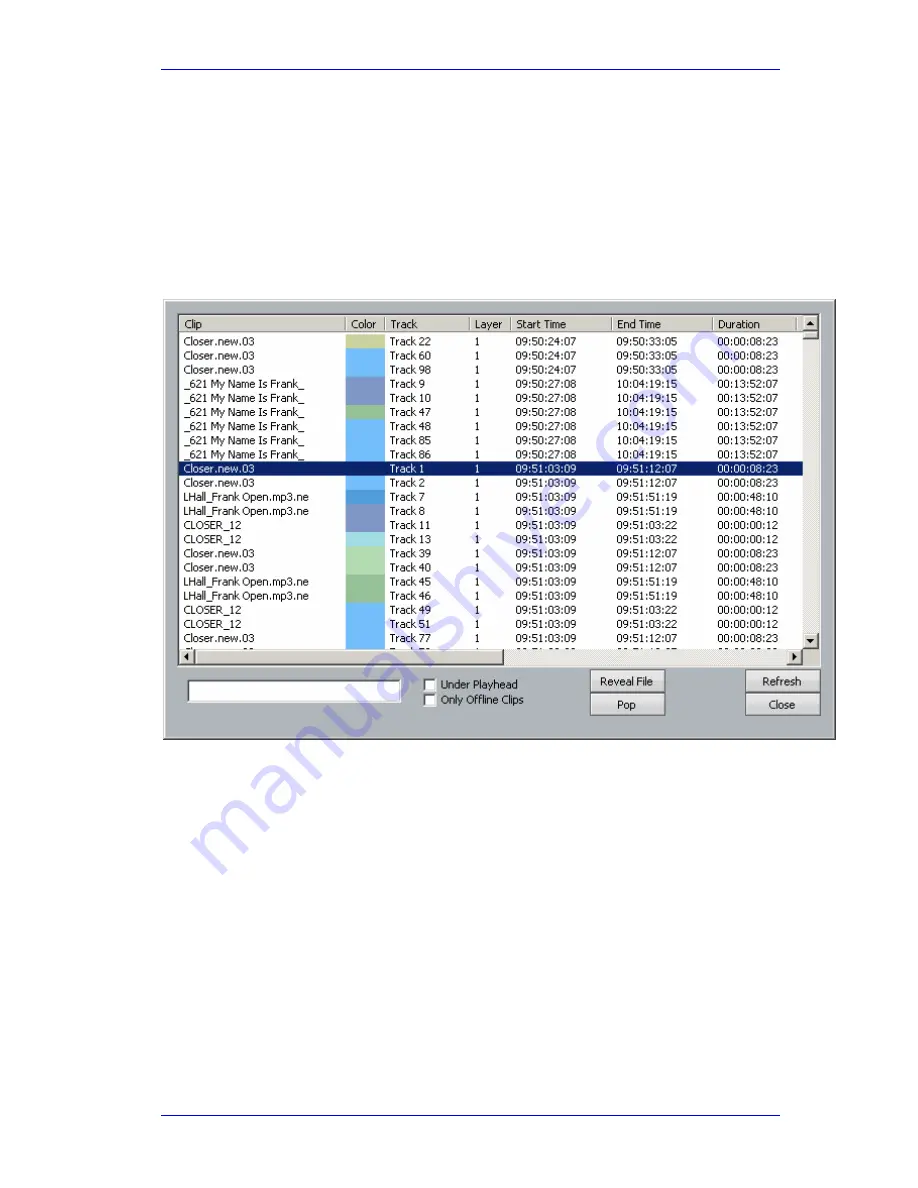
Go To Clip allows you to display a list of clips in the project, then choose one and locate to it. Like
this:
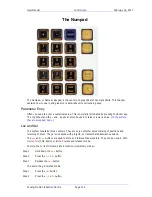
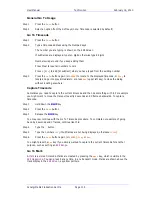
Step 1
Press the
Go
To
button
Step 2
Press the
clip
soft key
Step 3
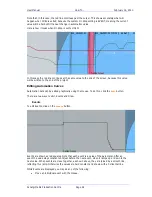
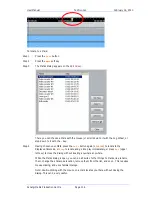
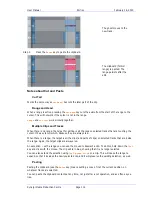
The Clip Search dialog appears on the
Edit Screen
..
This dialog displays every clip in the project. You can filter it (reduce the number of clips
displayed) in a number of ways. The most important is to type in all or part of a name,
into the Search box (as shown above). This will hide all clips except those with names
containing what you typed. In the example, shown above, all the clips contain the letters
“pa”.
Step 4
Having chosen your clip, press the
Go
To
button
again (or
ENTER
) to locate to the clip’s
start timecode, or
Play
to locate and go into play immediately, or press
Esc
(upper left
key) to close the dialog without locating anywhere anywhere. Or you may double click on
the name of any clip to locate to its position.
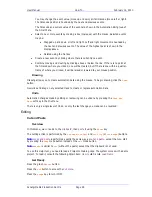
While the Clip Search dialog is open you can:
Filter the list by typing a sequence of characters in the text box. Only clip names
containing that sequence will be displayed. To quickly move the cursor into the Search
field, press the
Search
soft key.
Sort the clips in track order, start order, end order or duration or clip colour, by clicking
on the column header. Clicking the header a second time reverses the sort order.


