User Manual
E
DITING
February
16,
2010
Xynergi Media Production Centre
Page 119
Step 1
Copy (or Cut) the desired audio to the clipboard. The cursor’s sync point will be maintained
Step 2
Create a Range encompassing the area to be filled.
Step 3
Press the
fill
soft key.
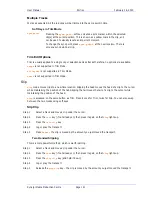
Razor Soft Key Functions
When
Razor
is ON selected the LCD menu changes:
insert
fill
The filled audio is inserted into the track, not written over the original
audio in the range.
insert
b/f
fill
The backwards/forwards filled audio is inserted into the track, not
written over the original audio in the range.
overlap
Controls the length of overlap between pieces of audio used in the
fill
command.
insert
space
Silence will be inserted from the start of a Range for the duration of the
Range.
Paste Special
Instead of pasting the clipboard contents at the cursor position, it is possible to paste characteristics of a
clip into other clips.
Step 1
Copy some clips to the clipboard using the Copy menu, the mouse, or the keyboard shortcut
(ctrl+c)
Step 2
Select the destination clips for the paste. They can be on multiple tracks and may use a range.
You may select All Layers, or only the top layer.
Step 3
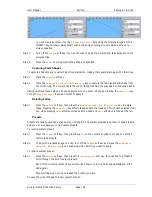
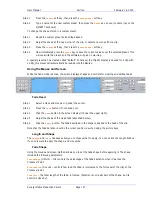
On the Cut Menu, Copy Menu or Erase Menu, press the
Paste Special
Soft key. Now choose
from the alternatives shown on the lower soft keys. Pressing one of these executes the Paste
immediately.
Step 3a
Alternatively: click and hold the screen command
Edit
Paste Special
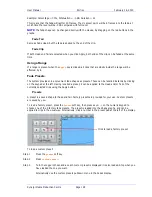
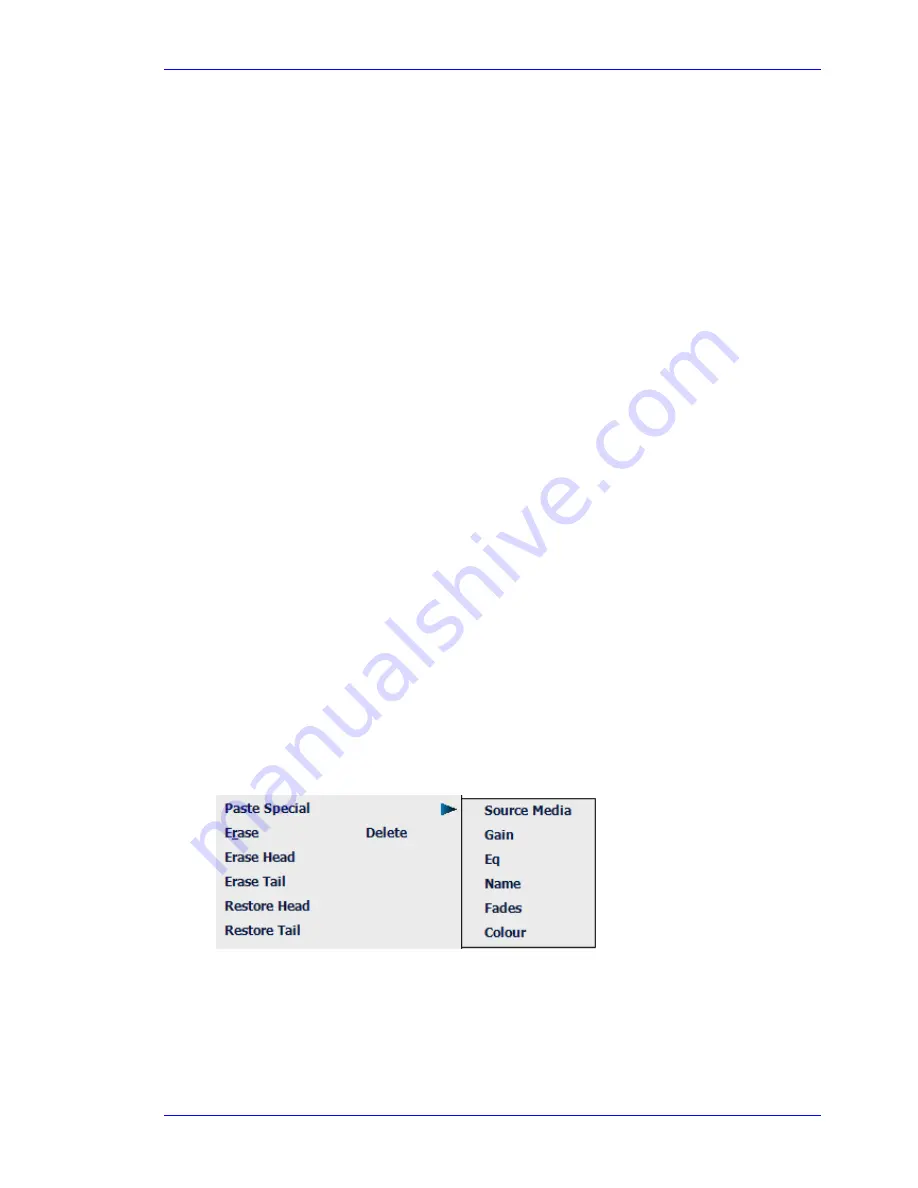
The system displays this dialog:
Now choose which characteristic to paste.
Notes:
The clip whose characteristics are copied is the earliest (in timecode) on the lowest numbered
track copied to the clipboard.
The special paste targets every clip that is wholly within the range, on selected tracks.

