User Manual
E
DITING
February
16,
2010
Xynergi Media Production Centre
Page 128
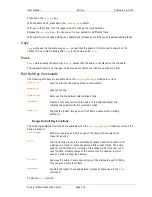
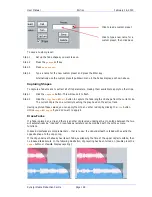
Example: Percentage = 30%, Attenuation = -3 dB, Duration = 20
This means that the fade will last for 20 frames. The crossover point will be 6 frames into the fade, at
which time the level will be -3 dB compared with full Level.
NOTE
: The fade shape can be changed directly with the mouse, by dragging on the red buttons in the
graphs.
Fade Tail
Same as Fade Head, but the fade is applied to the end of the clip.
Fade Clip
If both Head and Tail are selected when you click Apply, both ends of the clip can be faded at the same
time.
Using a Range
If a range is present when the
Apply
key is clicked, all clips that are wholly inside the range will be
affected by it.
Fade Presets
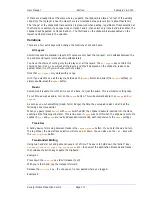
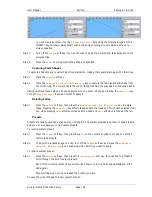
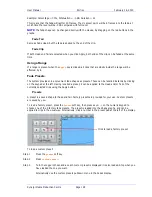
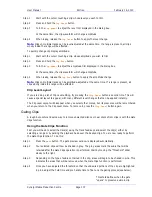
The system provides nine convenient fade shapes as presets. These can be recalled instantly by clicking
on the keypad at the left. Having recalled a preset, it can be applied to the Head and/or Tail of the
currently selected clips using the Apply button.
Presets
A preset is a saved shape for head and tail. Factory presets are provided for your use. Custom presets
are saved by you.
To load a factory preset, press the
Preset
soft key, then press keys
1
-
9
on the numeric keypad to
choose one of the 9 factory fade presets. The preset is loaded into the Shape graphs, and can be
applied to clips in the usual way. Alternatively, click a number in the preset pad at the left of the display.
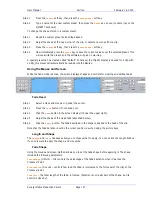
To load a custom preset:
Step 1
Press the
preset
soft key
Step 2
Press
custom
preset
.
Step 3
Turn the Jogger Wheel, and as each custom preset is displayed it is also loaded. Stop when you
have loaded the one you want.
Alternatively use the custom presets pulldown menu in the Fades display.
Click to load a factory preset

