User Manual
E
DITING
February
16,
2010
Xynergi Media Production Centre
Page 131
Editing on Multiple Layers
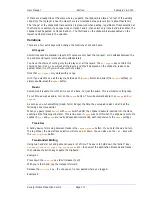
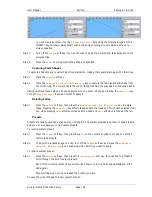
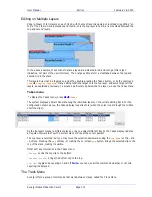
Clips in Dream II form layers on each track, with the most recently pasted or recorded clips sitting “on
top” of the others. During playback and record, only the top layer is heard, or a crossfade between the
top and second layers.
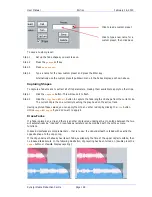
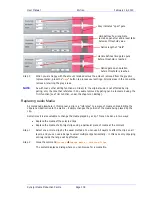
In the above example, the sections that are played are indicated in red and orange (this is just
indicative, not part of the user interface). The orange sections form a crossfade between the top and
second clip in the stack.
This layered view can be toggled on and off by double-pressing the Takes button, or by the command
View
Display Layering
. Many editing functions target only the top layer, and some target all the
layers, as explained previously. To access a particular clip below the top layer, we use the Takes Menu.
Takes menu
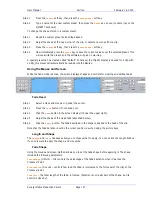
To display the Takes menu, press
BLUE
-
Takes
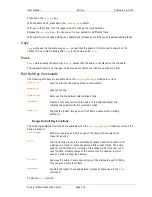
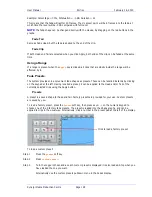
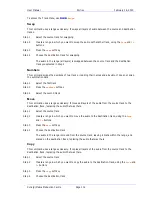
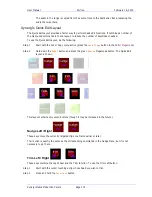
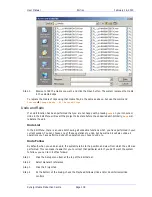
The system displays a Smart Panel showing the individual layers on the current editing track. For the
configuration shown above, the Takes display looks like this (when the cursor runs through the middle
of all the clips).
As the transport moves to different places, or as you select different tracks, the Takes display updates
at regular intervals to show the current stack of clips at the cursor position.
The top layer is selected, but you may move the selection downwards using the
Jog Whee
l or the
+
and
–
buttons. Pressing the
pop
soft key, or clicking the on-screen
pop
button, brings the selected clip to the
top of the stack, making it audible.
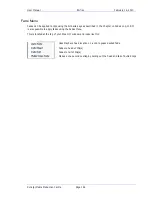
Other soft key commands in the Takes menu:
{Rotate}
sends the top clip to the bottom.
{Reverse Rotate}
brings the bottom clip to the top.
{On/Off}
toggles Clip Layering on and off.
Note
: you can use all the commands whether or not Clip
Layering is displayed.
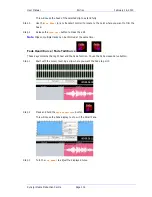
The Track Menu
Xynergi offers a group of commands that work between tracks, called the Track Menu.

