User Manual
C
LIP
E
QUALISATION
February
16,
2010
Xynergi Media Production Centre
Page 180
Clip Equalisation
Introduction
This chapter goes into more detail about Clip EQ.
Xynergi provides clip based, four band parametric Equalisation (plus shelving) which can be
applied to a single clip or range of clips within a Project. EQ is performed by the system on a coy
of the original media, therefore applying an EQ change does not affect the audio data on disk.
The clip-based EQ is independent of the track feed mixer EQ.
Applying EQ
Step 1
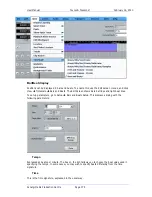
Press the
clip
EQ
button.
Step 2
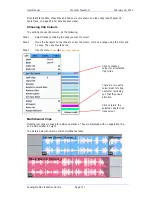
Locate the cursor over the clip or define a Range of clips.
Step 3
Press the
edit
soft key.
Step 4
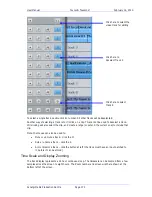
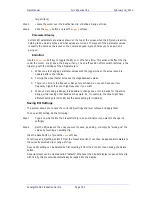
Select the appropriate EQ parameter.
This can be done using the
Numeric keypad
, as shown in
Choosing a Parameter
below, or
by clicking in the appropriate field in the EQ display above.
Step 5
Adjust the parameter, using the
Jog Wheel
. Changes are heard in real time.
Step 6
Repeat steps 4 and 5 as often as needed.
Step 7
Apply the changes by pressing the
Enter
key, or by clicking the
Apply
screen button.
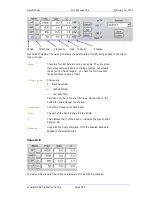
Each equalisation band has three parameters you can change. They are: centre frequency of the
band, gain (cut or boost) at that frequency, and Q-factor (sharpness of the band) or whether it is
a high or low shelf.
Note
: When changing EQ frequency, hold down the
SHIFT
button for fine numerical adjustment.
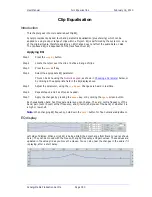
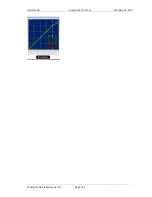
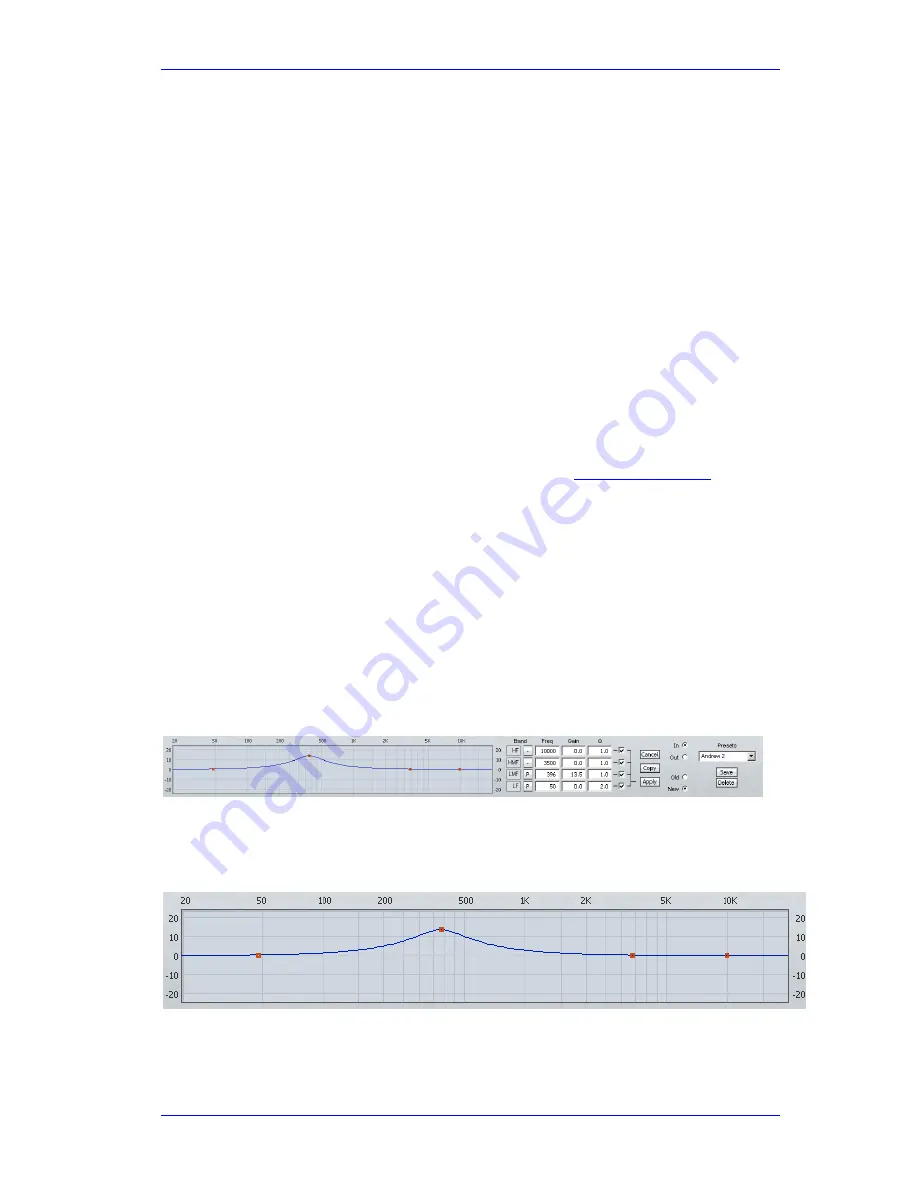
EQ display
Left side of display. When a clip’s EQ is being edited, the dots change from black to red (as shown
here). They can be moved with the mouse, changing frequency and gain values. These values are
updated in the value grid as you move the mouse. You can also hear the changes in the audio if it
is playing, after a short delay.


