User Manual
C
LIP
E
QUALISATION
February
16,
2010
Xynergi Media Production Centre
Page 183
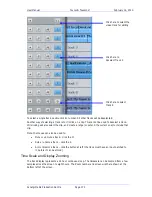
target clip(s)
Step 5
Locate the cursor over the destination clip or define a Range of clips.
Step 6
Click the
Apply
button or press the
apply
soft key.
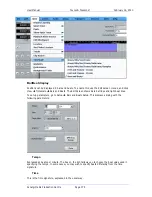
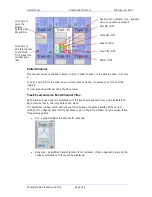
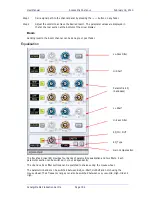
Parameter Display
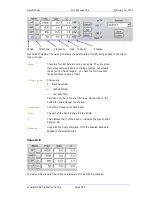
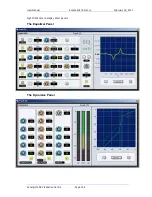
Current EQ parameters are always shown at the top of the screen when the EQ menu is active,
helping to see what is active and what values are current. The layout of the parameter values
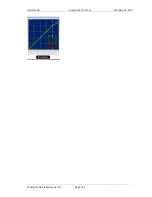
is exactly the same as the layout on the numeric keypad. A graph helps you to see what is
going on.
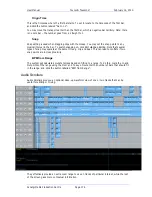
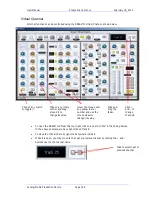
EQ In/Out
Use the
EQ
In/Out
Soft key to toggle the EQ on or off at any time. This action will affect the clip
under the cursor, or all clips in the Range, if any. The on/off position of this switch is stored in the
clip along with the settings of the EQ parameters.
1.
While you are changing parameter values with the jogger wheel, the actual sound is
updated after a short delay.
2.
Turning the wheel faster increases the steps between values.
3.
There is no limit to the frequency Range for each band, so you can have your low
frequency higher than your high frequency if you want.
4.
When you are using a Range, it is possible to change one or more bands for the entire
Range, while leaving other bands as they were. So, for example, the clips might have
different settings for LOW EQ but the same setting for HIGH EQ.
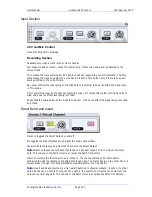
Saving EQ Settings
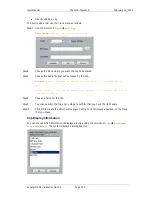
The system allows you to save the current EQ settings and later retrieve and apply them.
To save an EQ setting, do the following:
Step 1
Type a new name into the Presets field (or use an old name if you want to change its
settings)
Step 2
Set the EQ values to the ones you want to save, by editing, or simply by “picking up” the
values by touching an existing clip.
Click the Save button, or press the
save
soft key.
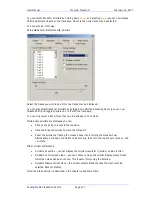
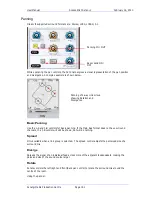
To retrieve an EQ setting, select it from the Preset drop list. It can then be applied immediately to
the currently selected clip or range of clips.
A saved EQ setting can be deleted by first selecting it from the drop list, then clicking the Delete
button.
A special preset can be created called “default”. Whenever the Clip EQ display is opened for a clip
with no EQ, this preset will automatically be loaded into the display.

