User Manual
M
ACROS
February
16,
2010
Xynergi Media Production Centre
Page 209
The first time is to exit the Edit Macro layout, and the second time is to display macro trigger
buttons.
From now on, simply press either the
macro
key or
Key
7
once to toggle macro trigger buttons on and
off in your preferred location.
Note:
the system remembers your preferred location between sessions.
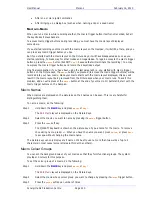
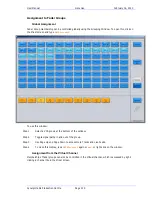
When the macro trigger buttons are displayed on the Numpad, the keys flash a low Blue colour. Macro
trigger buttons 1 to 9 are accessed by
Numpad
1
to
Numpad
9
. Banks 1 to 3 are accesssed by pressing the
0
,
00
and
Subf-Clear
buttons respectively.
Recording Macros
To record a macro, do the following:
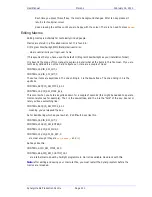
Step 1
Hold down the
BLUE
key and press
macro
or
Key
7
.
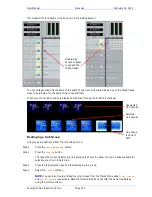
The
Edit Macro
layout is displayed on the Picture Keys.
Step 2
Select the macro you want to record by pressing its
macro
trigger button.
Step 3
Press the
learn
soft key.
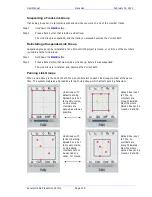
The Edit Macro layout disappears, and
Key
7
starts flashing. It will continue to flash while you
record the macro.
Step 4
Record your keystrokes.
You can record as slowly as you like, but the macro will play as fast as possible.
You may change modes and megamodes as often as you like.
You may press an existing macro trigger button to record its keystrokes into your new macro
(see Macro-in-Macro below).
Step 5
To stop recording, press
Key
7
. It will stop flashing.
Context
Macros are faithful but dumb. They do not know where you started recording – they only know which
keys you pressed.
If you decide to run a macro from a completely different situation, it may do something you didn’t
expect. So try to remember the starting point of your macros, or better still, begin by establishing a
starting point e.g. by selecting a megamode.
Adding Delay
Sometimes macros run so fast that we create a “race condition”. This happens when different parts of
the Xynergi system get their timing wrong, and events happen in the wrong order.
If you play back a macro from the correct starting point, and it does not repeat the desired commands,
try recording it again, but this time insert a delay. To insert a delay, you may:
Press the add delay button if it is visible
OR
Type
BLUE
+
LOC
Each of these commands adds a 100 millisecond delay. You can issue the command several times if you
wish to add longer delays.
Common places where delays might be needed:


