User Manual
P
LUG
-
INS AND
R
E
W
IRE
February
16,
2010
Xynergi Media Production Centre
Page 272
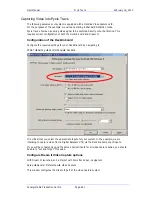
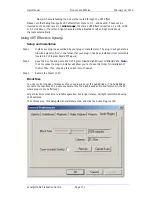
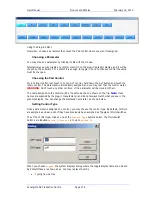
Use the slider to set the Block Size. Latency for each block size is shown.
NOTE:
Latency is also affected by the processing delay of the VST plug-in itself i.e. the time it
takes for the CPU to execute. Block size makes no difference to this.
Scanning on Startup
If you check the Scan on Startup button in the General Preferences dialog shown above, the
system will scan all your plug-ins each time it starts. If you have a large number of plug-ins, this
can take a long time, especially since many of them require dongle verification.
Another strategy is to use the Rescan button in the same dialog, only when you have added or
removed plug-ins from the system.
Latency
Each plug-in takes a certain amount of time to run, and this effectively delays the audio in the
track or live feed. The delay time is called the latency of the plug-in.
Latency has two components:
AudioBridge latency, which is the time taken to get the audio from the Crystal engine to
the CPU where the plug-ins are executed, and back again. This is unavoidable due to the
VST specification requiring blocks of samples to be sent for processing.
Processing time of the plug-in, which is how long it takes the CPU to process a block of
samples. This is reported by each manufacturer of VST plug-ins.
For Track Feeds containing plug-ins, the track playback is automatically advanced by the amount
of the latency.
Where a feed contains more than one plug-in, the latency is equal to the longest latency of the
loaded plug-ins.
Inserting a Plug-in on a Track
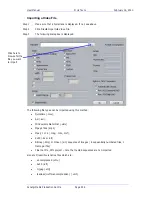
Step 1
Select the track.
Step 2
Press the
Insert
Config
button in the Setup or Mixer Megamode.
Step3 Press
the
Add
Plug-in
soft key. The Pad text area will now display the first of a list of
plug-ins that you have installed.
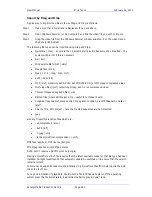
Step 2a
Alternatively, press the
Plug ins
button in the Editor or Mixer Megamode. This will
display the Plug-in panel in the Pad. If the
Add
Plug
soft key does not appear, press
Plug
ins
again.
Step3a
After the above step press the
Add
Plug
soft key. The Pad text area will now display the
first of a list of plug-ins that you have installed.
Step 4
Using the jog wheel, scroll through the list of plug-ins.
Step 5
When the desired plug-in is displayed, press the
Add
soft key.
The plug-in will now load.
Note
: many plug-ins are protected by dongles, and the
interaction between the system and the dongle is controlled by the plug-in manufacturer.
Sometimes it may take up to a minute to load a plug-in, particularly the first one from any
particular group from a manufacturer.
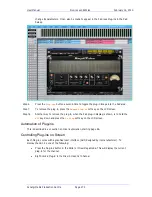
The plug-in popup will now appear on the Editor screen, where the mouse can be used to


