User Manual
P
LUG
-
INS AND
R
E
W
IRE
February
16,
2010
Xynergi Media Production Centre
Page 282
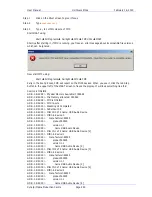
OFFSET,0.000000
POSTFIX,opto
POSTFIXONLY
BEGIN_SEGMENT
RANGE,0.6667,1.00000
SCALE,1.000000
OFFSET,0.000000
POSTFIX,mod
POSTFIXONLY
BEGIN_PARAMETER,VST-ANYPLUG_01:saturation
BEGIN_SEGMENT
RANGE,0.000000,1.000000
SCALE,10000.000000
OFFSET,0.000000
POSTFIX,
BEGIN_PARAMETER,VST-ANYPLUG_01:air
BEGIN_SEGMENT
RANGE,0.000000,0.499900
SCALE,1.000000
OFFSET,0.000000
POSTFIX,off
POSTFIXONLY
BEGIN_SEGMENT
RANGE,0.500000,1.000000
SCALE,1.000000
OFFSET,0.000000
POSTFIX,on
POSTFIXONLY
Clip based Plug-ins
Plug-ins may be separately applied to individual clips. The sound is written into new media on the
hard disk, and a new clip is placed on top of the original. To do this:
Step 1
Press the
Wave
button
Step 2
Press the
Render
Plug-in
soft key.
Step 3
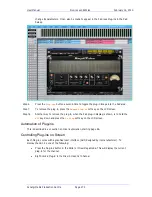
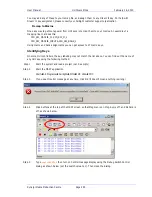
Use the Jog-Wheel to search for a desired plug-in to be used on this clip.
Step 4
Press the
Edit
soft key to display the plug-in controls.
Step 5
Park the timeline on the clip that you would like to process and press the
Preview
softkey. The clip will automatically start looping and you can now adjust all parameters in
real time.
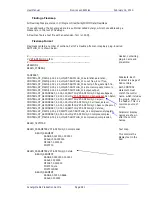
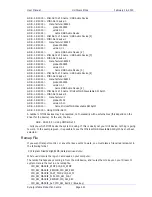
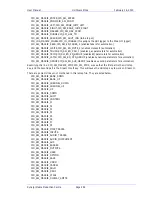
Multi-Switch text map.
This is a 3-Switch.
Three control
segments are shown,
dividing the total
range (0 to 1) by 3.
The names are shown
at left as “vca”, “opto”
and “mod”.
Immediately after
creation, the names
would be shown as 1,
2 and 3. These can be
replaced with useful
names here.
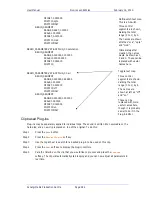
Toggle text map.
Three control
segments are shown,
dividing the total
range (0 to 1) by 2.
The names are
shown at left as “off”
and “on”.
These can be
replaced with more
useful names here,
though it is probably
easier to do it in the
Plug-in Editor.

