User Manual
H
OW
T
O
… February
16,
2010
Xynergi Media Production Centre
Page 50
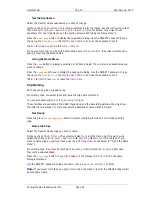
Using the Name Menu
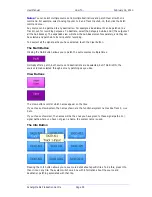
Press the
name
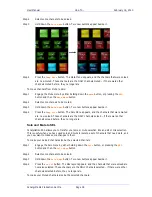
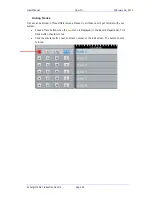
button to display a selection of all tracks. Select the one(s) whose clip names you
want to change.
To rename clips, they must be touching the cursor, or wholly inside the
range
. In either case they
will be coloured
Red
.
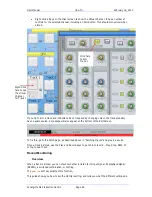
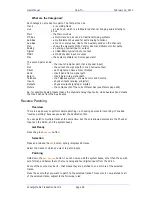
Press the
clip
soft key to display the name dialog. Use the QWERTY keyboard to type the name,
then press
ENTER
or click
OK
to finish. Press
exit
to leave the
Name menu
.
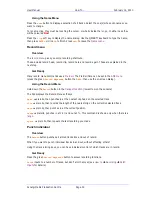
Record menu
Overview
The
record menu
gives you some recording shortcuts.
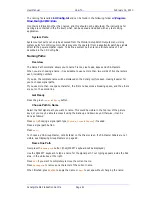
These include record head, record clip, record here and record again. These are explained in the
next step.
Get Ready
Many record menu commands use a
Pre-Roll
. The Pre-Roll time can be set in the
ADR menu
(press the green
Record
Megamode
button then
ADR
, then use the on-screen dialog).
Using the Record Menu
Hold down the
Record
button in the
transport section
(lowest row on the console).
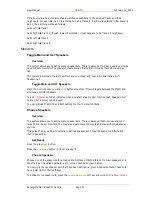
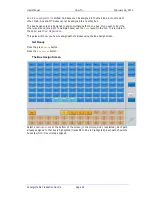
The Pad displays the Record Menu soft keys.
head
prerolls, then punches in at the nearest clip head on the selected track
clip
prerolls, then records the length of the nearest clip on the currently selected track
here
prerolls, then punches in at the current position
range
prerolls, punches in at
From
and out at
To
. This command is shown only when there is a
range
.
again
prerolls, then repeats the last recording you made
Punch individual
Overview
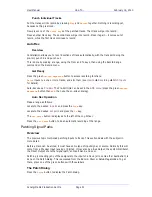
The
Record
button punches all armed tracks into and out of record.
What if you want to punch individual tracks in and out, without affecting others?
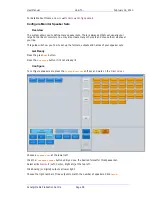
Using the track arming keys, you can have individual control of which tracks are in record.
Get Ready
Press the green
Record
Megamode
button to access recording functions.
Patch
inputs to a number of tracks, but don’t arm them yet (see
How to
Recording
Patch
Inputs
for details).


