User Manual
H
OW
T
O
… February
16,
2010
Xynergi Media Production Centre
Page 87
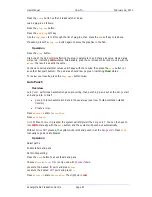
Press the
touch
button so that it reads Latch or Snap.
Load a plug-in as follows:
Press the
plug ins
button.
Press the
Add Plug
soft key.
Use the
Jog Wheel
to roll through the list of plug-ins, then press the
Add
soft key to load one.
If desired, press the
plug ins
button again to place the graphics in the Pad.
Operation
Press the
play
button.
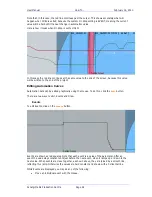
Grab one of the Pad controls affecting the plug-in parameters, and change its value. Its pad area
will go red, indicating
Write
status. Alternatively, grab the on-screen control and move it with the
mouse
. The result is exactly the same.
Continue to write parameter values until happy with the results, then press the
Stop
button (or
any other transport button). The pad area should now go green, indicating
Read
status.
To review your results, press the
Play Menu
button twice.
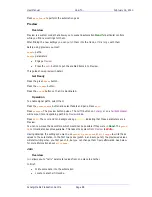
Auto Punch
Overview
Auto Punch
performs an automation pass, pre-rolling, then punching in and out at the
Range
start
and end points. In brief:
Set up to record automation data in the usual way (see How To
Automation
Pad
Control)
Create a
range
Press
Active
IN
and/or
Active
Out
.
Press
Auto
Punch
.
Note:
Without
Active IN
pressed, the system will still preroll the
Range start
. You can then punch
into
Write
manually with the
Auto
button, and the system will punch out automatically.
Without
Active OUT
pressed, the system will preroll and punch in at the
Range start
. Press
STOP
manually to go back into
Read
.
Operation
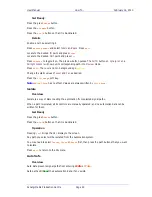
Select paths
Enable faders and pans
Set On Stop setting
Press the
Path
button to acess faders and pans.
Choose
Write
or
Trim
.
Trim
is only used with
physical
faders
.
Locate to the desired
IN
point and press
From
.
Locate to the desired
OUT
point and press
To
.
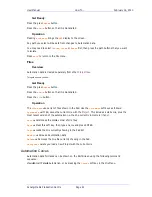
Press
Active
IN
and/or
Active
Out
. They light up in
red
.

