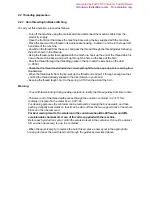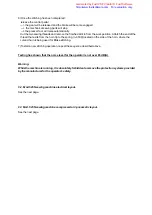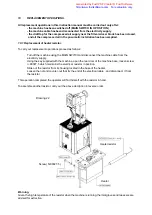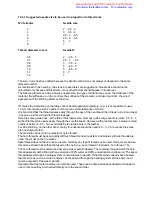
10.5 Replacement of loop opener support (art. N. 0211)
Proceed as follows:
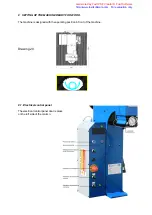
- Turn off the machine using the MAIN SWITCH, and disconnect the machine cable from the electricity
supply.
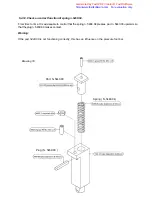
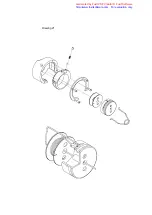
- Unscrew the screws n. 90129.5 and 90127.5 (lever n. 0221, tab. 13).
Warning:
While unscrewing the n. 90129.5., the spring n. 0226 will be loosened, liberating not completely
part n. 0211.
- Then remove nut n. 90809.5 and the screw n. 90127.5 (lever n. 0214).
- Remove part n. 0211 and replace it.
- Retighten, witout completely locking, the 3 screws and the nut.
Warning:
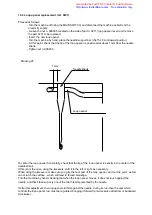
Before tightening the screws, remember that:
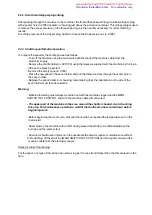
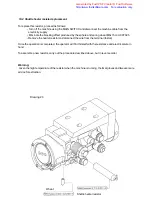
1) To obtain the loop opener horizontal position, refer to paragraph
10.4 loop opener replacement.
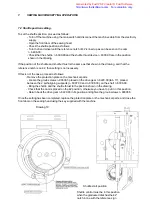
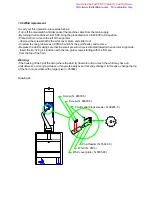
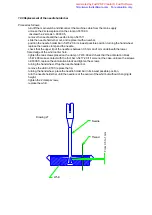
2) For the vertical setting of the loop opener support lever, position the needle clamp bar n.5415.20 in its
lowest possible position. Control that the distance between the tip of the loop opener and the end of the
needle support bar is at least 0.5 mm. If this is not the case, move the loop opener support lever up or
down according to necessity. Then tighten the screws.
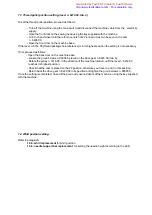
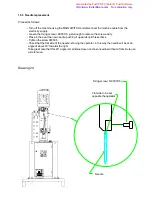
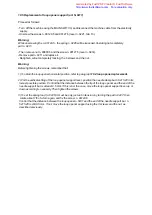
3) To set the spring load (n. 0226) it must be only just set in tension, by turning the part n.0227; then
rotate about 1/6 of a turn again, and fix the screw, n. 90129.5.
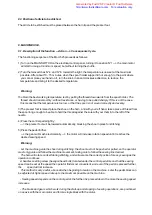
Control that the distance between the loop opener n.0231 and the end of the needle support bar n.
5415.20 is still 0.5 mm. If not, move the loop opener support using the 3 screws and the nut, as
described previously.
Generated by Foxit PDF Creator © Foxit Software
http://www.foxitsoftware.com For evaluation only.

