User’s Manual
34
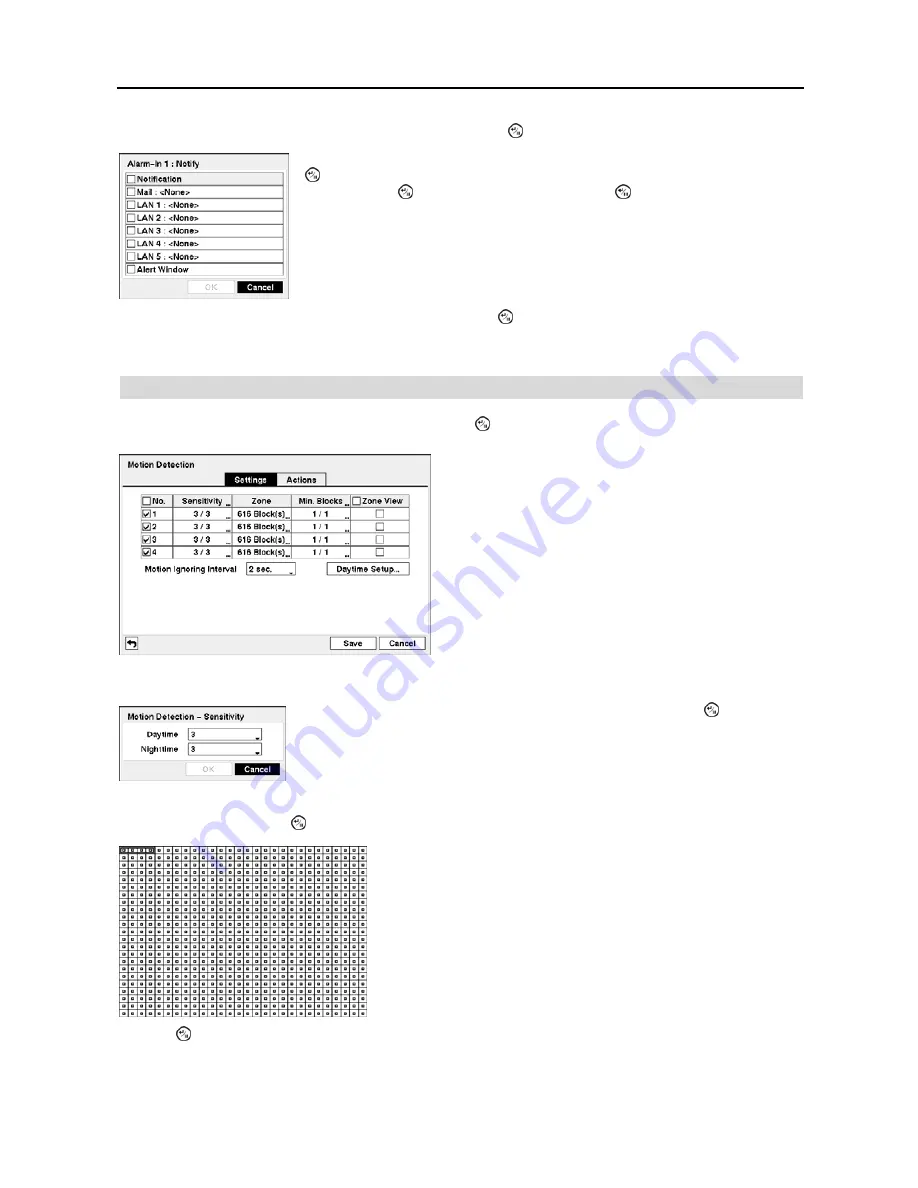
Highlight the desired box under the
Notify
heading, and press the button. The
Alarm-In Notify
menu appears.
Highlight the desired box under the
PTZ
heading, and press the button. A list of PTZ presets appear. Select the
preset position for each PTZ camera, where you want PTZ cameras to move to whenever the DVR detects an input on
the associated alarm input.
Motion Detection
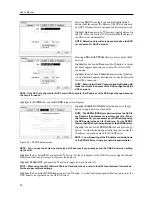
Highlight
Motion Detection
in the Event menu and press the button. The
Motion Detection
setup screen appears.
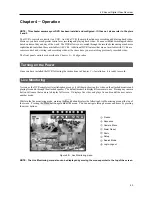
You can define the area of the image where you want to detect motion; e.g., a doorway. Highlight the box under the
Zone
heading, and press the button. The
Motion Detection Zone
screen displays.
Press the button to display the menu screen. The menu on the setup screen has the following functions:
You can toggle the entire list On and Off by highlighting
Notification
and pressing the
button. You can toggle the individual items On and Off by highlighting that item
and pressing the button. Highlight
OK
and press the button to accept your changes.
NOTE: For the Notify action, the notify item you select should be enabled in the
Notification setup screen and the DVR should be registered in the RAS (Remote
Administration System).
Figure 46
─
Motion Detection Settings setup screen.
Your DVR has built-in video motion detection. Video motion
detection can be turned On or Off for each camera.
Highlighting the box under the
Sensitivity
heading and pressing the button allows
you to adjust the DVR’s sensitivity to motion for Daytime and Nighttime independently.
There are five settings with
1
being the least sensitive and
5
being the most sensitive.
The
Motion Detection Zone
screen is laid over the video for the selected
camera. You can set up motion detection zones by selecting or clearing
blocks.
NOTE: You can set up motion zones one block at a time in groups
of 4 individual block groups. A block group is positioned within the
image area using the Up and Down arrow buttons, and individual
blocks within the block groups are selected or cleared using the camera
buttons.
Summary of Contents for 4-Channel
Page 1: ......
Page 2: ......
Page 10: ...User s Manual 2 Figure 1 Typical DVR installation...
Page 14: ...User s Manual 6...
Page 50: ...User s Manual 42...


