


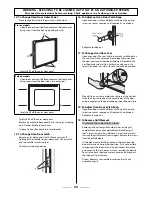
18
Australia
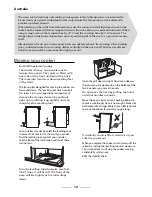
If there is an installation problem and I don’t get
my original installer to come back to fix it who
pays?
You do. Service organisations will charge for their
call outs if they are correcting work carried out by
your original installer. It’s in your interest to track
down your original installer.
Current Operated Earth Leakage Breakers
Where the cooker installation is protected by a
30 milliamp sensitivity residual current device
(RCD), the combined use of your cooker and other
domestic appliances may occasionally cause
nuisance tripping. In these instances the cooker
circuit may need to be protected by fi tting 100mA
device. This work should be carried out by a
qualifi ed electrician.
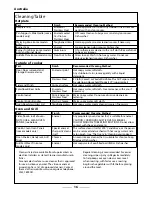
Food is cooking too slowly, too quickly, or burning
Cooking times may diff er from your previous
oven. Check that you are using the recommended
temperatures and shelf positions. See the ‘Oven
cooking guide’ section. The oven control settings
and cooking times are intended to be used only
as a guide. Individual tastes may require the
temperature to be altered either way, to get
the results you want. Try cooking at a higher
temperature setting.
The oven is not cooking evenly
Do not use a tin or baking tray larger than 340mm x
340mm.
If you are cooking a large item, be prepared to turn
it round during cooking.
If two shelves are used, check that space has been
left for the heat to circulate. When a baking tray is
put into the oven, make sure it is placed centrally
on the shelf.
Check that the door seal is not damaged and that
the door catch is adjusted so that the door is held
fi rmly against the seal.
A dish of water when placed on the shelf should be
the same depth all over. (For example, if it is deeper
at the back, then the back of the cooker should be
raised up or the front lowered). If the cooker is not
level arrange for your supplier to level it for you.
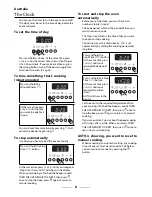
Oven not coming on when turned on manually
Is the power on? Is the clock illuminated? If not
there may be something wrong with the power
supply. Is the cooker supply on at the isolator
switch? Is the clock fl ashing 0.00? If so set it to the
correct time of day. Has the Timer been set to AUTO
by mistake? If AUTO is showing on the clock display,
press the ‘cook period’ button and reduce any set
cooking time showing to 0.00, with the (+) and (-)
buttons. Press the button twice. If this does not
solve the problem contact a service person.
Is the key symbol ( ) showing in the display? See
the Clock section of the instructions for more
information on the key lock feature of the clock.
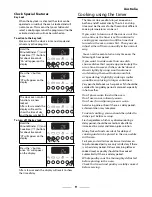
Oven not coming on when automatic cooking
Timer set correctly but oven knob left OFF by
mistake?
Is the key symbol ( ) showing in the display? See
the Clock section of the instructions for more
information on the key lock feature of the clock.
Oven temperature getting hotter as the cooker gets
older
If turning the knob down has not worked or only
worked for a short time then you may need a
new thermostat. This should be fi tted by a service
person.
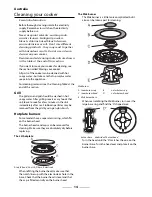
Grill not cooking properly
Are you using the pan and trivet supplied with
the cooker? Is the pan being used on the runners,
not the fl oor of the compartment? Is the grill tray
pushed fully back to stop?
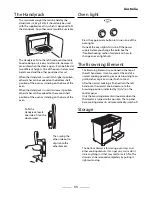
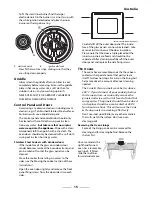
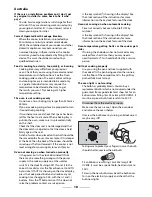
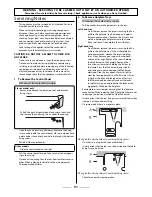
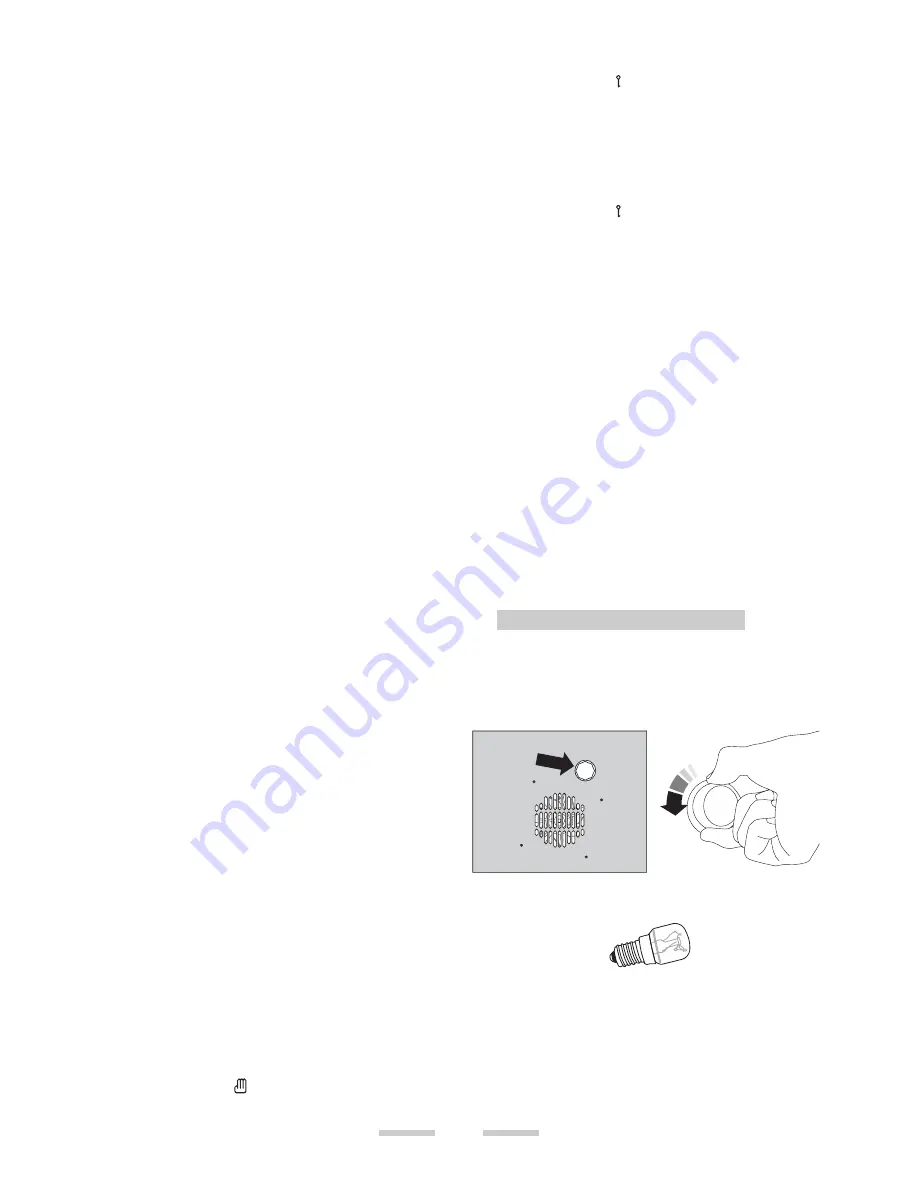
The oven light is not working
The bulb has probably blown. You can buy a
replacement bulb (which is not covered under the
guarantee) from a good electrical shop. Ask for an
Edison screw fi tting 15w 240v lamp, FOR OVENS. It
must be a special bulb, heat resistant to 300 °C.
Disconnect from the electricity supply.
Make sure the oven is cool. Open the oven door
and remove the oven shelves.
Unscrew the bulb cover by turning anticlockwise. It
may be very stiff .
Taking care to protect your fi ngers in case the bulb
should shatter, unscrew the old bulb.
Fit an Edison screw fi tting 15w 240v lamp, FOR
OVENS. It must be a special bulb, heat resistant to
300°C.
Screw in the new bulb, screw back the bulb cover.
Turn on the electricity supply and check that the
bulb now lights.


