


English
20
Always leave a ‘fingers width’ between dishes on the same
shelf. This allows the heat to circulate freely around them.
The Cook & Clean oven liners (see ‘
Cleaning Your Cooker
’
section) work better when fat splashes are avoided. Cover
meat when cooking.
To reduce fat splashing when you add vegetables to hot fat
around a roast, dry them thoroughly or brush lightly with
cooking oil.
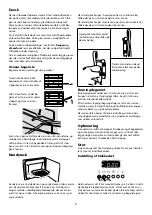
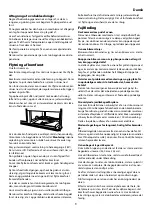
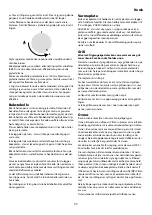
The Oven Shelves
The oven shelves can be easily removed and refitted.
Pull the shelf forward until the
back of the shelf is stopped by
the shelf stop bumps in the
oven sides.
Lift up the front of the shelf so
the back of the shelf will pass
under the shelf stop and then
pull the shelf forward.
To refit the shelf, line up the shelf with a groove in the oven
side and push the shelf back until the ends hit the shelf stop.
Lift up the front so the shelf ends clear the shelf stops, and
then lower the front so that the shelf is level and push it fully
back.
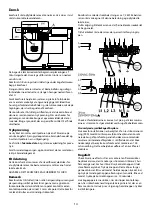
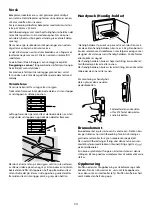
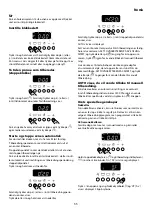
The Handyrack
The Handyrack fits to the left hand oven door only. The
maximum weight that can be held by the Handyrack is 5.5kg.
It should only be used with the supplied meat tin, which is
designed to fit the Handyrack. Any other vessel could be
unstable.
When the Handyrack is used in its highest position, other
dishes can be cooked on the bottom shelf position of the
oven.
When the Handyrack is used in its lowest position, other dish-
es can be cooked on the second shelf position of the oven.
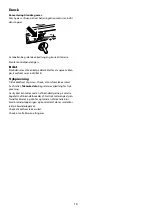
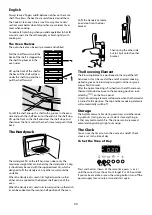
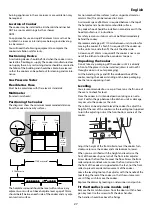
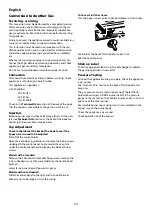
To fit the Handyrack, locate
one side of it on the door
bracket.
Then spring the other side
out to clip it onto the other
bracket.
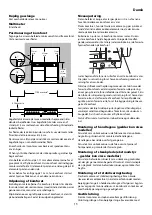
The Browning Element
The Browning Element is positioned in the top of the left
hand oven. It can be used at the end of a normal cooking
period to give extra browning to au gratin dishes or give a
crisper finish to meat.
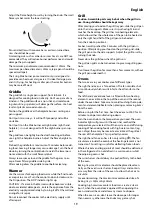
After the normal cooking is finished turn the left hand oven
thermostat knob clockwise to the browning position, indi-
cated by (
) on the fascia panel.
Only the browning element will operate when the thermostat
is turned to this position. The top and base cooking elements
will automatically switch off.
Storage
The bottom drawer is for storing oven trays and other cook-
ing utensils. It can get very warm, don’t store anything in
it that may melt or catch fire. The drawer can be removed
completely by pulling it right out and up.
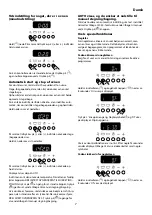
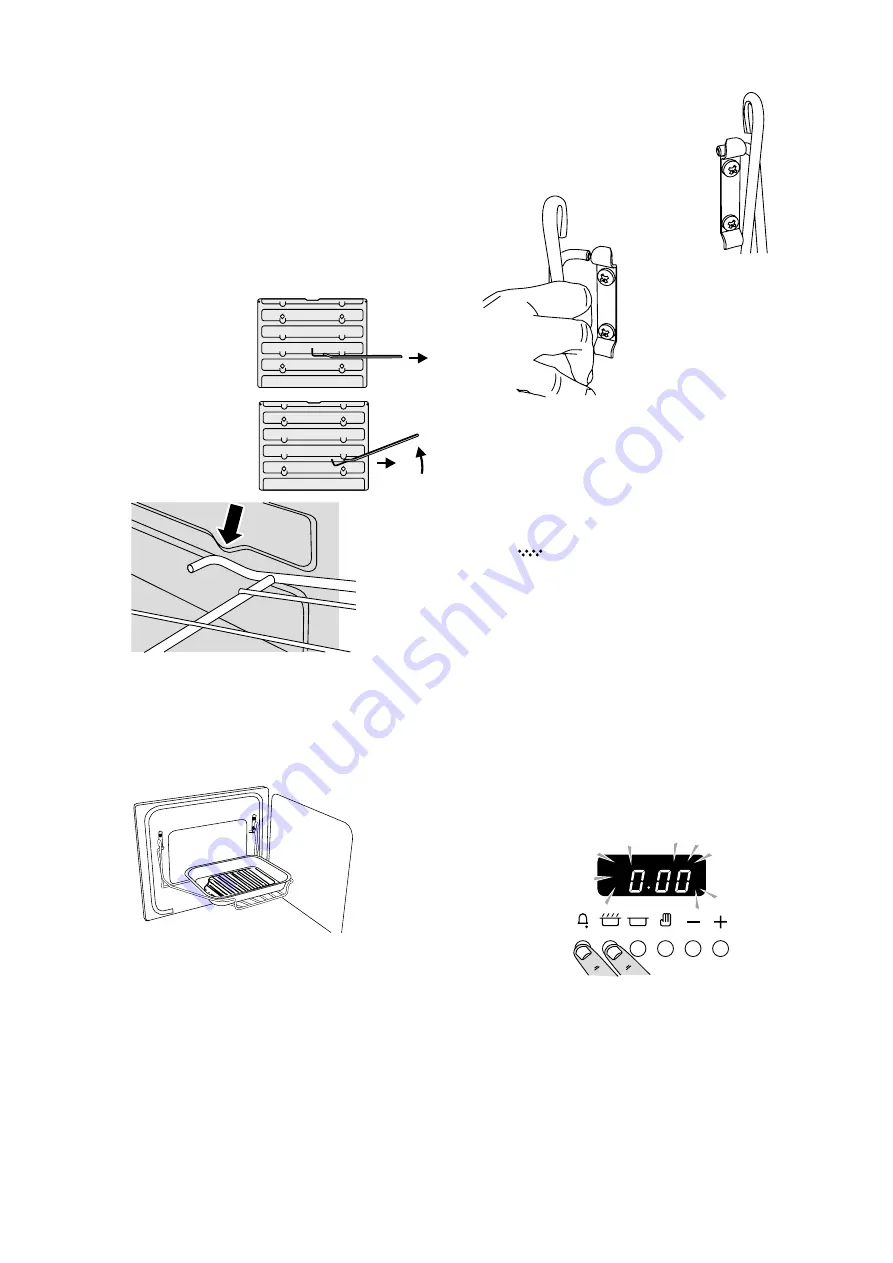
The Clock
You can use the timer to turn the ovens on and off. Check
clock is set to the time of day.
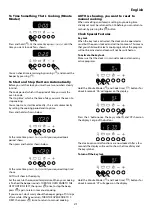
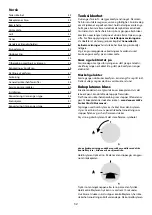
To Set the Time of Day
Press and hold as shown. At the same time, press (-) or (+)
until the correct time shows. Don’t forget it’s a 24-hour clock.
If you make a mistake or press the wrong button, turn off the
power supply for a minute or two and start again.
Summary of Contents for Classic 110 Dual Fuel
Page 2: ...2 ...
Page 3: ...3 Dansk English Norsk Tekniske Data Technical Data Tekniske Data DK GB NO IE ...
Page 17: ...Dansk 17 ...
Page 31: ...English 31 ...
Page 50: ...50 ...
Page 51: ...51 ...