background image

LIGHTING

1.

Open firedoor and open the air inlet by turning the spin valve on the door of the stove 
in an anticlockwise direction.

3.

Cover the grate with crumpled pieces of paper. 

4. 

Lay 10-12 pieces of kindling on top of the paper towards the back of the firebox.  

5.

Ignite and close the firedoor.  

6.

Under no circumstances should any flammable liquid i.e. petrol, paraffin etc., be 
used to light the fire.

7.

When the kindling is well alight open the firedoor and add more kindling of a larger size
to sustain the fire.  Close the firedoor.

8.

When a hot fuel bed is established add the normal fuel.  

9.

When well lighted, adjust the thermostat to give the required heat output.

10.

To shut the fire down, do not add fuel, make sure that the firedoor is properly closed and
that the primary and secondary air controls are all in the closed position.  Cutting off the
air supply will reduce the heat output.

11.

Following a prolonged shutdown of the appliance perhaps after the summer break, 
ensure the flueway is free from obstruction prior to re-lighting.

Re-fuelling

-Open the firedoor and reload, close the firedoor.

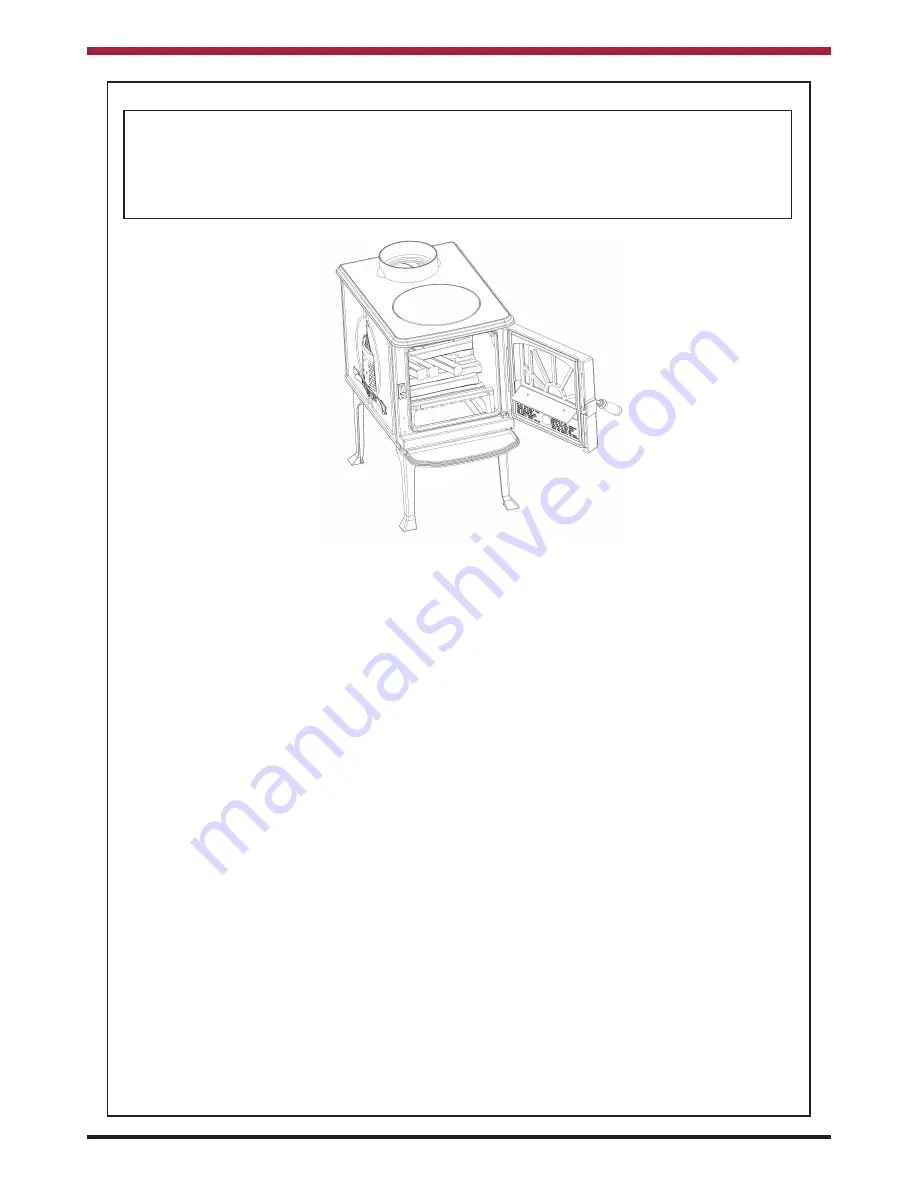
Fig.19

Before lighting the stove check with the installer that the installation work and
commissioning checks described in the installation instructions have been carried
out correctly and that the chimney has been swept clean, is sound and free from any
obstructions.  As part of the stove’s commissioning and handover the installer
should have demonstrated how to operate correctly.

13

Summary of Contents for Dunmore

Page 1: ...nfirm persons should be supervised at all times and should not be allowed to touch the hot working surfaces while in use or until the appliance has thoroughly cooled When using the stove in situations...

Page 2: ...nt 7 10 CO Alarm 8 11 Location 9 12 Floor Protection 9 13 Flue Locations 9 14 Handover 9 15 Technical Data 10 16 Specification 10 17 Installation Check list 11 18 Operating Instructions 12 19 Importan...

Page 3: ...tove care should be taken to avoid the possibility of personal injury IMPORTANT WARNING This stove must not be installed into a chimney that serves any other heating appliance 2 The complete installat...

Page 4: ...Fig 4 FLUE EXIT TOP REAR The stove is not designed to allow the chimney be cleaned through the stove A means must be provid ed to clean the chimney such as a soot box access door in the flue for clea...

Page 5: ...smoke or fumes to spill into the room If this occurs shut the appliance down by closing the air controls If the problem persists seek the advice of a chimney sweep When installing a chimney care must...

Page 6: ...epipe should not exceed 45o 90o bends should not be used Fig 8 Fig 9 Combustible material should not be located where the heat dissipating through the walls of fireplaces or flues could ignite it Ther...

Page 7: ...Fig 10 Fig 11 Fig 12 Fig 13 Fig 14 Fig 15 6 CLEARANCE TO COMBUSTIBLES CORNER INSTALLATION ALCOVE INSTALLATION FIREPLACE INSTALLATION FLUE CLEARANCES MINIMUM COMBUSTIBLE ALCOVE MANTLE CLEARANCE...

Page 8: ...s or rooms containing a shower Air vents traversing cavity walls should include a continuous duct across the cavity The duct should be installed in such a manner as not to impair the weather resistanc...

Page 9: ...2 and from the alarm manufac turers instructions Provision of an alarm must not be considered a substitute for either installing the appliance correctly or ensuring regular servicing and maintenance o...

Page 10: ...ls See Fig 16 FLUE LOCATIONS Flue outlet to suit 150mm 6 internal diameter flue pipe Fig 17 9 Fig 16 HANDOVER On completion of the installation allow a suitable period of time for any fire cement and...

Page 11: ...ow 6 6 g s Flue Gas Temperature at Nominal Output 364oC Gross Weight 130kgs Flue Outlet 150mm Flue Draught 12 Pascals Log Size 370mm WARNING DO NOT OBSTRUCT PRIMARY AIR SUPPLY TO THE STOVE SPECIFICATI...

Page 12: ...chimney serving this appliance should not serve any other appliance 6 Access should be provided to the chimney serving the appliance to allow for cleaning Location 7 Clearance to combustible material...

Page 13: ...eriod of time after use Children aged or infirm persons should be supervised at all times and should not be allowed to touch the hot working surfaces while in use or until the appliance has thorough l...

Page 14: ...e required heat output 10 To shut the fire down do not add fuel make sure that the firedoor is properly closed and that the primary and secondary air controls are all in the closed position Cutting of...

Page 15: ...from the heater at all times Operate the stove only with the fuelling door closed except for re fuelling WARNING Properly installed vented operated and main tained this stove will not emit fumes into...

Page 16: ...ensuring a proper seal is achieved NOTE Where the chimney is believed to have served an open fire installation it is possible that the higher flue gas temperature from a closed appliance may loosen d...

Page 17: ...a long time It is best to clean the glass when it is thoroughly cooled SUMMER SHUTDOWN For summer shutdown of the stove ensure all ashes have been cleaned from the ash compartment and that the air con...

Page 18: ...W 1 LEG 2 FRONT 3 SIDE PANEL NO LUGS 4 FLUE BLANKING PLATE 5 FLUE OUTLET COLLAR 6 BACK PANEL 7 HOB 8 SPIN VALVE 9 FIRE DOOR 10 ASHTRAY 11 INTERMEDIATE TOP AIR BAFFLE 12 ASHPAN 13 SEALING PLATE 14 DEFL...

Page 19: ...Manufactured by Waterford Stanley Ltd Unit 210 IDA Industrial Estate Cork Road Waterford Ireland Tel 051 302300 Fax 051 302315 DP 140207 N00594AXX 18...

Reviews: