Page | 20
DMX In
The DMX In page is used to monitor the incoming DMX data so that you can monitor/evaluate the data to help you
determine if you are receiving the data that you anticipated. In this mode, the DMX data is read from the input but also
passed through to the output allowing you to both monitor the data and see the DMX device’s behavior.
Note: The F-Test will need to have a power supply attached, either through the USB port or the Pixel Input.
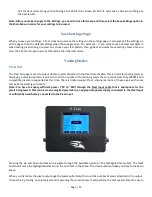
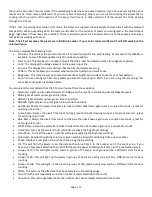
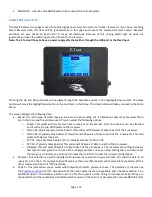
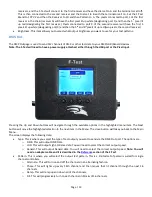
Pressing the Up and Down buttons will navigate through the available options in the highlighted menu item. The Next
button will move the highlighted selection to the next item in the Menu. If you are on the Type option, the Next Button
will toggle to the next display screen. The close button will take you back to the Main Menu.
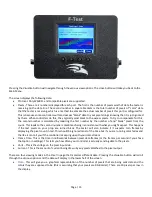
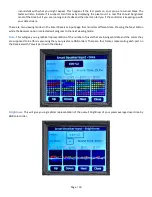
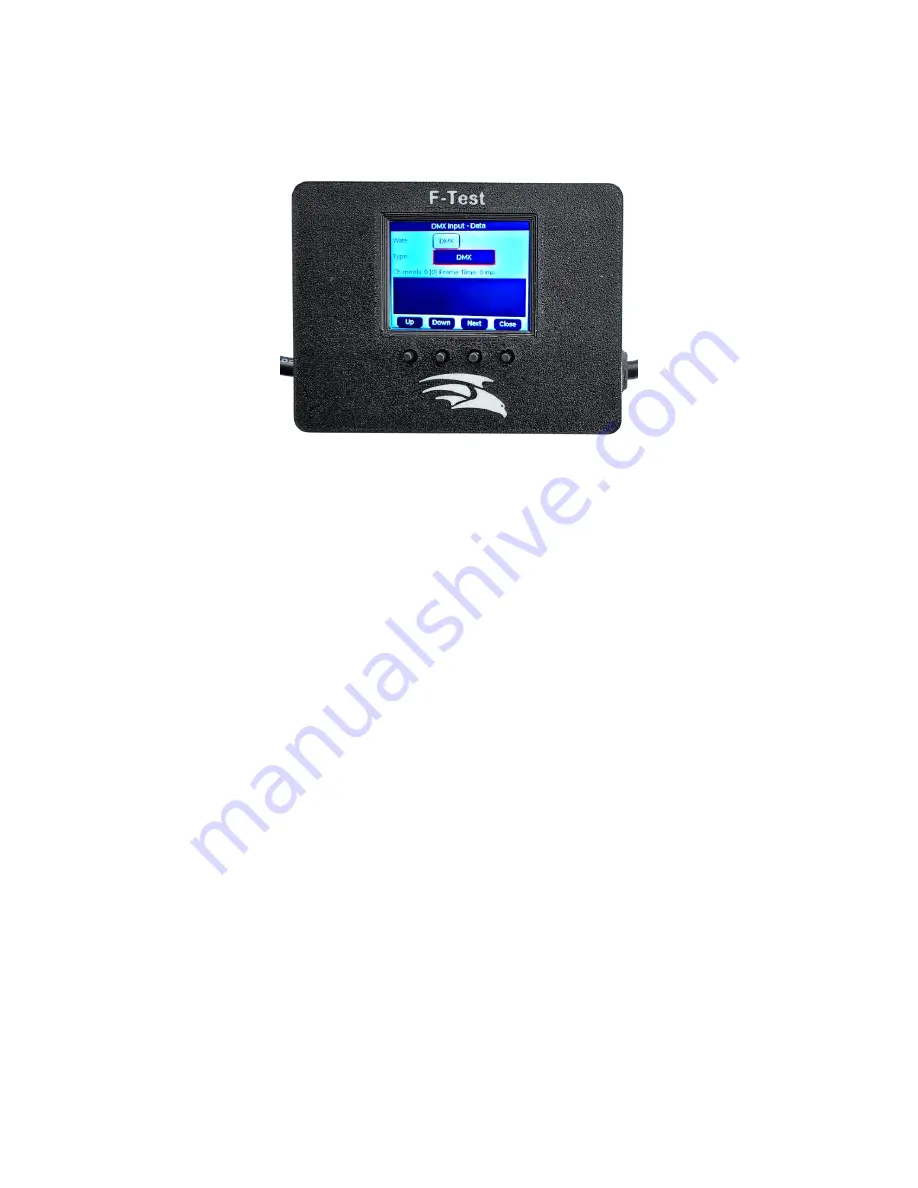
The screen displays the following data:
Wire- this allows you to select which wires on the input RJ45 the tester monitors. This allows you to switch
between standard DMX and LOR without having to fiddle with jumpers.
Type- This is the type of RS485 protocol you are expecting to receive. The tester is also able to monitor and
detect the appropriate protocol/speed with reasonable but not perfect accuracy. To do this, press and hold the
Up/Down buttons until the page title turns orange and then wait for the scan to complete.
Channels- This is the number of channels that are being received. The number in square brackets is the number
of channels up to the last channel with a non zero value. This is useful because many devices just send 512
channels even when much fewer are in use. The tester will also indicate if it suspects torn frames by displaying
the pixel count in red. This should be ignored most of the time but if you are running color fades and the like it
can tell you if the controller is keeping up with your data stream.
Frame time shows you how often data is being sent to the DMX device. In some protocols this can be highly
variable.
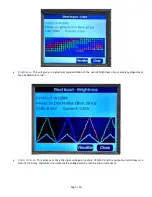
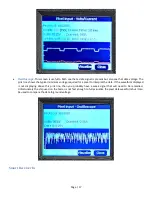
There are four viewing modes in DMX Input page that monitors different data. Pressing the Next button while
the Type option is selected will progress to the next viewing mode.
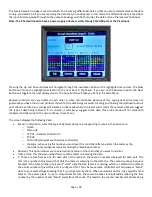
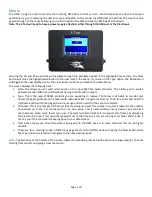
Data
- The black box at the bottom of the screen shows the data being received with each square representing a channel
starting from top left and going across the screen.

