Condition
Temp
o
C
Min. Heat
120
Moderate
150
Fairly Hot
180
Condition
Temp
o
C
Hot
210
Very Hot
240
Max. Heat
270
8. If desired, burner can be turned down to LOW or
SIMMER setting by further depression of knob
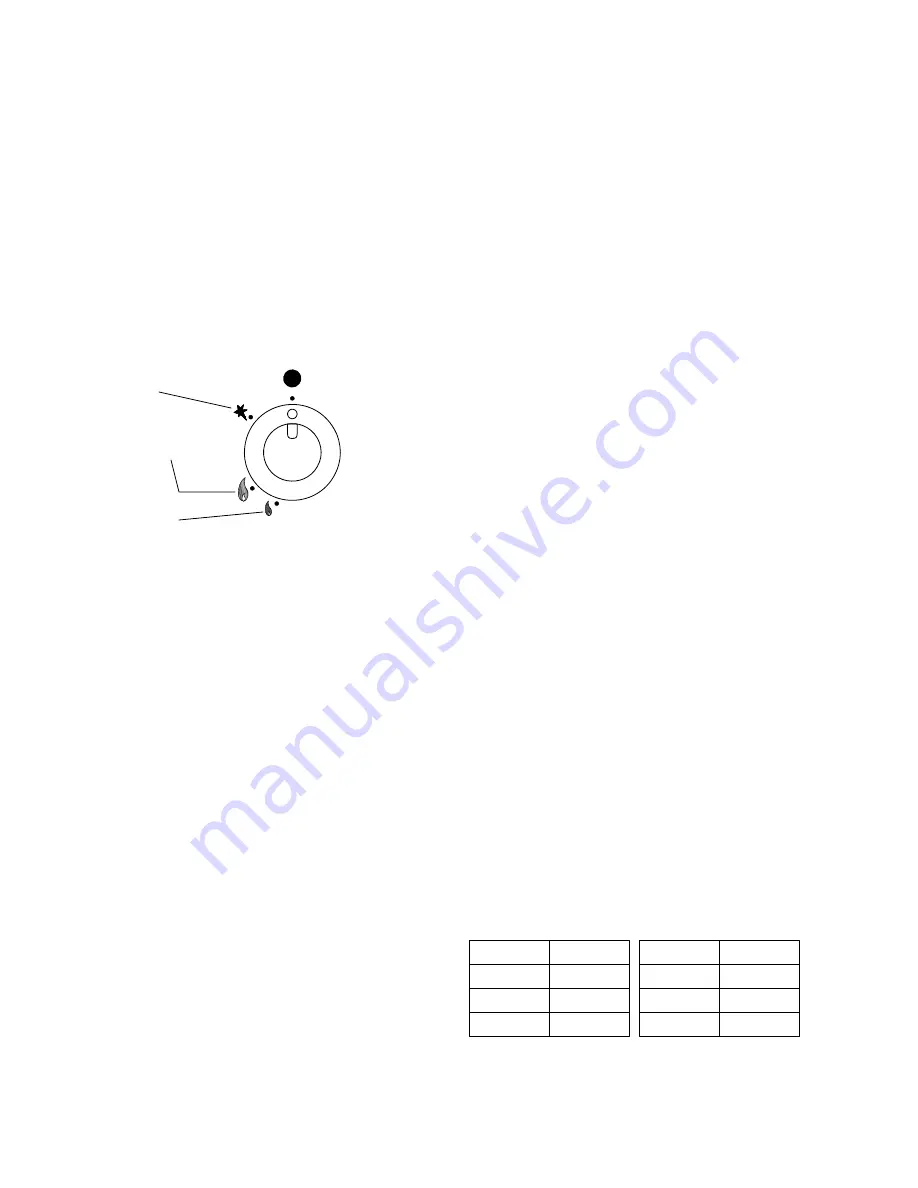
and turning it fully anti-clockwise to small flame
symbol.
To Turn The Burner OFF
9. To turn off main burner but leaving pilot lit, push in
knob and turn to ignition symbol.
10. To turn off main burner and pilot, push in knob
and turn to OFF position.
Note
It will be seen fromthe above detailed instructions
that every turning movement of the knob has to be
preceded by pushing it in.
Ignition
Full Flame
Figure 4
Low Flame
2.3 OVEN
To Light The Oven Burner
Proceed as follows -
1. Open oven doors to gain access to the flame-
failure and igniter buttons (see Figures 1 & 2).
2. Push in and turn thermostat knob anti-clockwise to
maximum setting.
3. Push in flame-failure button and keep pressed in.
4. Push igniter button and burner should light. If it
does not light immediately, repeatedly press and
release igniter button until it does.
5. Keep flame-failure button pressed in for
approximately 15 seconds, then release it. Burner
flame will now increase to maximum and oven
doors can be closed. The thermostat knob can be
turned to desired setting.
To Turn The Oven OFF
Push in and turn thermostat knob fully clockwise to
OFF position.
SECTION 3 - COOKING HINTS
3.1 Solid Top
Getting the best out of this type of heat source is
obviously largely a matter of experience, coupled with
the needs of the particular task in hand.
For certain applications, such as heating a pot
quickly, it will be found expedient to remove the
centre ring and place the pot directly over the burner.
If on the other hand, it is necessary to heat the entire
surface, the ring must be in place. In the interests of
economy it is recommended that the solid-top should
not be left unattended with the gas on FULL setting.
If it is necessary to keep the top hot for any length of
time, control should be turned down to LOW setting.
Do not at any time leave the gas on whilst centre ring
is removed - such practice simply wastes gas.
The hottest area of the plate is in the centre and
toward the rear, the front and side are cooler.
3.2 Using The Oven
The cooking chart provides a selection of conditions
for cooling selected types of food, and to ensure
satisfactory performance the following instructions
should be observed.
Grid Shelves
Space these at least two runners apart. In the cooking
chart, the runners are numbered downwards. i.e. No.
1 is at the top.
Tray Size
A cake tray up to 400mm x 490mm (15
3
/
4
" x 19
1
/
4
")
can be used on each shelf. Alternatively, gastronorm
1/1 trays can be used. A single baking tin (e.g. School
meals type) 405mm x 265mm (16" x 10
1
/
2
") can be
accommodated on each shelf.
Pre-Heat Time
Allow at least 40 minutes from lighting a cold oven
before loading the oven. Put the food in quickly and
close the doors without delay.
Thermostat
The desired oven temperature will be maintained
automatically at the temperature (
o
C) selected.
These are approximate centre oven temperatures
and cooking conditions for each position.


