13
d) Once desired time is reached, press P key to
accept/enter.
e) The display will now alternate between “PrEz” and
“X:XX” where z is the number of key presses and
X:XX is action alarm time in minutes and seconds.
NOTE: The time entered here is the time action is
required before the end of the total cycle time entered
above. If NO Action time is required, leave at “0:00”.
Adjust time as c) above.
f) Once desired time is reached, press P key to
accept/enter.
g) “Prog” will again be displayed and another product
key can be selected for programming. Repeat above
steps. When no more keys are required to be
programmed and “Prog” is displayed, press P key to
exit programming mode and return to idle mode.
SECTION 7 -
CHANGING/FILTERING THE OIL
Warning
After filtering, wait 30 seconds before removing bucket.
It is dangerous to use shortening that is too old.
This medium has a reduced flash point temperature and
is prone to surge boiling.
Caution
To prevent surge boiling. DO NOT EXCEED
recommended loads or charge the pan with over-wet food
items. NEVER LEAVE a working appliance unattended.
Warning
When draining solids/shortening, ensure oil has time to
strain through strainer basket. Heavily unfiltered oil may
overflow.
Note
This could cause pump to block over a period of time and
is considered as misuse of equipment.
Warning
When pumping solids/shortening back into fryer pan.
Ensure all trace of solids/shortening is emptied from
receptacle (bucket).
If oil is not emptied on a regular basis or if oil is left in the
receptacle, it may solidify and overflow or spill on to the
kitchen floor to create a hazard.
7.1 STARTING THE FILTRATION PROCESS
1. Turn burner & temperature controls ON/OFF switch to
OFF position and allow oil to cool below 170°C
(or if cold, heat to minimum temperature of 60°C).
Open cabinet door and pull filter bucket forward.
2. Ensure bucket is clean and emptied of all solid/
shortening and debris. Refer to Section 8 for details of
how to clean filter components.
3. Ensure that strainer and microfilter are clean.
4. With strainer and microfilter in position, slide bucket
back on to runner cradle and back into fryer.
Please Note - Warning
Do not handle filter components or adjacent surfaces
when pump is operating.
Components will remain hot for a period after filter.
Allow cooling. Use of PPE's is recommended.
Note: Burner and temperature controls ON/OFF switch
must be in OFF position before operation of filter pump
can begin.
7.2 G401F and G402F MODELS
1. Press filtration pump switch to turn on pump.
Note: With cabinet door open, switch is located at
RH side of drain valve (Refer to Figure 4).
2. Turn drain handle clockwise.
3. Pan will drain through strainer basket and microfilter
into bucket and will pump back into pan.
4. Clear debris from pan.
5. If pan drain becomes blocked, clear using drain prod.
6. When debris has been removed from pan, turn valve
handle anti-clockwise to close valve.
7. Allow pan to refill.
8. If any solid/shortening remains, repeat Step 1.
Warning
Ensure all shortening has been pumped from receptacle
before topping up pan.
9. Switch filtration pump off.
10. Top up fryer if required.
Summary of Contents for G402F
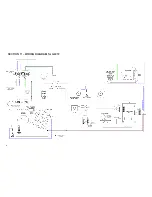
Page 16: ...SECTION 11 WIRING DIAGRAM for G401 16...
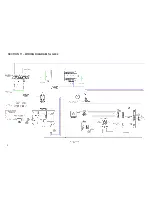
Page 17: ...SECTION 11 WIRING DIAGRAM for G401F 17...
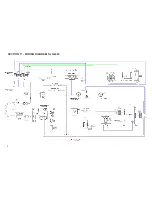
Page 18: ...SECTION 11 WIRING DIAGRAM for G402 18...
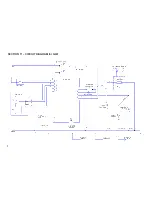
Page 19: ...SECTION 11 WIRING DIAGRAM for G402F 19...
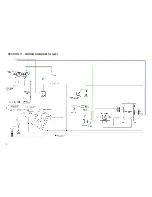
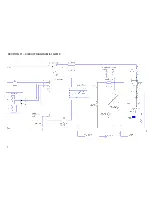
Page 20: ...SECTION 11 CIRCUIT DIAGRAM for G401 20...
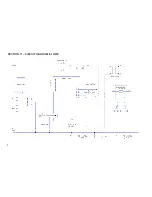
Page 21: ...SECTION 11 CIRCUIT DIAGRAM for G401F 21...

