9.
One at a time, remove the screw securing each of the (2) battery hold down
brackets per the right side view on the previous page. Remove the brackets from its
mating chassis slot and set aside.
10.
One at a time, remove the screw securing each of the (3) battery hold down
brackets per the left side view on the previous page. Remove the brackets from its
mating chassis slot and set aside.
11.
Remove the short battery jumper wires from between BATT1 - BATT4,
BATT5 - BATT8, BATT9 - BATT12, BATT13 - BATT16 & BATT17 - BATT20.
12.
Remove the wires from the BATT8 positive terminal, BATT1 negative terminal.
BATT20 positive terminal, BATT17 negative terminal jumper to BATT16 positive
terminal & remove the wire on the BATT9 negative terminal.
13.
Remove the long jumper wires from between the BATT5 negative and BATT4
positive terminals. Also from between the BATT12 positive and BATT13 negative
terminals.
14.
You are now ready to remove the old batteries from the chassis and install the new
ones. To avoid confusion when reinstalling the new batteries please take a few
minutes to observe the positions of the old batteries prior to removing them.
15.
Remove the (4) batteries from right side Bay 1. Next remove the (4) batteries from
the right side Bay 2. Now install (4) new batteries (with the terminals up) into the
right side Bay 2. Install (4) more new batteries (with the terminals up) into the right
side Bay 1.
16.
Reinstall the (2) battery hold down brackets over the batteries in the right side
Bays 1 & 2, securing with the screws removed in step 9.
6
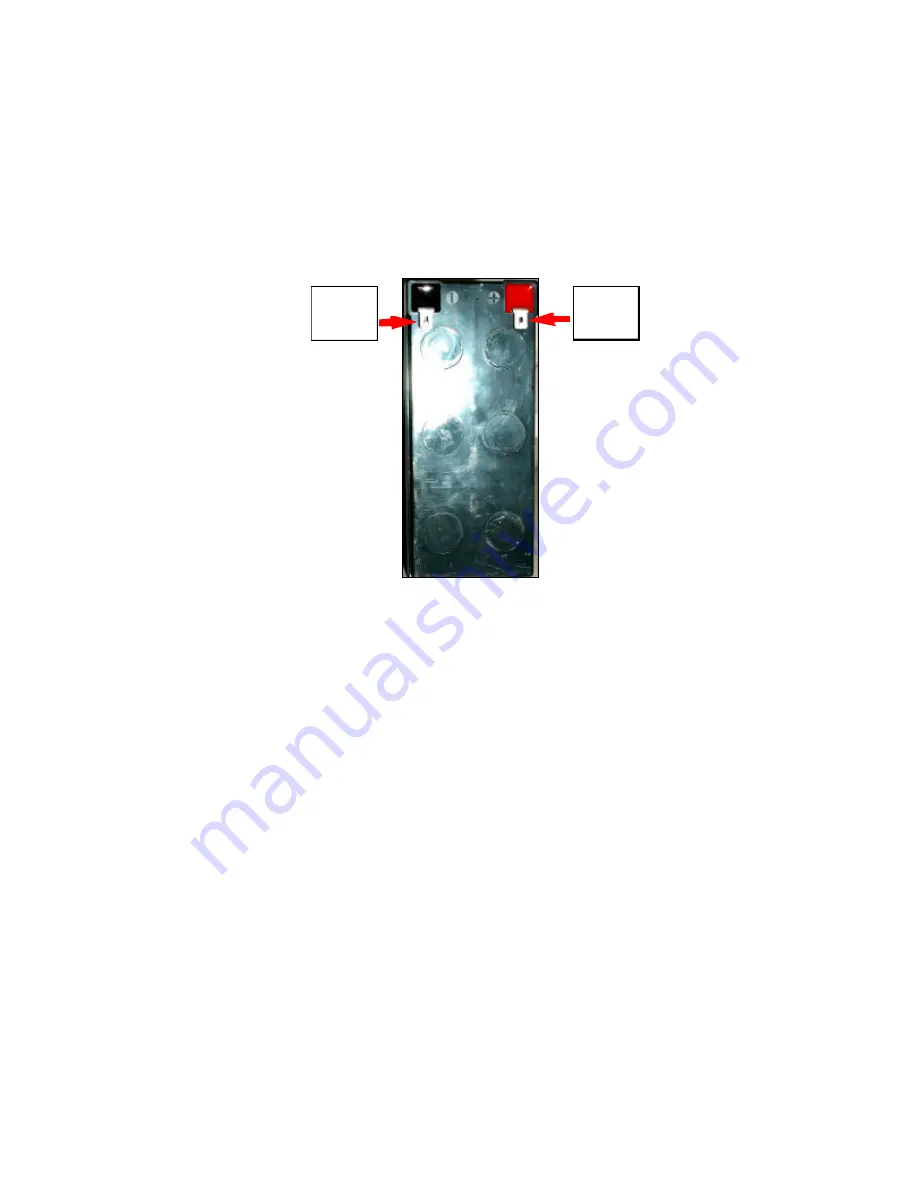
Typical Battery with fast-on type
Terminals
Negative
Terminal
(BLACK)
Positive
Terminal
(RED)


