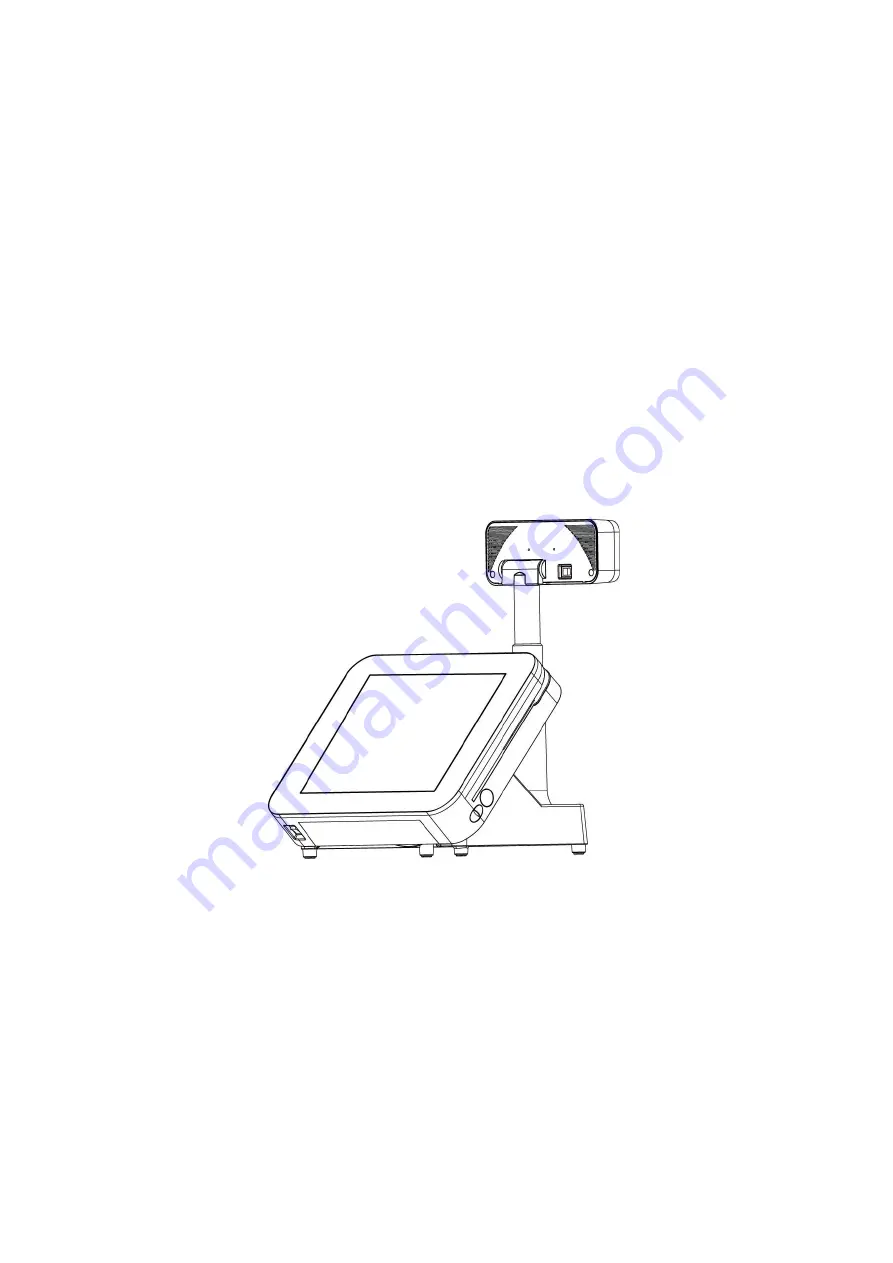
2.2. Install Your POS System
The product is a fully integrated POS System and easy for installation.
To install the POS System:
1.
Place the product on the location.
2.
Plug the AC power cord to the POS system
3.
Connect the optional peripherals to the POS (for example: Mouse, Keyboard, and
Barcode Scanner.)
4.
Plug the AC power cord to the power source (for example: electrical outlet).
5.
Turn on the switch of the Printer Unit and Customer Display (if pre-installed) and the
other optional peripherals.
6.
Turn on the POS System.
Note:
Always install the POS system and the optional peripherals on a flat, clean and stable
location surface with additional cushioned material (for example: blanket).
To prevent obstruction on the operator, reserve appropriate space for the POS system
and remove unnecessarily objects or items.
Summary of Contents for Zircon Series
Page 7: ...vi...
Page 54: ...3 2 3 Hardware Monitor...
Page 58: ...3 2 6 Serial Port Console Redirection Console Redirection Configuration options Enable Disable...
Page 60: ...3 2 7 1 Socket 0 CPU information...
Page 72: ...3 3 Chipset...
Page 73: ...3 3 1 North Bridge Max TOLUD Dynamic 2GB 2 25GB 2 5GB 2 75GB 3GB...
Page 88: ...e Click Install to continue f Click Finish to complete setup...
Page 90: ...e Read File Information Click Next to continue f Click Next to continue...
Page 93: ...e Click Finish to complete the installation...
Page 97: ...d Follow the instructions to finish the installation...
Page 99: ...f Click Next to continue g Accept the License Agreement and click Next to continue...
Page 100: ...h Click Next to continue i Click Finish to complete setup and restart the computer...
Page 116: ...e Select Install driver only and click Next to continue f Click Install to begin Installation...
Page 142: ...20161225...


