background image

7

8.2 Home screen and synchronization

Once your device is switched on it will start synchronizing.

If there are no applications installed on it yet, the device will be locked on a

screen that shows the following indication to configure the internet

Connection:

To set up your device you need connectivity so that it can synchronize.

Please install a SIM card or set up Wi-Fi or contact your customer support.

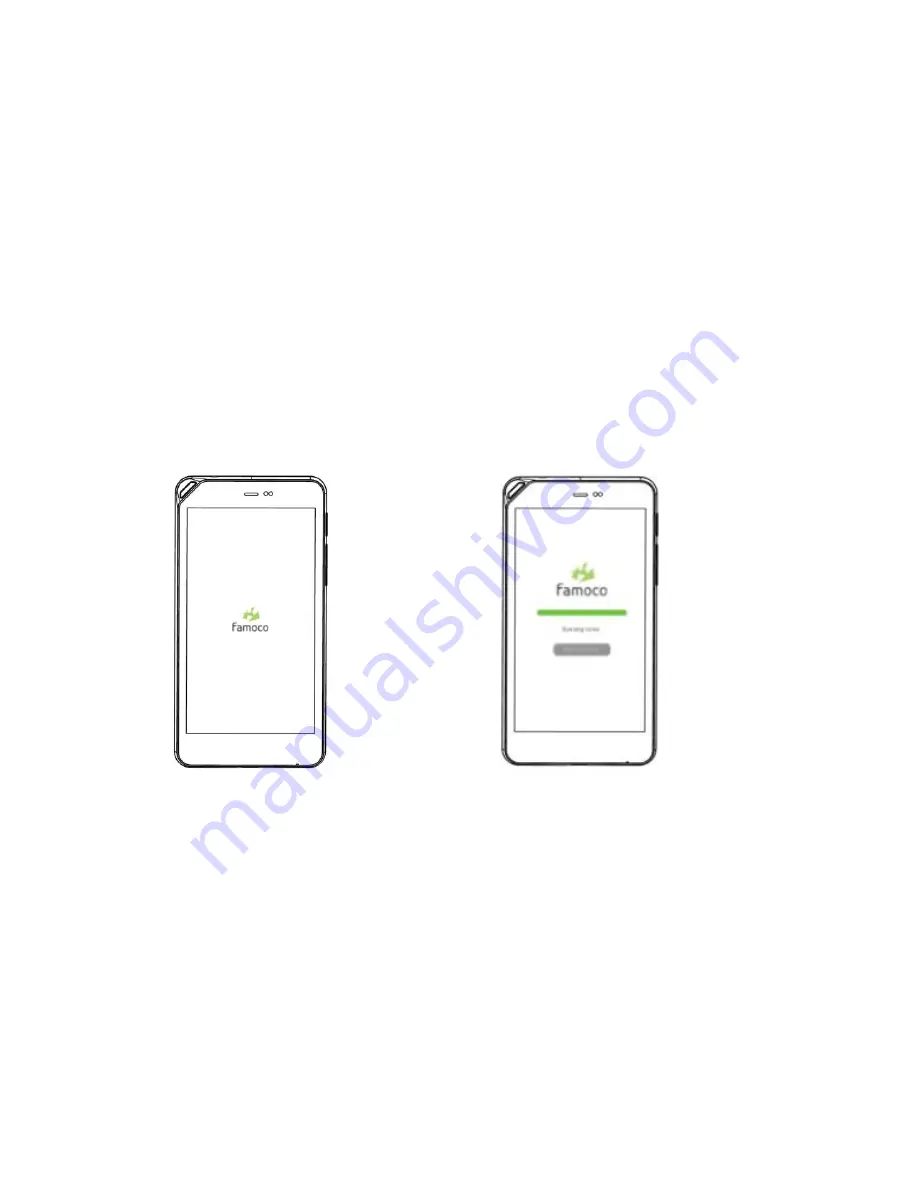
If there is a connection, one of the following screens will appear (depending

on the synchronization status):

If the synchronization is in progress, please wait until it is complete.

If the synchronization is complete but no applications have been installed,

or if the synchronization has been aborted, please contact your customer

support.

Summary of Contents for FX205SE

Page 1: ...User Manual FX205SE NFC Android Reader ...

Page 2: ...ynchronization 7 8 3 LED colors 8 8 4 How to access the dashboard 8 8 5 How to find your specific Famoco ID 8 8 6 How to charge the device 8 8 7 How to change the battery 9 8 8 How to use the battery 10 8 9 How to read an NFC card 10 8 10 About the SIM SAM slots 10 9 Technical specifications 11 10 Warranty information 112 11 Safety and general information 12 11 1 Electromagnetic waves safety infor...

Page 3: ...ritten permission of Famoco We reserve the right to make modifications on print errors or update specifications without prior notice 2 Trademarks Famoco and the Famoco logo are registered trademarks of Famoco The Android logo is a trademark of Google Inc Bluetooth is a registered trademark of Bluetooth SIG Inc worldwide Wi Fi and the Wi Fi logo are registered trademarks of the Wi Fi Alliance All o...

Page 4: ...y of such damages 5 About this manual Congratulations on becoming the owner of a Famoco FX205 SE device This user manual is specially designed to detail the device s functions and features Please read this manual before using the device to ensure safe and correct use Descriptions are based on the device s default settings Images and screenshots may differ in appearance from the actual product Cont...

Page 5: ...try settings or modified operating system software Attempting to customize the operating system may cause the device or applications to work improperly 6 Device layout 6 1 Overview 6 2 Back view 1 Indicator light 2 Power button 3 Volume down 4 Type USB C port 1 Rear Camera 2 Flash 3 Speaker ...

Page 6: ... up or down USB Type C port Connect the device to a USB type C power source or computer for Data transfer Indicator light Turn red to indicate when the device is charging and green when full charge level is reached 7 Package contents Check the product box for the following items Terminal Battery Power plug USB C cable User Manual Pre applied Tempered Glass Bumper Case ...

Page 7: ...ange without prior notice Third party accessories may not be compatible with your device 8 Getting started 8 1 How to switch the device ON or OFF To power ON Press and hold the power button for three seconds then release The home screen will be displayed after a few moments To power OFF Press and hold the power button for two seconds then select the shut down option on the screen Standby mode The ...

Page 8: ... your device you need connectivity so that it can synchronize Please install a SIM card or set up Wi Fi or contact your customer support If there is a connection one of the following screens will appear depending on the synchronization status If the synchronization is in progress please wait until it is complete If the synchronization is complete but no applications have been installed or if the s...

Page 9: ...y Time Battery level Brightness that you can modify Volume that you can modify 8 5 How to find your specific Famoco ID There are two ways of finding the unique Famoco ID Long press the home button to access the dashboard and then press the owner s name The Famoco ID is written at the top Or Open your device and remove the battery see 8 6 for more information The serial number is written on the dev...

Page 10: ... the charger improperly may cause serious damage to the device Any damage caused by misuse is not covered by the warranty Note The device will power off automatically when the battery reaches 2 8 7 How to change the battery 1 Unclip the back left corner where the little nook is and from this angle remove the back cover 2 Use the small nook on the bottom to remove the battery 3 Insert the new batte...

Page 11: ... to approximately 40 and remove the battery 8 9 How to read an NFC card To read an NFC card flip the device over and bring the card near the back of the device The device can read an NFC card at less than 3cm Device can read write read write NFC forum tags 1 2 3 4 Type MIFARE Classic Tag full Mifare ultralight 1k 4k 8 10 About the SIM SD Card slots There are 3 slots in the back of the device The f...

Page 12: ...ture Secure Elements Embedded SE PN80T Removable SE No NFC Operating modes Reader writer ISO14443 A B Felica Mifare Supported tags NFC Forum 1 2 3 4 MIFARE Connectivity 2G 900 DCS1800 3G 900 2100 MHz 4G FDD 700 800 900 1800 2100 2600 MHz TDD 2300 2500MHz Wi Fi Dual band 2 4GHz and 5GHz 802 11 a b g n Bluetooth 4 2 Camera Rear camera 8MP Speaker Microphone Accelerometer Yes Size L x W x H 148 74 0 ...

Page 13: ...under national law 11 Safety and general information The device contains delicate electronic circuitry magnets and battery systems You should treat it with care and pay attention to the following points Handle the device with care Do not drop or throw the device Do not immerse it in any liquid Do not place the device near computer disks credit cards and other magnetic media The information contain...

Page 14: ...using the battery if abnormal heat smell discoloration deformation or abnormal condition is detected during use charge or storage Do not put the battery in your mouth Only use original replacement batteries Do not connect the device to non genuine or 3rd party chargers Do not attempt to dismantle the device or any of its accessories Do not put the device into a microwave oven dryer or high pressur...

Page 15: ...st and your battery life will be reduced Under poor network conditions battery life is considerably reduced Please recycle the packaging and all parts Emergency service coverage is dependent on network availability and battery status It is always good practice to switch off the device regularly Do not expose the device to oils or solvents It is normal for the device to become warm while the batter...

Page 16: ...level The value of the SAR of the device can vary according to the following factors how far close the device is to a relay antenna use of accessories and others The maximum SAR level of your device is given in the following table Body worn SAR testing has been carried out at a separation distance of 0 5cm This device is in accordance with the regulations regulating the exposure at radio frequenci...

Page 17: ...m their abdomen and teenagers should keep the device away from their lower abdomen Advice to reduce the level of exposure to radiation o Please use your device where reception is good to reduce the quantity of radiation received avoid using in an underground car park or when travelling train or car o A reception icon indicates the quality of reception on your device A 4 full bar display means that...

Page 18: ...and According to Article 10 10 of Directive 2014 53 EU the packaging shows that this radio equipment will be subject to some restrictions when placed on the market in Belgium BE Bulgaria BG the Czech Republic CZ Denmark DK Germany DE Estonia EE Ireland IE Greece EL Spain ES France FR Croatia HR Italy IT Cyprus CY Latvia LV Lithuania LT Luxembourg LU Hungary HU Malta MT Netherlands NL Austria AT Po...

Page 19: ...www famoco com March 2021 ...

Reviews: