
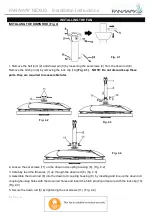
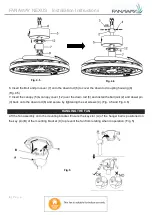
FANAWAY NEXUS Installation Instructions
11 |
P a g e
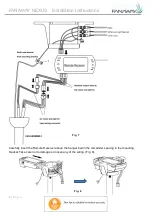
Issues:
•
Loss of control - Fan is only running at high speed after installation
•
Loss of control - No reverse function after installation
•
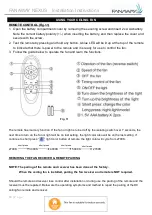
Loss of control - Remote cannot communicate with the receiver
Solution:
•
Switch off the main power of ceiling fan.
•
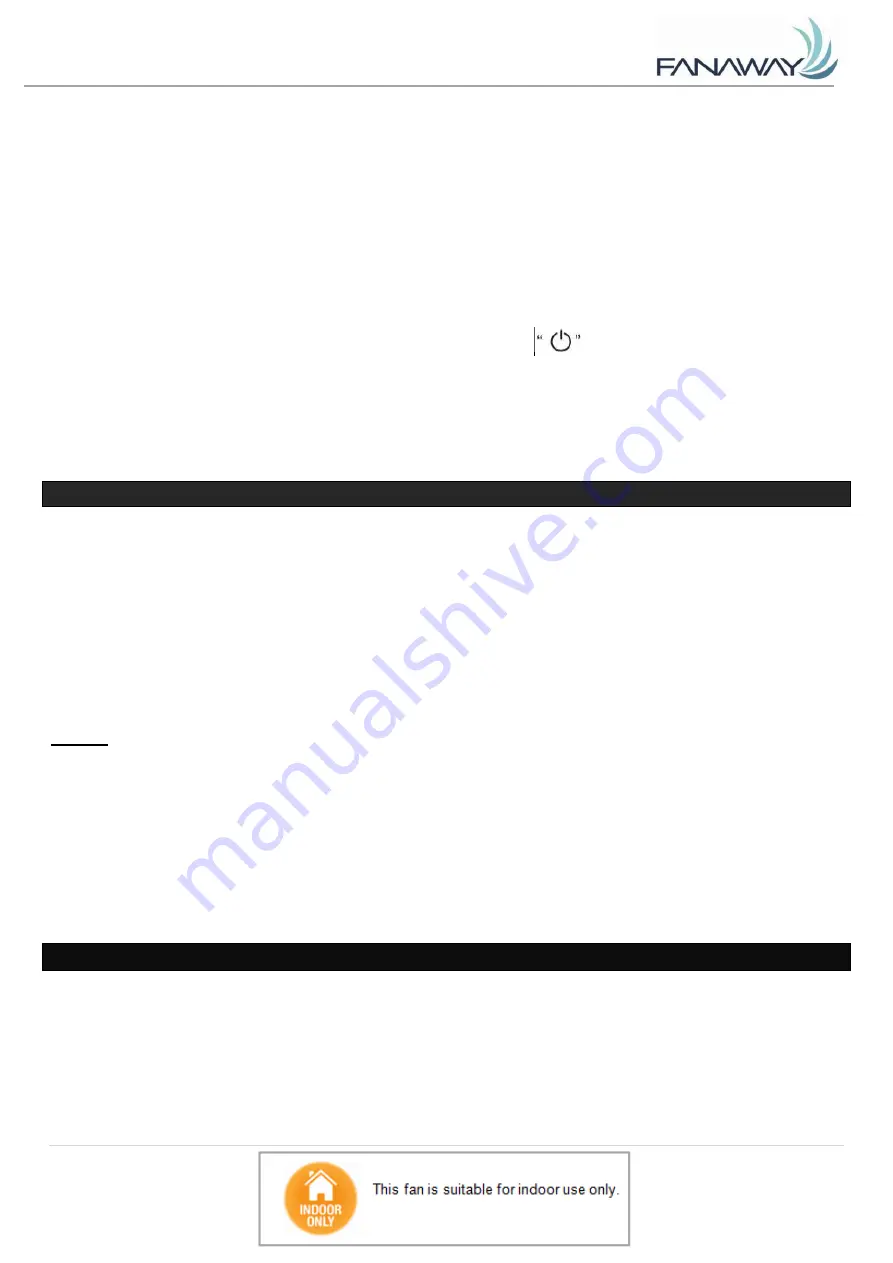
Switch on the main power of the ceiling fan. Press and hold the
button on the remote for 5 seconds
within 30 seconds after switching on. There will be a notification ‘beep’ sound from the receiver to indicate
that the paring process is successful.
•
Turn on and select the different speed of the ceiling fan to check the operation of the fan.
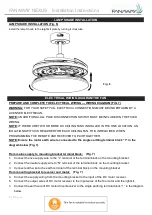
AFTER INSTALLATION
NOTE
: Ceiling fans tend to move during operation due to the fact that they are mounted on a rubber
grommet. If the fan was mounted rigidly to the ceiling it would cause excessive vibration. Movement of a few
centimetres is quite acceptable and DOES NOT suggest any problem.
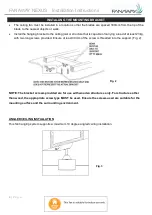
TO REDUCE THE FAN WOBBLE:
Please check that all screws which fix the mounting bracket and down
rod are secure.
NOISE:
When it is quiet (especially at night) you may hear occasional small noises. Slight power fluctuations and
frequency signals superimposed in the electricity for off-peak hot water control, may cause a change in fan
motor noise. This is normal. Please allow a 24-
hour “settling-in” period, most noises associated with a new
fan disappear during this time.
The manufacturer’s warranty covers actual faults that may develop and NOT minor complaints such as
hearing the motor run
– All electric motors are audible to some extent.
CARE & CLEANING
NOTE: Always turn OFF the power at the mains switch before performing any maintenance or
attempting to clean your fan
.
•
Every 6 months periodic cleaning of your ceiling fan is the only maintenance required. Use a soft brush
or lint free cloth to avoid scratching the paint finish. Please turn off electricity power when you do so.


