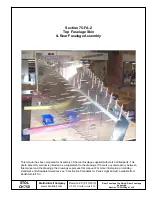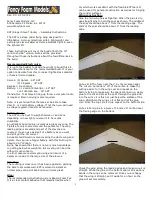
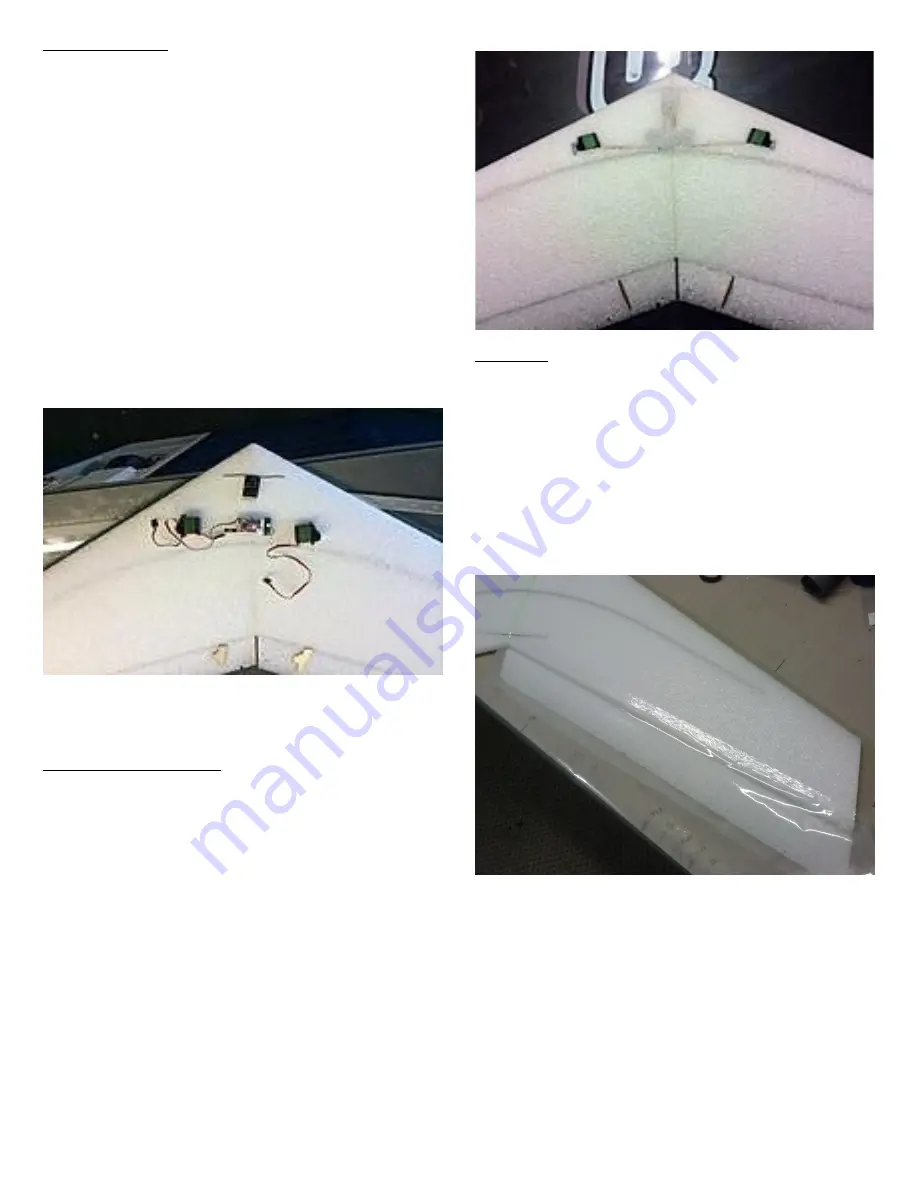
Gear Placement:
Cut 4 pieces of covering for the top/bottom and left/right
sides. The pieces should be 1” larger than the wing on all
sides but only 1/4” over on the trailing edge. If you do not
get complete coverage with the supplied film, make it
short on at the nose as this will be covered last.
Tape the elevons to the trailing edge. Tape all the covering
to the top of the wing roughly in place. Tape the servos
roughly in place with the carbon push rods as well as the
receiver and the battery. Move the servos, receiver and
battery until you have the CG at 9-1/2” from the nose.
With the recommended components you should not have
to use any extra weight. Mark the position of the servos,
receiver and battery.
Cut out pockets for the servos, receiver and battery. It
may be easiest to cut all the way through the foam and
remove the foam block. Cut out the center of the block to
make room for the component and then glue the top and
bottom foam pieces back in place with the component
sandwiched in place.
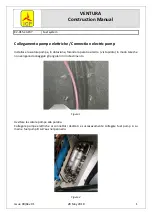
For the battery connection, I have the battery plug run
out the top of the wing and then leave a hole for it to plug
into the receiver.
Electronics installation:
Make a new model on your radio and set it up for elevon
mixing. Change the end point and dual rate values to
150%. Plug the servos into the receiver and power it up.
Center the control horn on the servo and then use sub
trim to rotate the servo arm about 20 deg aft. To get full
90 deg up on a JR/Spektrum radio you will need to create
a mix that mixes elevator to elevator to increase the
elevator throw. Play with the sub trim and travel adjust to
get the most throw that you can.
Cut a 1/4” deep slit from the servo pocket to the receiver
location. Glue the servos into their pockets. Push the
servo wire down into the slit in the foam and plug them
into the receiver. Mount the receiver and battery in place
and glue their foam covers in place.
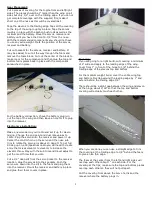
Covering:
If you are going for a light build, cut covering a minimum
of 4” wide and apply to the leading edge of the wing.
Cover from 1” in front of the hinge to 1/8” behind the
trailing edge of the elevons top and bottom.
For the medium weight build, cover the entire wing top
and bottom. Overlap around the leading edge by 1” and
extend behind the trailing edge 1/8”.
There should be a slight gap between the wing and elevon
at the hinge, about 1/16” so that the top and bottom
covering will actually touch each other.
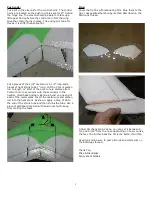
When you are done you can use a straight edge to trim
the covering at the trailing edge to 1/8” behind the foam
to give a nice thin edge.
The foam at the center from the left and right sides will
over lap each other about 1” on each side. For the
covering at the tips, make sure the top and bottom pieces
over lap each other so they will not pull apart.
Cut the covering from above the servo horns and the
receiver where the battery plugs in.
2