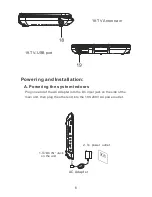
background image

Note: The included AC adapter is for use with this unit only. Do not use it with 
other equipment. Disconnect the player from the main outlet if you don't intend 
to use it for an extended period of time.

B. Built-in Battery

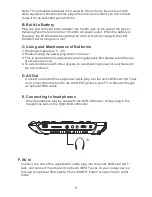
Plug one end of the AC to DC adapter into the DC jack on the side of the player, 
then plug the other end into the 100-240V AC power outlet. When the battery is 
charging, the LED indicator is lighting red color. Once fully charged, the LED 
indicator will turn to green color.

C. Using and Maintenance of Batteries

1. Working temperature: 5 – 40 
2. Please unplug the power plug when not in use.
3. This is normal when heat generated during playback. But please avoid the use 
    of excessively long.
4. To avoid collisions with other objects, to avoid placing too wet or overheated in 
    the environment.

D. AV Out

     Connect one end of the supplied AV cable plug into the unit's DVD's AV OUT jack, 
     and connect the other end to the AV INPUT jacks on your TV or Monitor through 
     an optional RCA Cable.

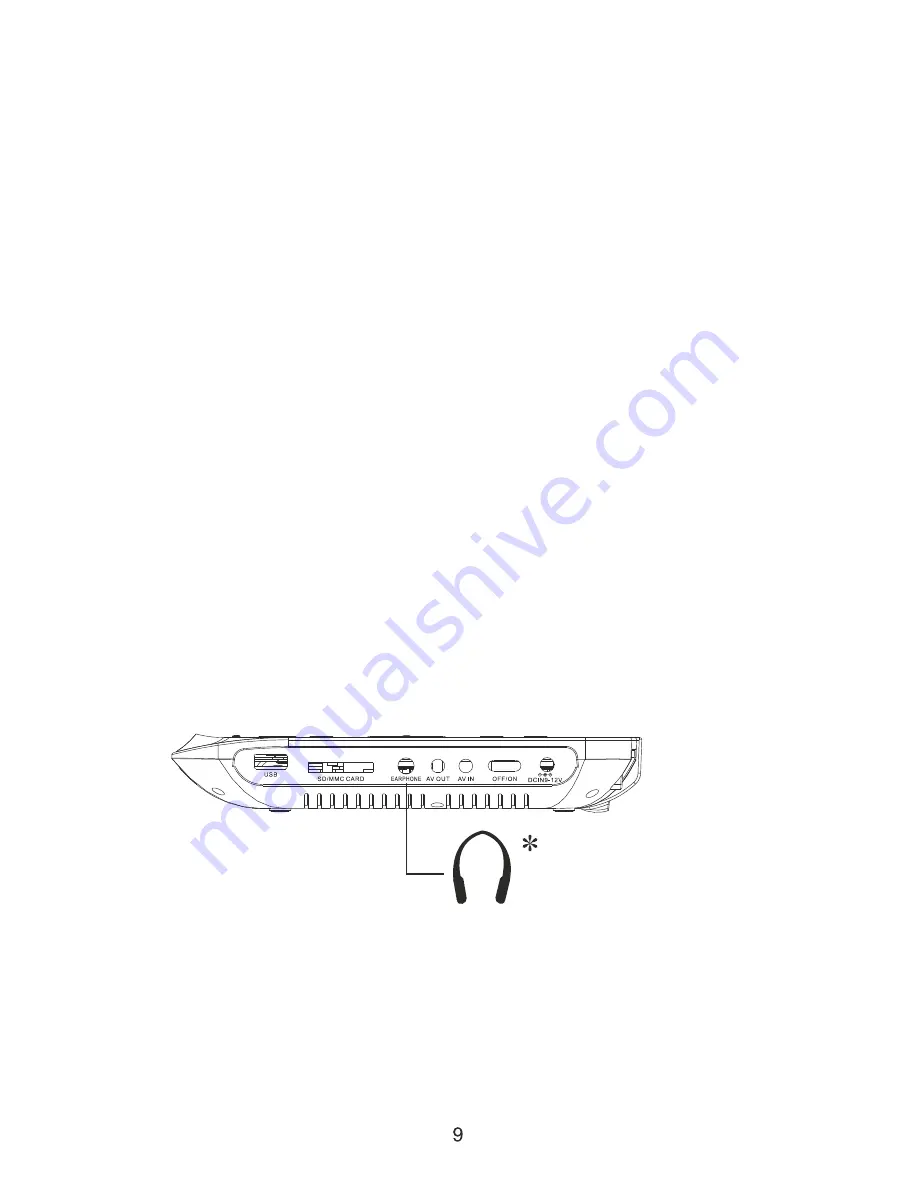
E. Connecting to headphones 

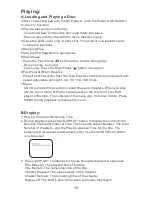
      Wired headphone may be used with the DVD or Monitor, Simply plug in the 
      headphone jack on the Right DVD or Monitor.

F. AV In
   

Connect one end of the supplied AV cable plug into the unit's DVD's AV OUT 

    jack, and connect the other end to the AV INPUT jacks on your output device 
    through an optional RCA Cable. Press “MODE” button to switch to the AV IN 
    mode.

Summary of Contents for DVT98607

Page 1: ...PORTABLE DVD WITH DIGITAL TV PLAYER DVT98607 LED WIDE SCREEN 9 BUILT IN AV IN AV OUT BUILT IN USB SD MMC CARD BUILT IN DVB T2 TUNER REMOTE CONTROL ALL FUNCTION...

Page 2: ...hin the product This may be of sufficient magnitude to constitute a risk of electric shock to persons The exclamation point within an equilateral triangle is intended to alert user to the presence of...

Page 3: ...ays 9 The apparatus shall not be exposed to dripping or splashing nor should any objects filled with liquids such as vases be placed on the apparatus Clean the Machine 1 Please ensure the machine is p...

Page 4: ...IMPORTAN SAFETY NOTES 1 Table of Contents 3 Remote Control 4 Indicators 7 Powering and Installation 8 Playing 10 System Setup 14 DVB T2 TV Operation 16 Trouble Shooting 24 Table of Contents...

Page 5: ...Always remove exhausted or dead batteries from the product Remove batteries from the product bdfore extended storage Dispose of used batteries responsibly at local authority housedhold waste recyclin...

Page 6: ...n 8 Stop EXIT 9 Fast Reverse 10 Fast Forward 11 A B repeat TV RADIO 12 Mute 13 Audio Button 14 Source 15 Search 16 Setup Button 17 repeat 18 Info Display 19 Program 20 Text Angle 21 Zoom 22 Slow 23 EP...

Page 7: ...TV or Rasio function Press this button to skip to previous chapter or track Press this button to skip to next chapter or track Start playback or pause playback Press this button to stop playback Press...

Page 8: ...tton 5 Play Pause Button 6 Direction and Ok Button 7 Stop Button 8 Mute 9 Volume Button 10 Volume Button 11 USB port DVD function 12 SD MMC CARD SLOT 13 Earphone Jack 14 AV Output Jack 15 AV Input Jac...

Page 9: ...d Installation A Powering the system indoors Plug one end of the AC Adapter into the DC input jack on the side of the main unit then plug the other end into the 100 240V AC power outlet 1 To DC IN Jac...

Page 10: ...ug when not in use 3 This is normal when heat generated during playback But please avoid the use of excessively long 4 To avoid collisions with other objects to avoid placing too wet or overheated in...

Page 11: ...Menu A DVD is divided into sections called titles and chapters When you play a DVD a root menu of the disc will appear on the screen of your DVD player or Monitor The contents of the menu vary from d...

Page 12: ...nguage you desire with the current Subtitle Language Number and the total Number of Subtitle Languages displayed If there are multiple languages press SUB again to select another subtitle language To...

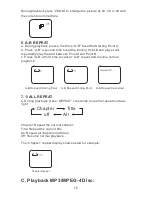
Page 13: ...and Point B c Press A B a third time to cancel A B repeat and resume normal playback A B Repeat Starting Point A B Repeat Ending Point A B Repeat Cancelled 7 1 ALL REPEAT a During playback press REPEA...

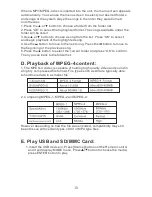
Page 14: ...g Press the button to move to the beginning of the previous song 5 Press the button to select the current folder and press OK to confirm Then you can back to the folder list D Playback of MPEG 4 conte...

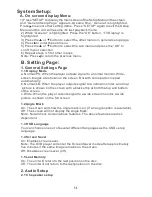
Page 15: ...creen But with some parts cropped automatically b Normal LB When the player outputs signal to a normal monitor a normal picture is shown on the screen with a black strip at both the top and bottom of...

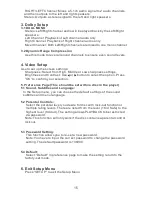
Page 16: ...select the option Press OK to confirm your selection 5 Preference Page This should be set with no disc in the player 5 1 Sound Subtitles and Language In the Setup menu you can choose the default setti...

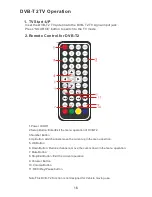
Page 17: ...utton Enter Exit the menu operation of DVB T2 3 Number Button 4 Up Button Add channels move the cursor up in the menu opertion 5 OK Button 6 Down Button Reduce channels move the cursor down in the men...

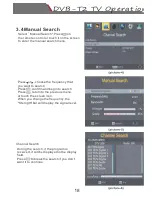
Page 18: ...where the device is used Auto Search begin full band search Manual Search enter the manual search menu Antenna Power turn ON OFF antenna power Touch it on the Remote control Press or choose the optio...

Page 19: ...if you don t want it to continue Press or choose the frequency that you want to search Press confirm and begin to search Press return to the previous menu or touch the screen icon When you change the...

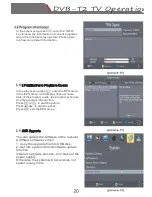
Page 20: ...tio Resolution contains 480i 480p 720 1080i 1080p TV Format contains NTSC and PAL 3 7 Language Settings The device includes multiple language of many country OSD Language is the language of menu Press...

Page 21: ...ystem will fail and can not power on any more In the play menu press enter the EPG menu In the EPG menu it will display channel name date of the program guide the program schedule and the program intr...

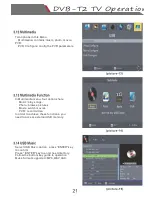
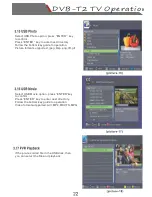
Page 22: ...menu four options here Music play songs Photo browse pictures Movie watch movies PVR record video In order to achieve these functions you need to access external USB memory Select USB Music option pr...

Page 23: ...key guide to operation Picture format surpported jpeg bmp png tiff gif Select USB Movie option press ENTER key to confirm Press ENTER key to enter next directory Follow the bottom key guide to operati...

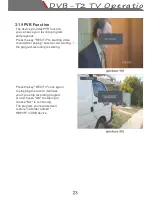
Page 24: ...REC TV to starting video record After poping enter record waiting the program recording is starting Press the key REC TV once again to stopping the record it will ask you if you stop recording progra...

Page 25: ...nbalanced Audio Output 1 4Vrms 10 KOhm 1 KHz 0dB Audio S N Better than 60 dB Dynamic range Better than 85 dB Laser Semiconductor Laser Wave Length 650nm 795 nm Power source DC9 12V Power Consumption 1...

Page 26: ...be damaged Try another disc 2 It is normal for some distortion to appear during forward or reverse scan No forward or Reverse scan 1 Some discs have sections that prohibit rapid scanning or title and...

Page 27: ...justed to the appropriate location Adjust the antenna or double check the antenna you can reinstall the antenna if you are not sureabout the problem Channel interference of invalid 1 There are signals...

Page 28: ...lectronic products Please help us to conserve the environment we live in Exlusive Importer AMIRIDIS SAVVIDIS S A HEADQUARTERS 17th November 87 Pylaia 55535 Thessaloniki 2310944944 F 2310944940 ATHENS...

Reviews: