background image

10

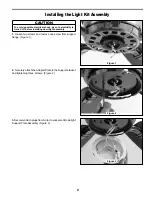
Installing the Light Kit Assembly (cont’d)

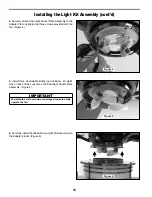
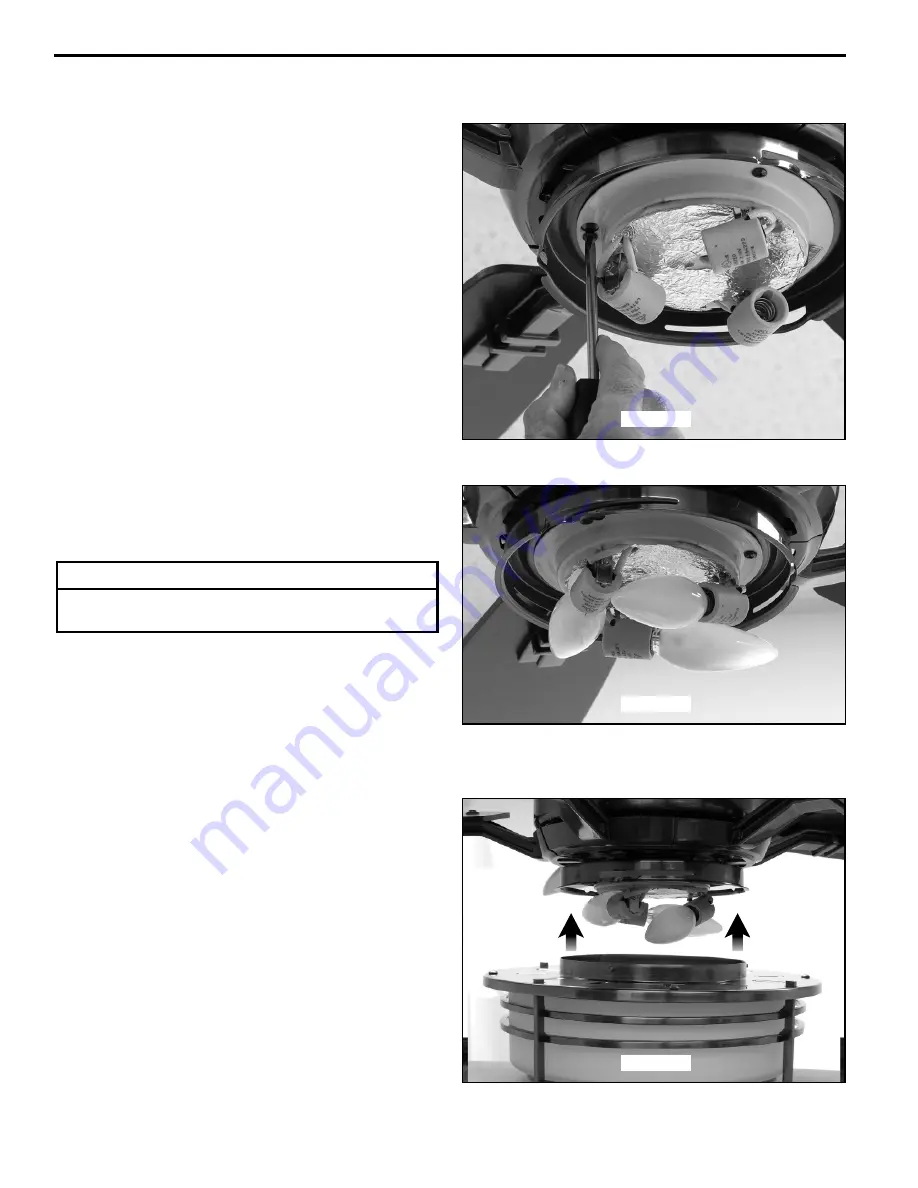
Figure 4

Figure 5

Figure 6

4.

 Securely attach Downlight Socket Plate Assembly to the 

Adapter Plate by tightening three screws provided with the 
fan. (Figure 4)

5.

 Install three Candelabra Bulbs (not included - 40 watts 

max) in each of the sockets on the Downlight Socket Plate 
Assembly. (Figure 5)

6.

 Carefully install the Glass/Frame Light Kit Assembly into 

the Adapters’ slots. (Figure 6)

IMPORTANT

40 watt bulbs are the maximum wattage allowed to safely 

operate the fan. 

Summary of Contents for Andover FP5220 Series

Page 1: ...Model No FP5220 The Andover Ceiling Fan Net Weight 13 61 kg 30 0 lbs Net Weight 13 2 kg 29 1 lbs OWNER S MANUAL READ AND SAVE THESE INSTRUCTIONS...

Page 2: ...tends to the original purchaser of a Fanimation Fan Important Safety Instructions WARNING To avoid fire shock and serious personal injury follow these instructions 1 Read your owner s manual and safet...

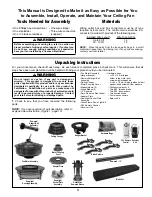
Page 3: ...Kit C24 Remote Control Receiver Unit Blade Holders Downrod 12 Downlight Socket Plate Assembly Downlight Housing Assembly Hardware Bags Fan Motor Assembly Downrod Hanger Ball Assembly Hanger Bracket O...

Page 4: ...mmonly used for support of light fixtures are not acceptable for fan support and may need to be replaced Consult a qualified electrician if in doubt Energy Efficient Use of Ceiling Fans Ceiling fan pe...

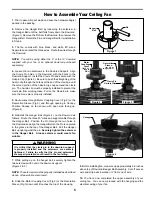
Page 5: ...open side facing up Figure 4 6 Reinstall the Hanger Ball Figure 4 on the Downrod as follows Route the three 80 wires and support cable through the Hanger Ball Position the Pin through the two holes i...

Page 6: ...ure 2 Outlet Box Hanger Bracket Outlet Box Hanger Bracket Screw 2 Supplied with Outlet Box Tab Downrod Hanger Ball Assembly WARNING Failure to seat tab in groove could cause damage to electrical wires...

Page 7: ...IGHT to BLUE light wire Position all connected wires and receiver antenna to allow installation of ceiling canopy To install ceiling canopy see page 8 3 After making the wire connections the wires sho...

Page 8: ...ded rods in the hanger bracket serve as guides for easier installation 2 Securely attach the Canopy Housing to the Hanger Bracket using the external lockwashers and knurled knobs supplied with your fa...

Page 9: ...Light Kit Assembly 1 Loosen two screws and remove one screw from support flange Figure 1 Figure 2 Figure 3 2 Securely attach theAdapter Plate to the Support bracket and tightening three screws Figure...

Page 10: ...ening three screws provided with the fan Figure 4 5 Install three Candelabra Bulbs not included 40 watts max in each of the sockets on the Downlight Socket Plate Assembly Figure 5 6 Carefully install...

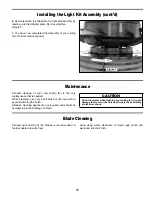
Page 11: ...lades is recommended A feather duster will work best Avoid using water cleansers or harsh rags which can warp and ruin the finish Installing the Light Kit Assembly cont d 6 Securely attach the Glass F...

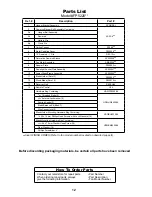
Page 12: ...der Set of 5 P522005 12 Wood Blade Set of 5 P522010 13 Receiver Unit RECAN68 14 Remote Control C24 Hardware Bag Containing HDWFP5220BL 5 32 Threaded Rods 2 HDWHW5220BL 5 32 External Lockwasher 2 Knurl...

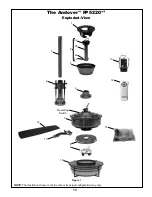
Page 13: ...13 NOTE The illustration shown is not to scale or its actual configuration may vary The Andover FP5220 Exploded View 4 1 Figure 1 3 2a 8 11 7 10 6 5 13 14 15 12 2b 2c 2d 2 Reversing Switch 9...

Page 14: ...he motor flywheel are tight 4 Check to make sure wire connectors in switch housing are not rattling against each other or against the interior wall of the switch housing CAUTION Make sure main power i...

Page 15: ......

Page 16: ...10983 Bennett Parkway Zionsville IN 46077 888 567 2055 FAX 866 482 5215 Outside U S call 317 733 4113 Visit Our Website www fanimation com Copyright 2007 Fanimation 2007 11...

Reviews: