background image

1. 

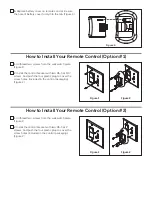
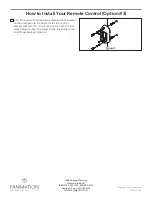
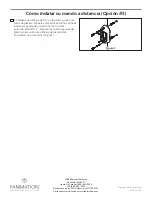
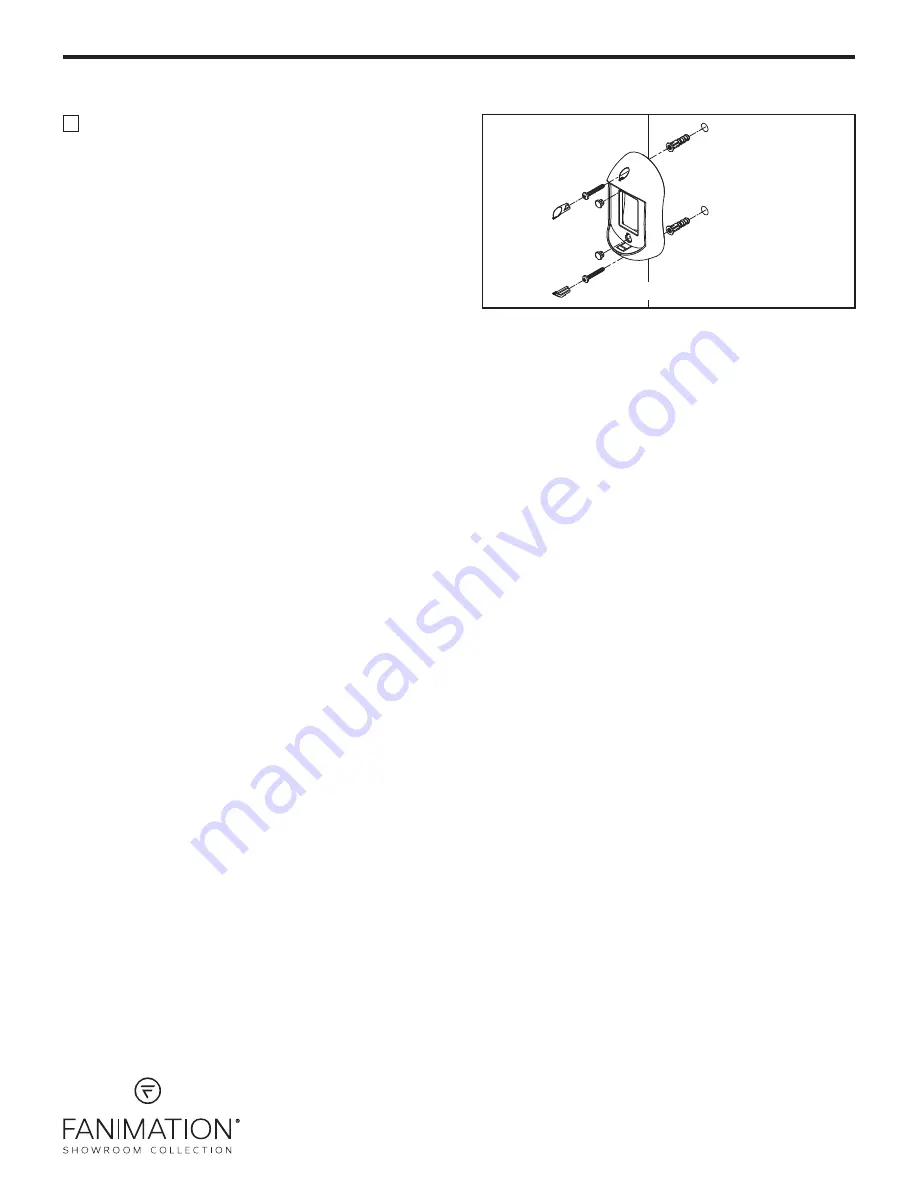
Drill the two 1/4” holes in wall and use the M6 plastic 

anchor pushed into the holes. Install the control 
bracket with two #3- 1” self tap screws. Push the four 
plastic plug to cover the screw holes. (Including in the 
control packaging). (Figure 1)

How to Install Your Remote Control (Option #3)

Figure 1

Copyright 2019 Fanimation

2019/11  V.01

10983 Bennett Parkway

Zionsville, IN 46077

(888) 567-2055 • FAX (866) 482-5215

Outside U.S. call (317) 733-4113

WWW.FANIMATION.COM

Summary of Contents for TR20WH

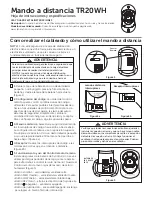
Page 1: ... to improve signal reception and or eliminate interference from other remote control household items Multiple fans should have different code settings to allow independent fan control To set the code perform these steps 3 Remote Control Slide code switches to your choice of up or down position Factory setting is all up Do not use this position With a small screwdriver or ball point pen slide firmly ...

Page 2: ...And push the four plastic plug to cover the screw holes Included in the control packaging Figure 2 How to Install Your Remote Control Option 1 Figure 1 Figure 2 1 Unthread two screws from the wall switch plate Figure 1 2 Install the control bracket with two 6 32x 1 screws And push the four plastic plug to cover the screw holes Included in the control packaging Figure 2 How to Install Your Remote C...

Page 3: ...1 self tap screws Push the four plastic plug to cover the screw holes Including in the control packaging Figure 1 How to Install Your Remote Control Option 3 Figure 1 Copyright 2019 Fanimation 2019 11 V 01 10983 Bennett Parkway Zionsville IN 46077 888 567 2055 FAX 866 482 5215 Outside U S call 317 733 4113 WWW FANIMATION COM ...

Page 4: ...trol remoto como la de apertura de puertas del garaje la alarma del auto o sistemas de seguridad simplemente cambie la combinación del código en su transmisor y receptor Para configurar el código siga los siguientes pasos 3 Mando a distancia Seleccione su opción deslizando los interruptores de código hacia arriba o hacia abajo La configuración de fábrica es en la posición superior No utilice esta po...

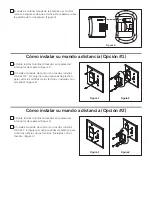
Page 5: ...32x 3 4 Empuje los cuatro tapones de plástico para cubrir los orificios de los tornillos Incluidos con el mando Figura 2 Cómo instalar su mando a distancia Opción 1 Figura 1 Figura 2 1 Retire los dos tornillos colocados en la plaza del interruptor de la pared Figura 1 2 Instale el soporte de control con los dos tornillos 6 32x 1 Empuje los cuatro tapones de plástico para cubrir los orificios de los ...

Page 6: ...je los cuatro tapones de plástico para cubrir los orificios de los tornillos Incluidos con el mando Figura 1 Cómo instalar su mando a distancia Opción 3 Figura 1 10983 Bennett Parkway Zionsville IN 46077 Llame Sin Cargo al 888 567 2055 FAX 866 482 5215 Desde fuera de los EE UU llame al 317 733 4113 Visite nuestro sitio Web en www fanimation com Copyright 2019 Fanimation 2019 11 V 01 ...

Reviews: