RheoVADR
®
Rheometer Instruction Manual
D00845847
Revision E, September 2014
16
5.1
Instrument Start-up
Plug the power supply into a 100V to 240V, 50/60 Hz power source. Connect the
power supply to rear of the rheometer. Turn on the power switch.
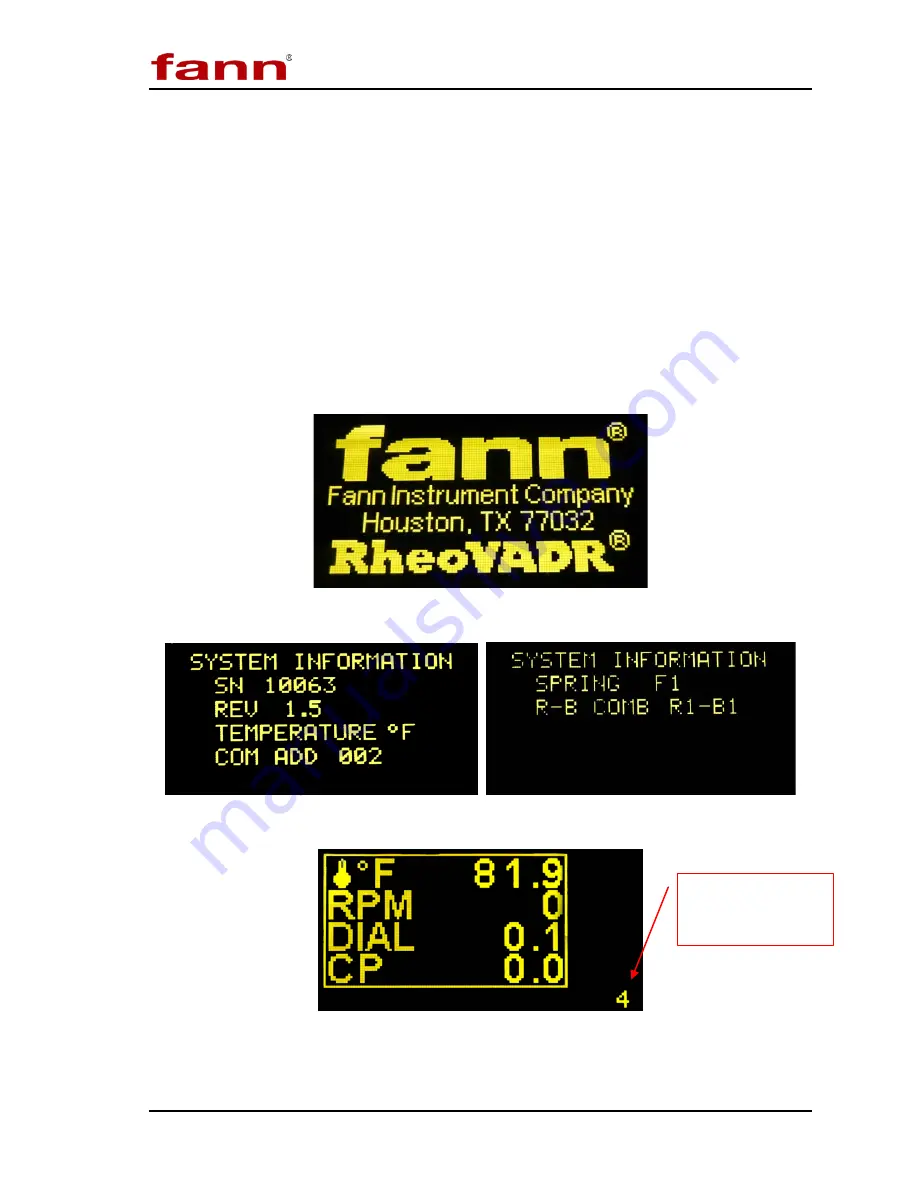
The sample cup will illuminate and the following screens will appear (Figures 5-2
and 5-3). The system information shows the current software version, temperature
units, communication address, spring, and rotor-bob combination. These settings
can be revised in set-up mode (Section 5.4).
The LED light (over the sample cup) will blink 5 times before the screen will
change to the operating mode (Figure 5-4).
Figure 5-2 Start Up Message
Figure 5-3 System Information
Figure 5-4 Data Display
Continuous Counter
(seconds) that
increments every
second.

